START-UP
Carl Zeiss Rotary stage Pol Axio Imager
70 430000-7344-001 M70-2-0020 e 06/2009
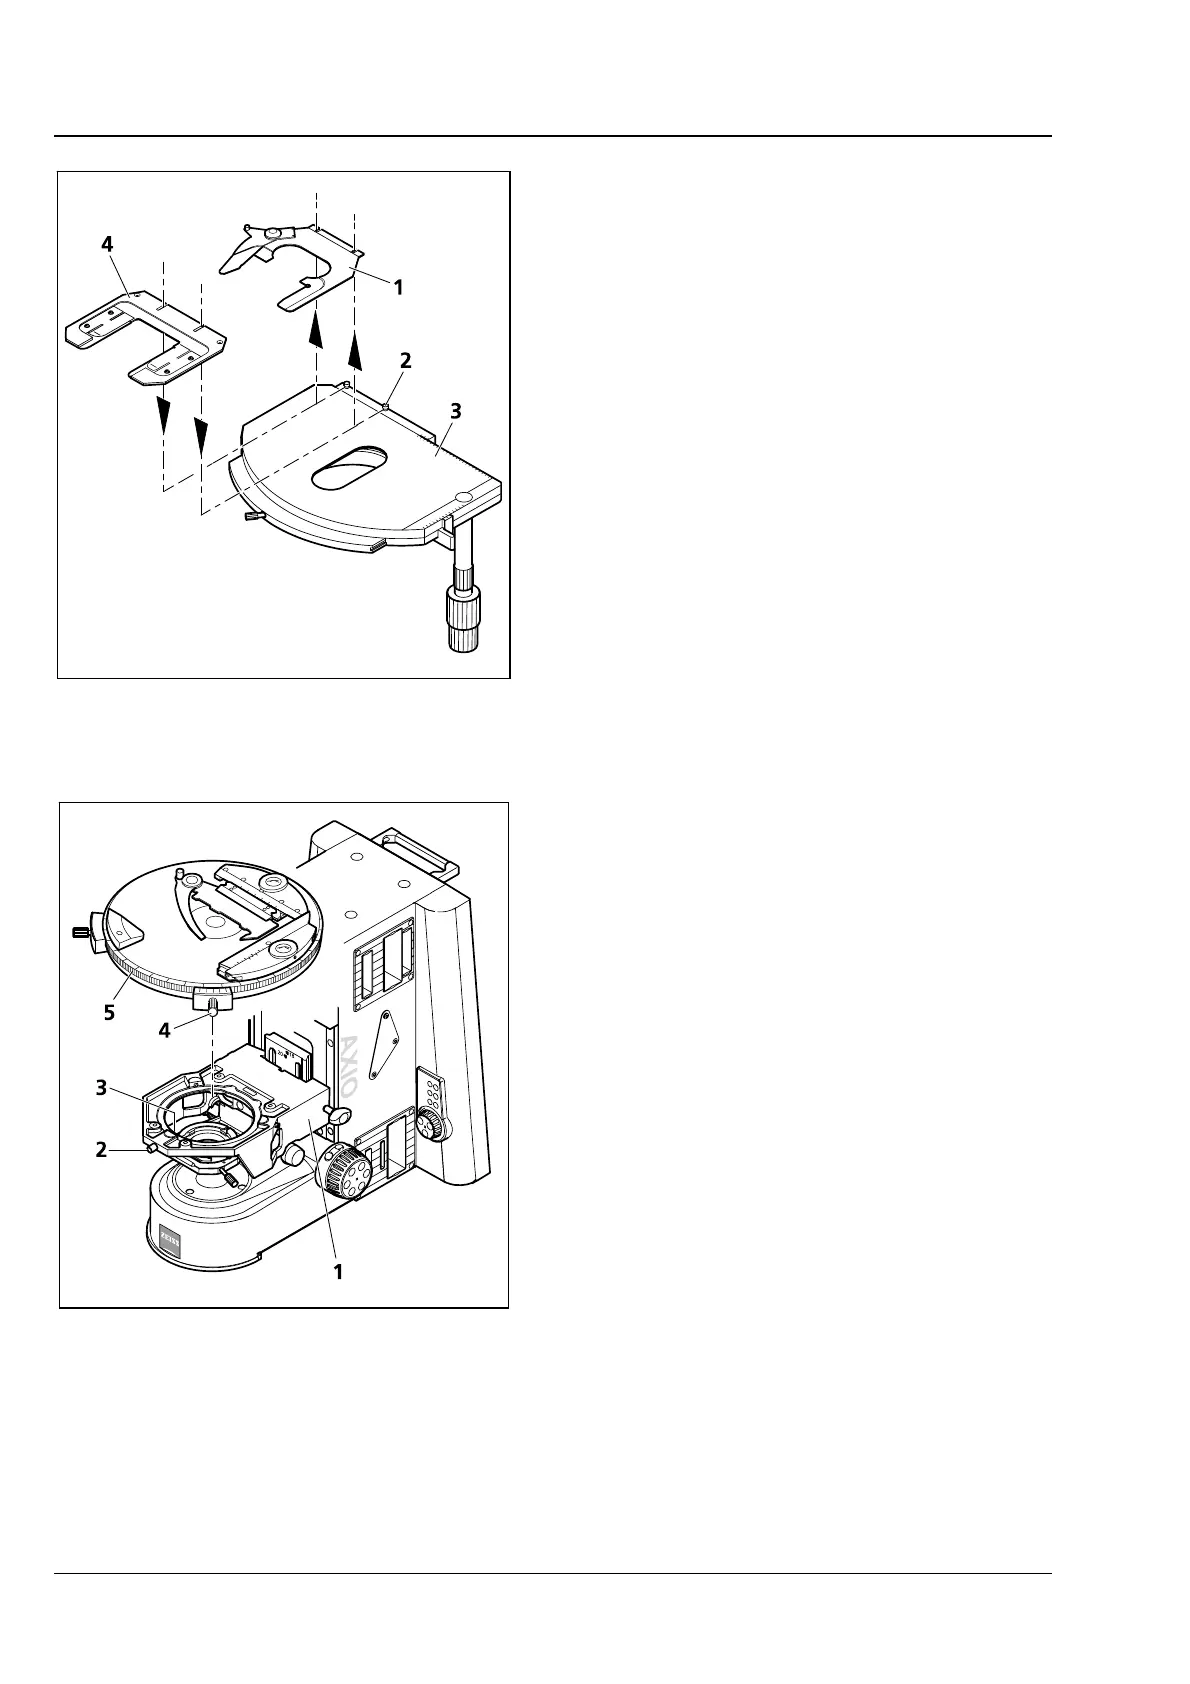
3.33.6 Changing the specimen holder
• Loosen two knurled screws (3-55/2).
• Remove specimen holder (3-55/1) from the
mechanical stage (
3-55/3) to the front.
• Attach the desired specimen holder (3-55/4) to
the mechanical stage with the slots under the
heads of the knurled screws and tighten it by
means of the knurled screws.
3.34 Rotary stage Pol
3.34.1 Removing rotary stage Pol
• Loosen screw cap (3-56/2) of spring housing
with about three rotations.
• Press rotary stage Pol (3-56/5) to the front
against spring-loaded pin (
3-56/3), lift it off the
stage carrier (
3-56/1) from the back and remove
it upwards.
• Retighten the screw cap (3-56/2).
3.34.2 Attaching rotary stage Pol
• Where necessary, loosen screw cap (3-56/2) of
spring housing with about three rotations.
• Place rotary stage Pol (3-56/5) with the groove
of the dovetail (stage bottom) on spring-loaded
pin (
3-56/3).
• Attach the rotary stage with the clamp screw
(
3-56/4) pointing to the front right.
• Press the rotary stage Pol to the front against the spring-loaded pin and lower it towards the back into
the stage carrier (
3-56/1), then release it.
• Retighten the screw cap (3-56/2).
Fig. 3-55 Changing the specimen holder
Fig. 3-56 Attaching rotary stage Pol