START-UP
Axio Imager HAL 100 halogen illuminator Carl Zeiss
M70-2-0020 e 06/2009 430000-7344-001 55
3.28 HAL 100 halogen illuminator
The HAL 100 illuminator is used as light source for
transmitted-light and reflected-light techniques
(except fluorescence) on the Axio Imager.
Attachment to the reflected-light or transmitted-
light socket is performed analogously.
3.28.1 Attaching the HAL 100 halogen
illuminator
Before using the halogen illuminator,
make sure to remove the halogen
lamp replacement tool from the
housing. Otherwise, it might be
damaged by heat (refer to Section
3.28.4)
• Remove the protective cap from the reflected-
light or transmitted light socket.
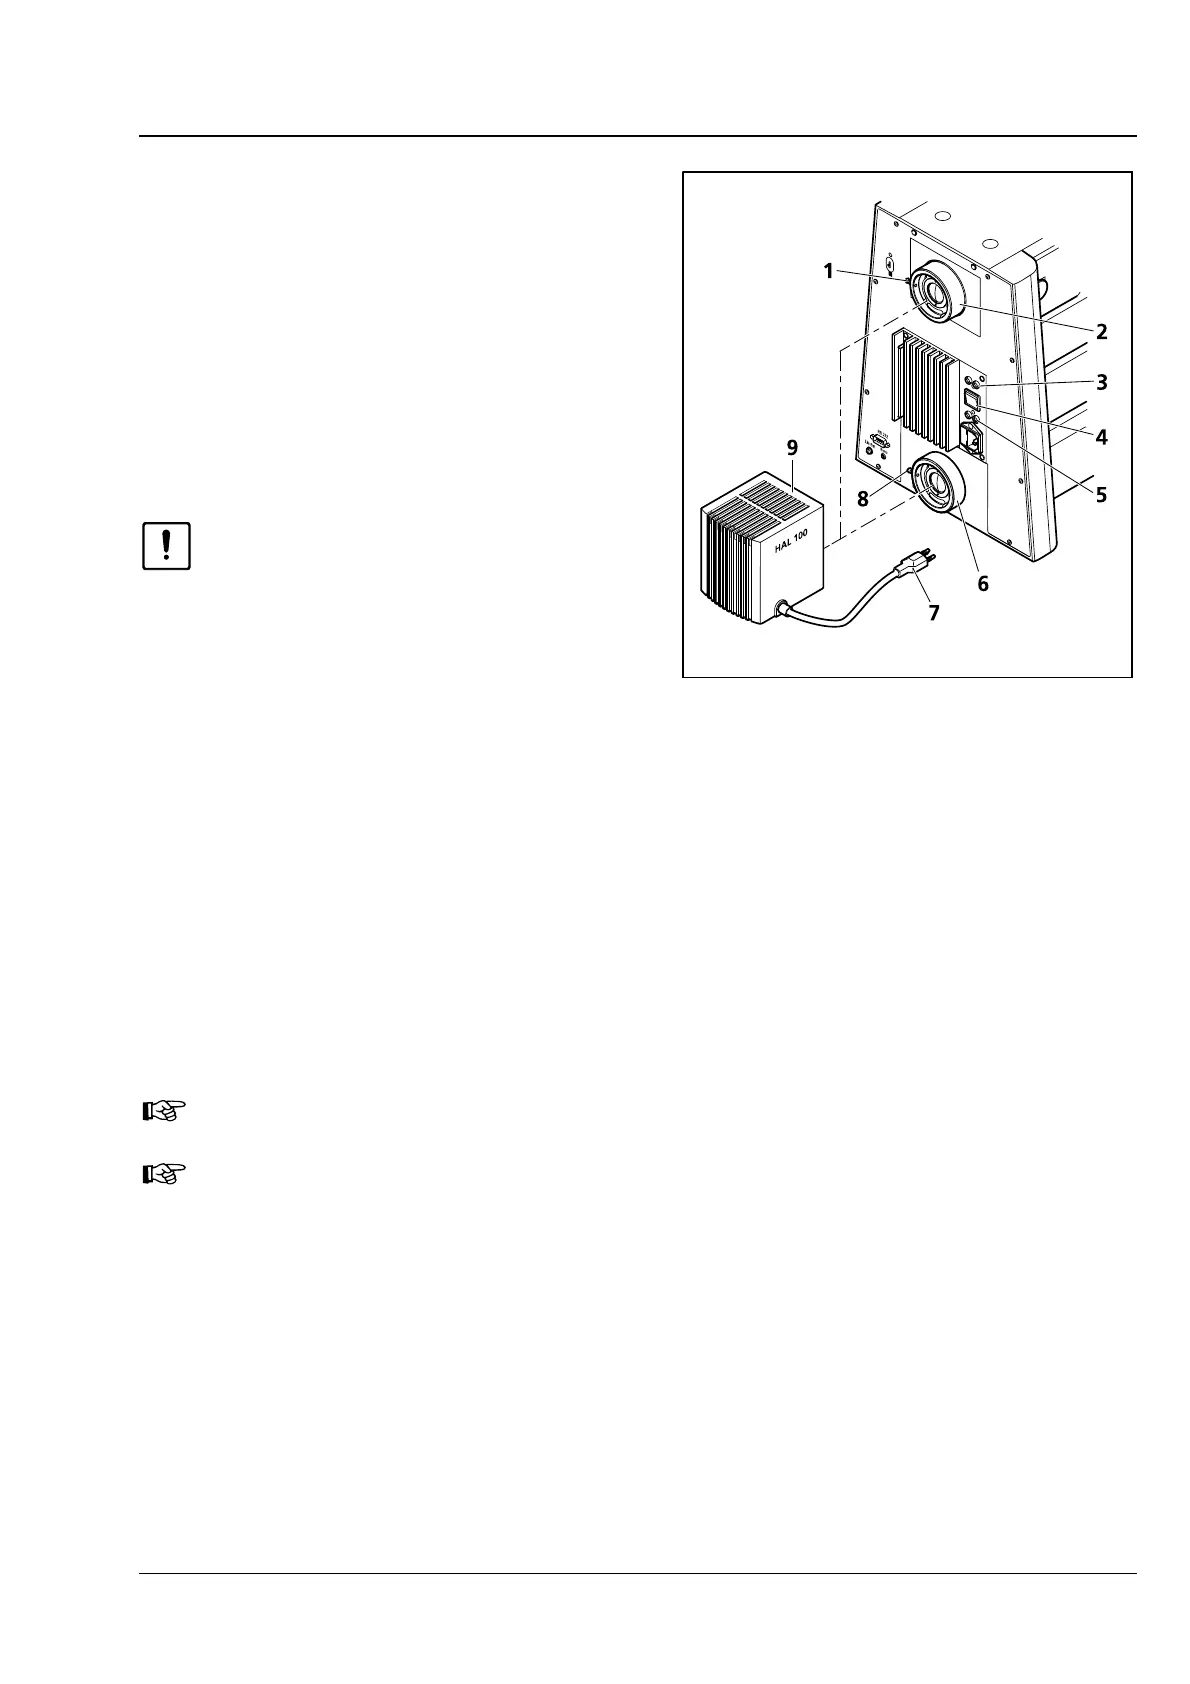
• Insert the dovetail mount of the lamp housing
(
3-35/9) into the corresponding socket (3-35/2
or
3-35/6) and, using the SW 3 ball-headed
screwdriver, tighten it with clamping screw
(
3-35/1 or 3-35/8).
• Insert 3-pole lamp plug (3-35/7) into 3-pole 12 V/100 W connector (3-35/3 – for reflected light or
3-35/5 - for transmitted light) on the back of the instrument.
• Switch the toggle switch for transmitted/ reflected light (3-35/4) to the required position. When it
comes to the motorized stand, switching between reflected light and transmitted light is done via the
TFT display touch screen.
The halogen illuminators installed for reflected light and transmitted light can only be switched
on alternately.
The light manager functionality depends on the position of the toggle switch.
Fig. 3-35 Attaching the HAL 100 halogen
illuminator