Inter
nal
calibration with
the
internal He
calibrated
leak
The
internal calibration can be:
•
fully automatic:
The
internal calibration is automaticaly activated during the start-up
process
of the leak detector. It does not require any operator action.
The
initial calibration during the
start-up sequence
allows the unit to
be immediately operationnal.
•
on operator request:
An internal calibration can be
started
by the operator whenever the
leak
detector
is not in
test
mode.
If the
detector
has been calibrated with an external calibrated leak,
the operator should store the
values
of the internal calibrated leak
B
320.
Tickets
If a printer is
connected
to the leak detector, a ticket is automatically
printed at the end of the calibration: example
2
B
320.
Automatic internal
calibration procedure
Note: Internal auto-calibration
set
ON,
C
302.
•
Start the leak detector
Different
screens
appear during the calibration giving internal
parameters
values.
Audio
messages
inform the operator about internal calibration process
during this one.
When calibration is
complete,
the
unit is ready to start a cycle.
The
digital voice gives to the
operator the message
“D
etector ready for cycle”.
Note:
•
It is possible to start a
test
cycle
after a calibration failure: The
operator should confirm the
use
of
a
uncalibrated leak detector.
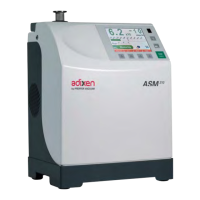
STDBY
•
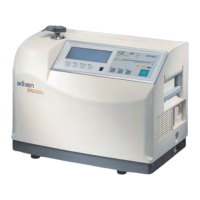
The test
is still possible but
“
AL
“
is displayed
permanently
(no value displayed).
The
bargraph is always available for the leak
value reading.
LEAK
RA
TE
COR
•
Until the autocalibration failure is
resolved, the
“!“
is maintained on the
standby
screen.