50 Rockwell Automation Publication 1441-UM001B-EN-P - September 2012
Chapter 2 Configuring the Dynamic 2500 Data Collector
Set the Date, Time and Date Format
The Dynamix 2500 data collector keeps the current date format, date, and time
even when the instrument is powered off. However, there may be times when you
need to change these settings. For example, after restarting or resetting the
Dynamix 2500 data collector, the date and time get set to 00:00:00.
Follow these steps to set the date, time, and select a date format.
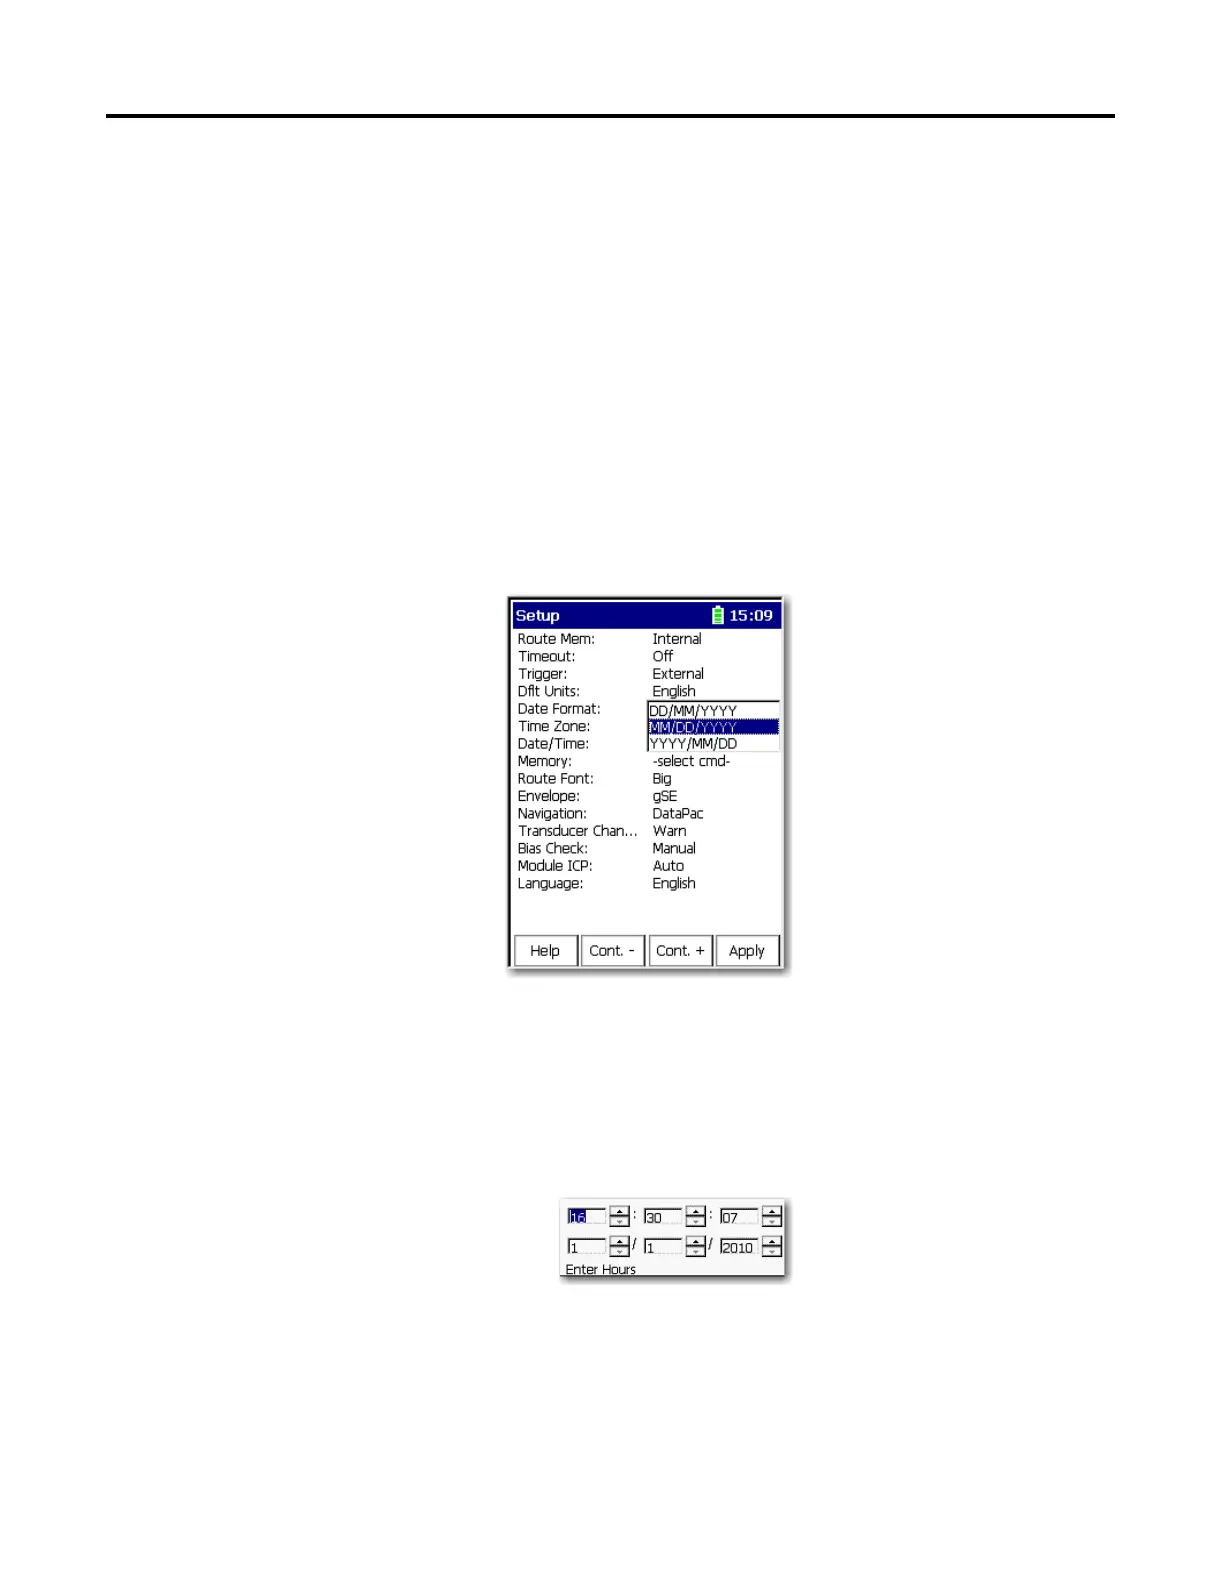
1. Select Setup Utility from the Main Menu and press Enter.
The Setup screen appears.
2. To change the format of the date, highlight Date Format and press the
Right arrow key to display the format choices.
3. Select the appropriate format and press the Left arrow key to save your
choice.
4. To change the date and time, highlight Date/Time and press the Right
arrow key to open the date and time window.
5. Enter the current time and date.
6. When you get to the Year field, press the Right arrow key to save your
entry.
7. When you are finished, press Enter to return to the Main Menu.
On powering on the Dynamix 2500 data collector for the first
time or after a restart or hardware reset, the Setup screen
automatically appears.
 Loading...