IV-37
Head-end positioning operation
CAUTION
O The rear vise may repeat its forward and
backward motions several times until it
positions the work for the preset cutoff
length.
Perform the head-end positioning operation as described below.
1 Press and hold the REAR VISE BACKWARD button to move the
rear vise backward.
2 Press and hold the REAR VISE OPEN button to open the rear vise
over the full stroke.
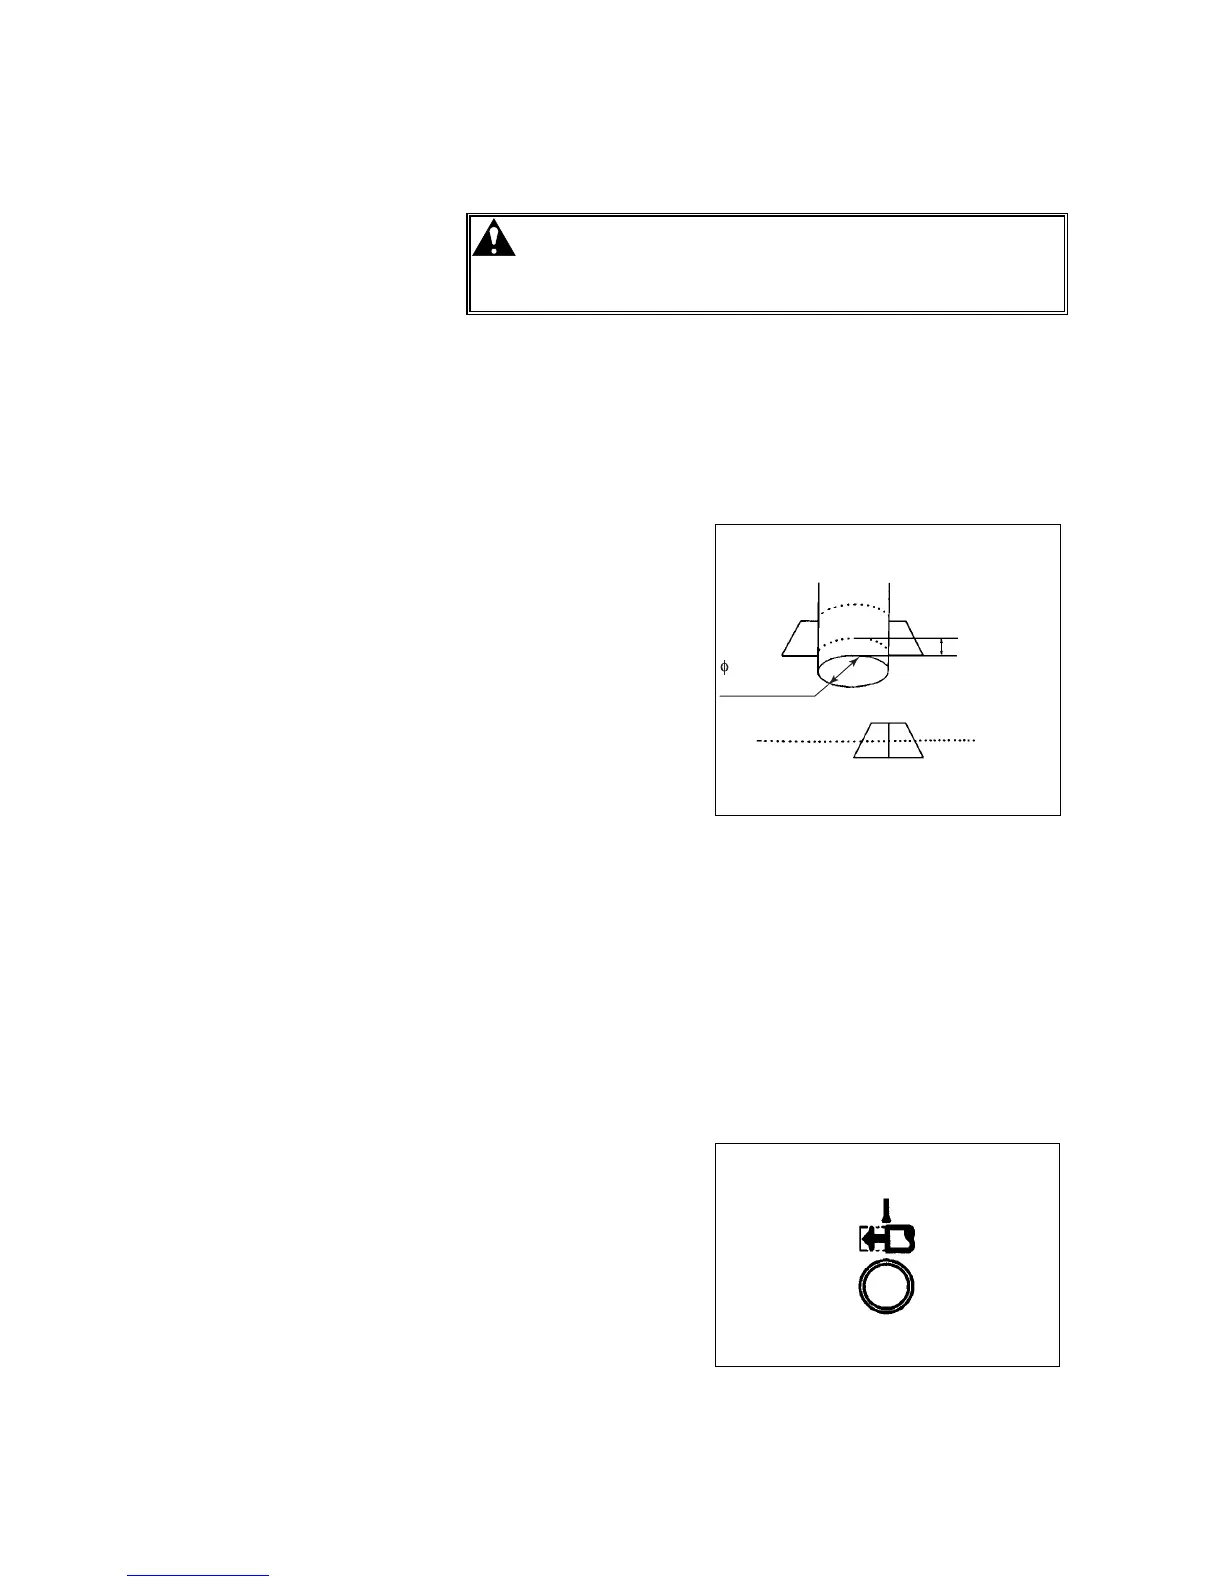
3 Place the work on the
rear vise bed so that
its head end projects
20 mm {0.8 in.} or
more from the front
end of the rear vise
toward the front vise.
4 Press and hold the
REAR VISE CLOSE
button to clamp the
work with the rear
vise.
20 mm {0.8 in.}
OR MORE
20 mm {0.8 in.}
OR MORE
5 Press and hold the FRONT VISE CLOSE button to close the front
vise.
6 Turn the AUTO/MANUAL switch to AUTO.
7 Check that:
• The work is clamped with the rear vise (the REAR VISE CLOSE
light is illuminated).
• The front vise is fully closed (the FRONT VISE CLOSE light is
illuminated).
• The rear vise is not at the forward limit (the REAR VISE
FORWARD LIMIT light is extinguished).
8 Press the HEAD-END
POSITIONING
button.
The button flashes,
and the sawhead
rises to the upper
limit. The rear vise
starts the head-end
positioning operation.