IV-19
SEMIAUTOMATIC POSITIONING
Semiautomatically position the loaded work as described below.
NOTE
O Before semiautomatically positioning the work, be sure to check that the head
end of the work is positioned just below the saw blade.
1 Press and hold the BLADE UP button to raise the sawhead until
the saw blade is a minimum of 10 mm {0.4 in.} apart from the work.
2 Press and hold the
FRONT VISE CLOSE
button to clamp the
work with the front
vise.
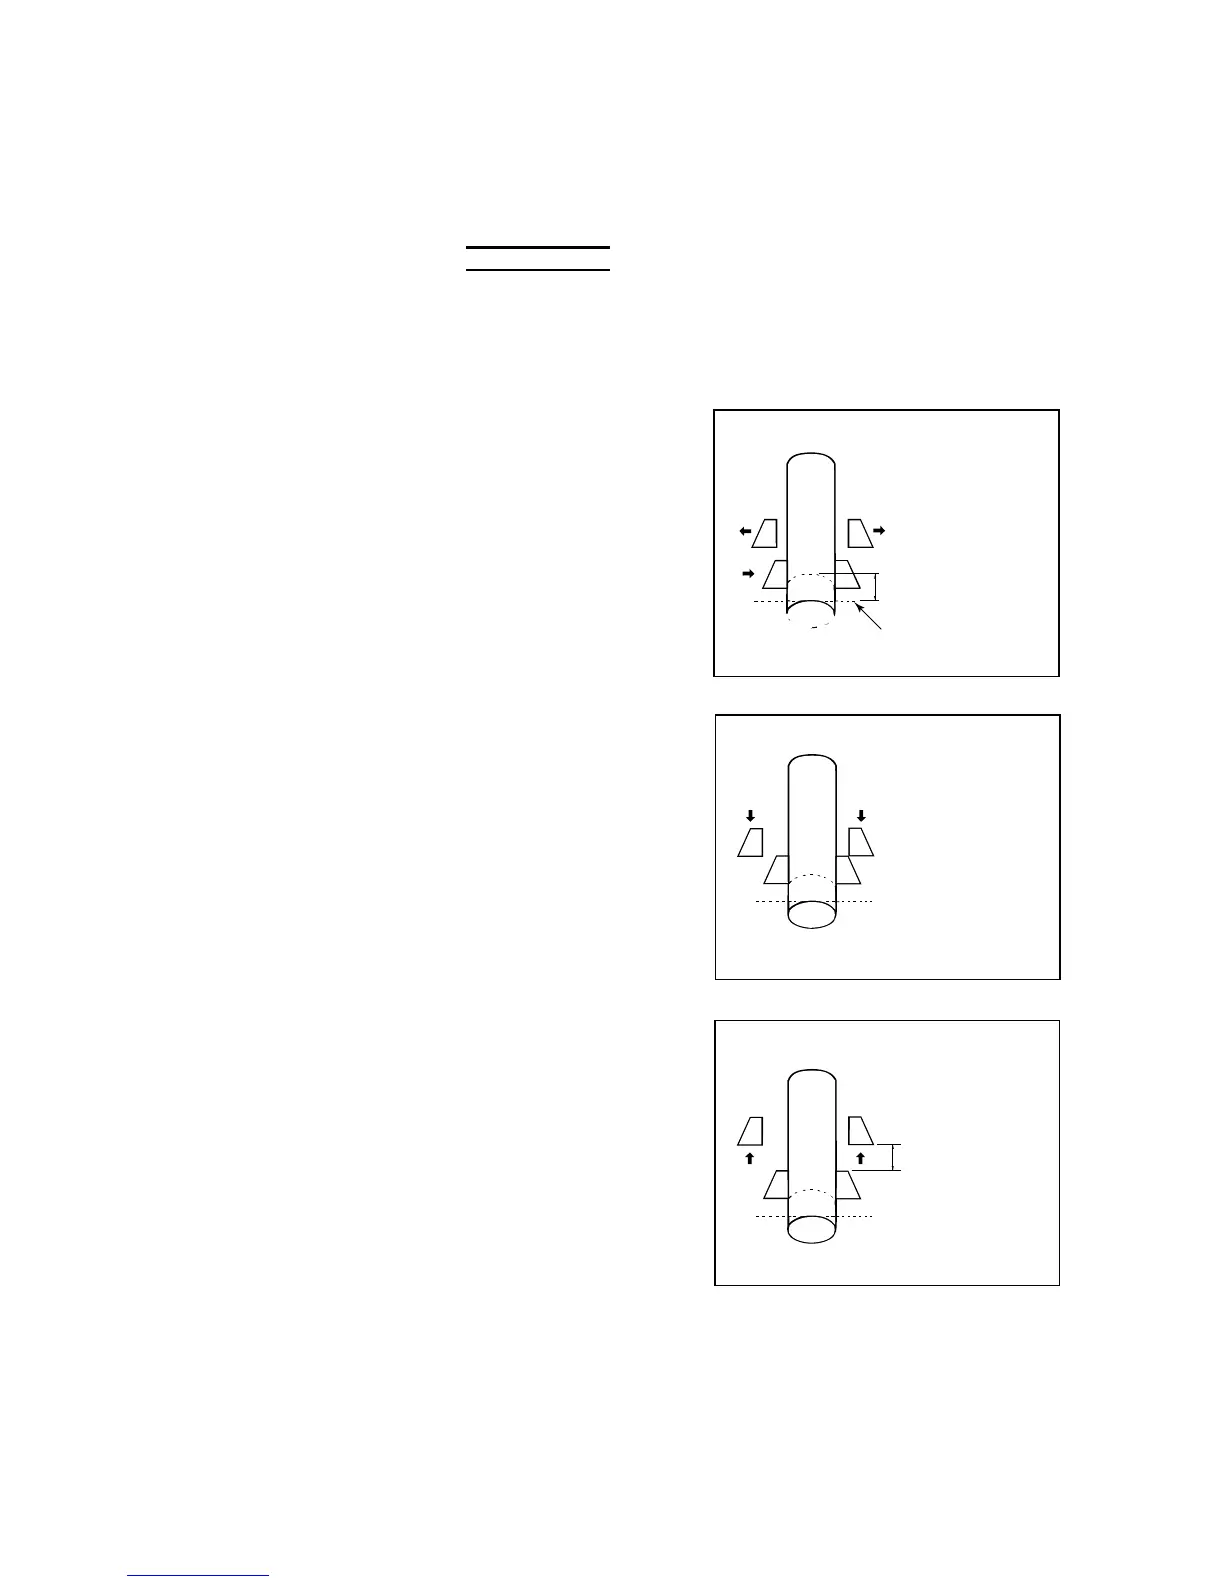
3 Press and hold the
REAR VISE OPEN
button to open the
rear vise.
HEAD END
CUTOFF LENGTH
SAW BLADE
RUNNING LINE
4 Press and hold the
REAR VISE
FORWARD button to
move the rear vise
forward until the
REAR VISE
FORWARD LIMIT
light illuminates.
5 Turn the
AUTO/MANUAL
switch to AUTO.
FORWARD
LIMIT
6 Press the REAR VISE
BACKWARD button.
(The button need not
be held.)
The rear vise moves
backward over the
preset cutoff length
and stops. The
REAR VISE
POSITIONED light
illuminates to indicate
that the rear vise has
moved backward and
completed the
semiautomatic
positioning operation.
CUTOFF LENGTH
To stop the semiautomatic positioning operation while the rear vise
is moving backward, press the BLADE UP button.