Ports Setup screenPorts Setup screen
Test Setup screenTest Setup screen
the workspace navigation button in the bottom center of the screen.
In the workspace, touch the application in the left side of status bar.
From the Power Button menu.
The running applications appear in the Applications Switcher. Touching the
button switches the application on the screen.
44..11..33..33 Operating the ApplicationOperating the Application
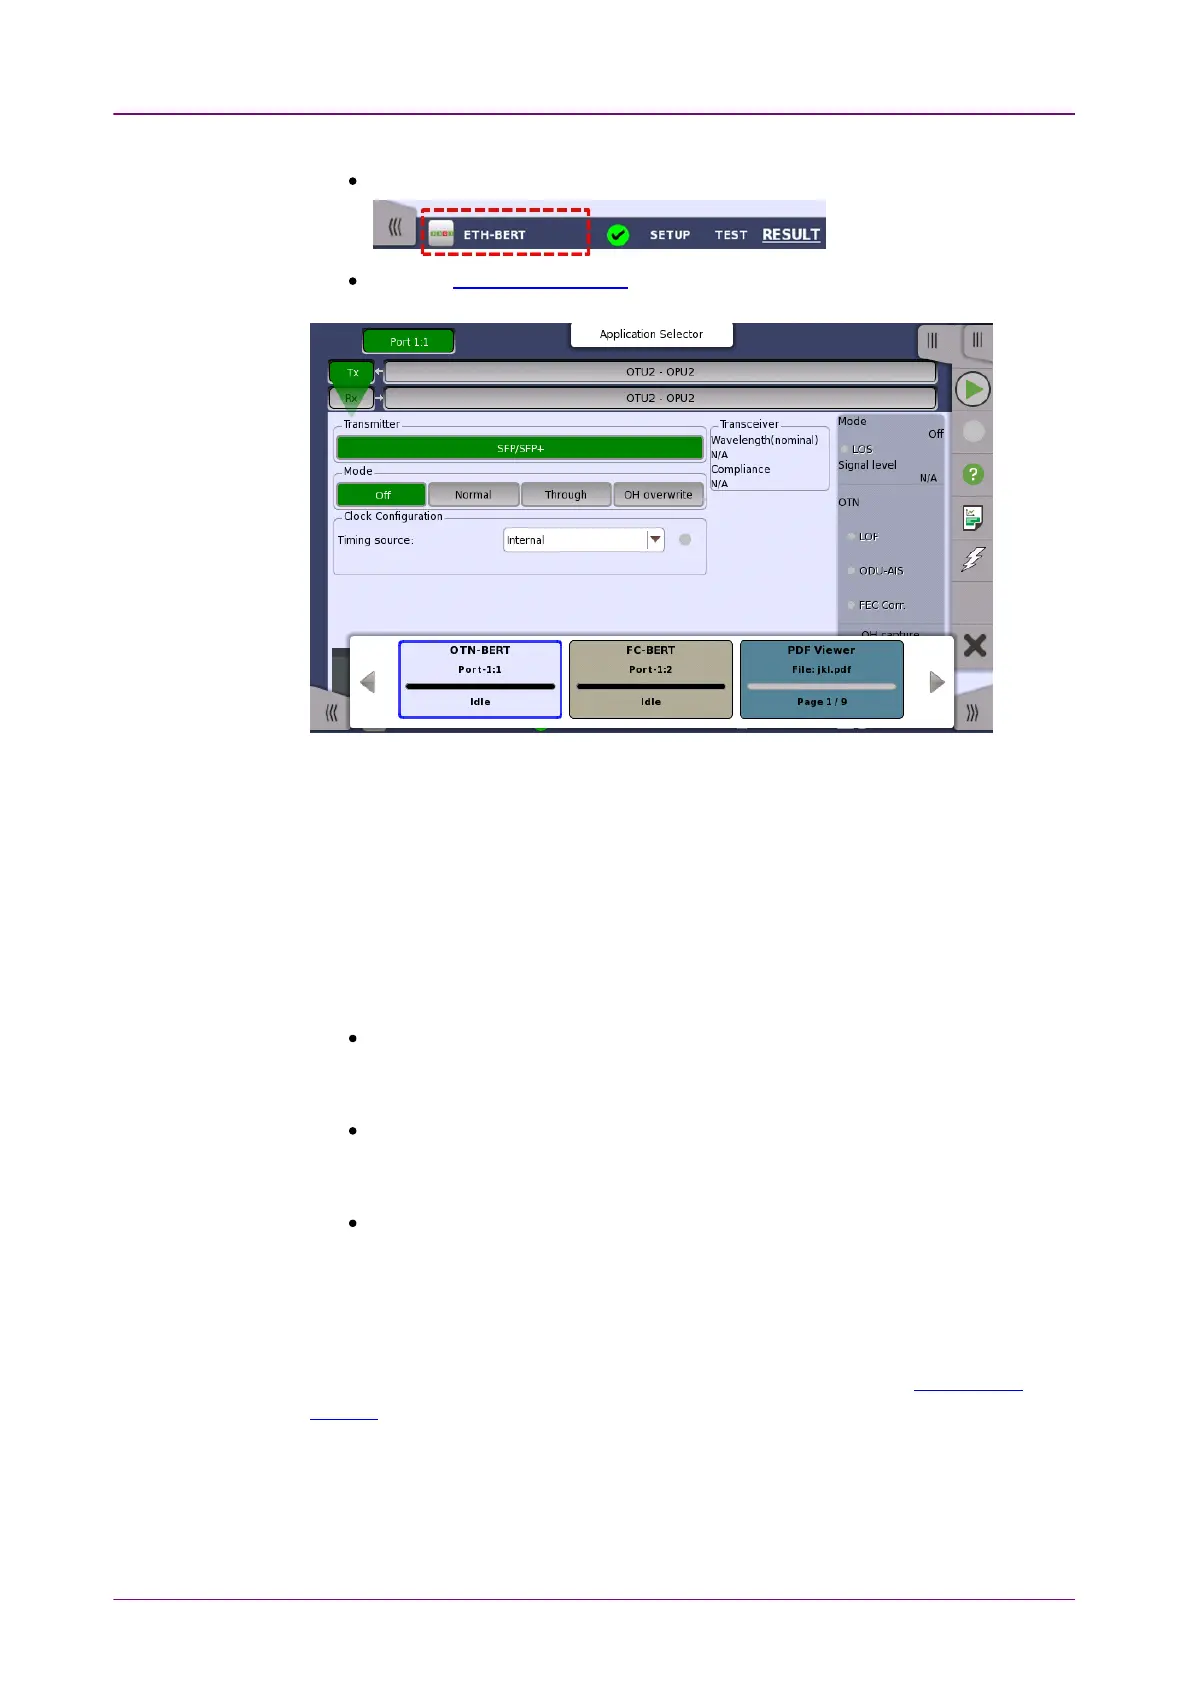
The Ports SetupPorts Setup screen is the first screen in the workspace. It may contain one
or more setup pages, with a row of buttons at the top of the screen allowing
you to switch between the pages and between ports.
It consists of several "areas":
The
navigation area
at the top of the screen contains a number of buttons
representing a structure for the current interface, which allows you to select a
specific port, transmitter/receiver and layer.
The
setup area
(the main area of the screen) is where the parameters for
setting up the interface are displayed. The contents of the area changes
depending on what is currently selected in the navigation area.
The
status area
(to the right of the setup area) shows status information for the
currently selected port and layer. You can access more detailed status
information from here by touching the area and icons.
It may contain one or more setup pages, with a row of navigation buttons at the
top of the screen allowing you to switch between the pages and between ports.
In addition, the Ports SetupPorts Setup screen also contains the expandable Application
toolbar and the navigation tabs for horizontal and vertical navigation.
The Test SetupTest Setup screen is the second screen in the workspace. It may contain
one or more setup pages, with a row of navigation buttons at the top of the
screen allowing you to switch between the pages and between ports.