A7 Plus – OPERATOR'S MANUAL
Error messages on console display.
If system detects a malfunction, an error message will be displayed (see
paragraph 10).
In case of irregular interruption of the disinfection cycle,
the equipment will stay in lockout condition until the
disinfection cycle is run again or a flushing cycle is carried
out.
7.5. AUTOMATIC INSTRUMENT FLUSHING CYCLE
Description of the system.
The automatic FLUSHING cycle allows to carry out an automatic flushing
cycle to renew water present in the water ducts of the instruments on the
dentist’s and the assistant’s boards and the water-to-cup duct..
Flushing can be carried out with mains water, with treated water (if
W.H.E. system is installed) or with distilled water (if the S.H.S. system is
installed)
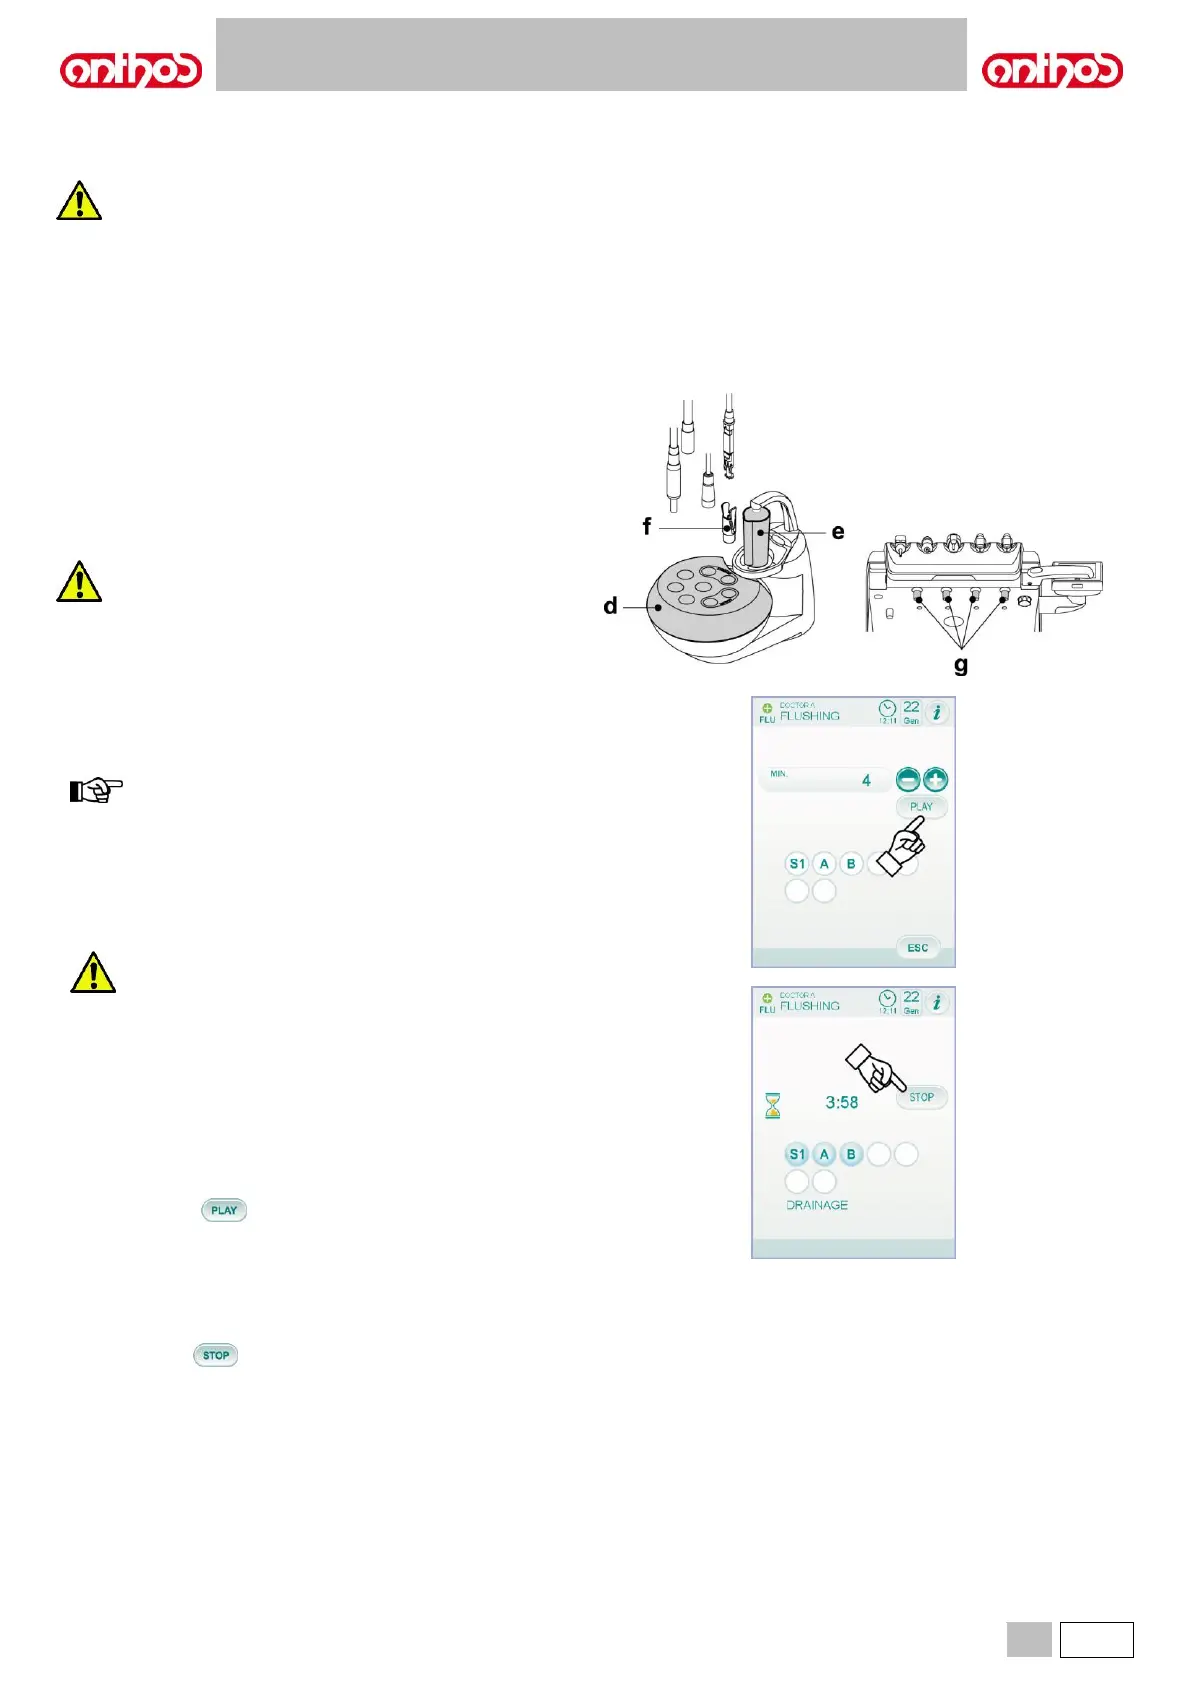
The cycle duration time can be set from 1 to 5 minutes.
It is advisable to carry out a FLUSHING cycle at the
beginning of each work day and between two patients.
Setting the FLUSHING cycle.
• If the S.H.S. system is installed and you wish to carry out the flushing
cycle with distilled water, make sure that the relevant icon (A) is
displayed (see paragraph 7.2. ).
it is advisable to execute the flushing cycle with distilled water
tank completely full.
• Use the TOUCH DISPLAY to access the "FLUSHING cycle setting"
menu, and set cycle time (see paragraph 5.1.1.2.3.).
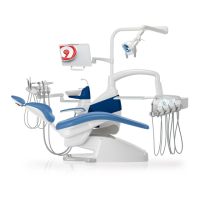
• Position the special container (d) for the instruments to be disinfected
on the bowl.
• Insert the cords of the instruments to be disinfected in the container.
For the syringe instrument you need to use the special
adapter (f) and the heating system must be off.
The micromotor cord must be fully inserted inside motor
body.
Turbine and scaler cords must be inserted without the
handpiece.
• Insert the special supplied container ( e ) under the cup spout.
• Make sure that spray cocks (g), positioned on board lower side, are
open.
Performing the FLUSHING cycle.
• Touch icon button on the TOUCH DISPLAY to start the flushing
cycle (see paragraph 5.1.1.2.2.).
• At the end of the flushing cycle ("Cycle end: put instruments back in
place" will appear on the display), simply put extracted instruments
back in place to go back to standard working conditions.
Stopping the FLUSHING cycle.
Touch icon button at any time to interrupt the flushing cycle and
go back to cycle setting starting menu.
Error messages on console display.
If system detects a malfunction, an error message will be displayed (see
paragraph 10).