Media and Ink Cartridges
QL-E100 User Guide 26
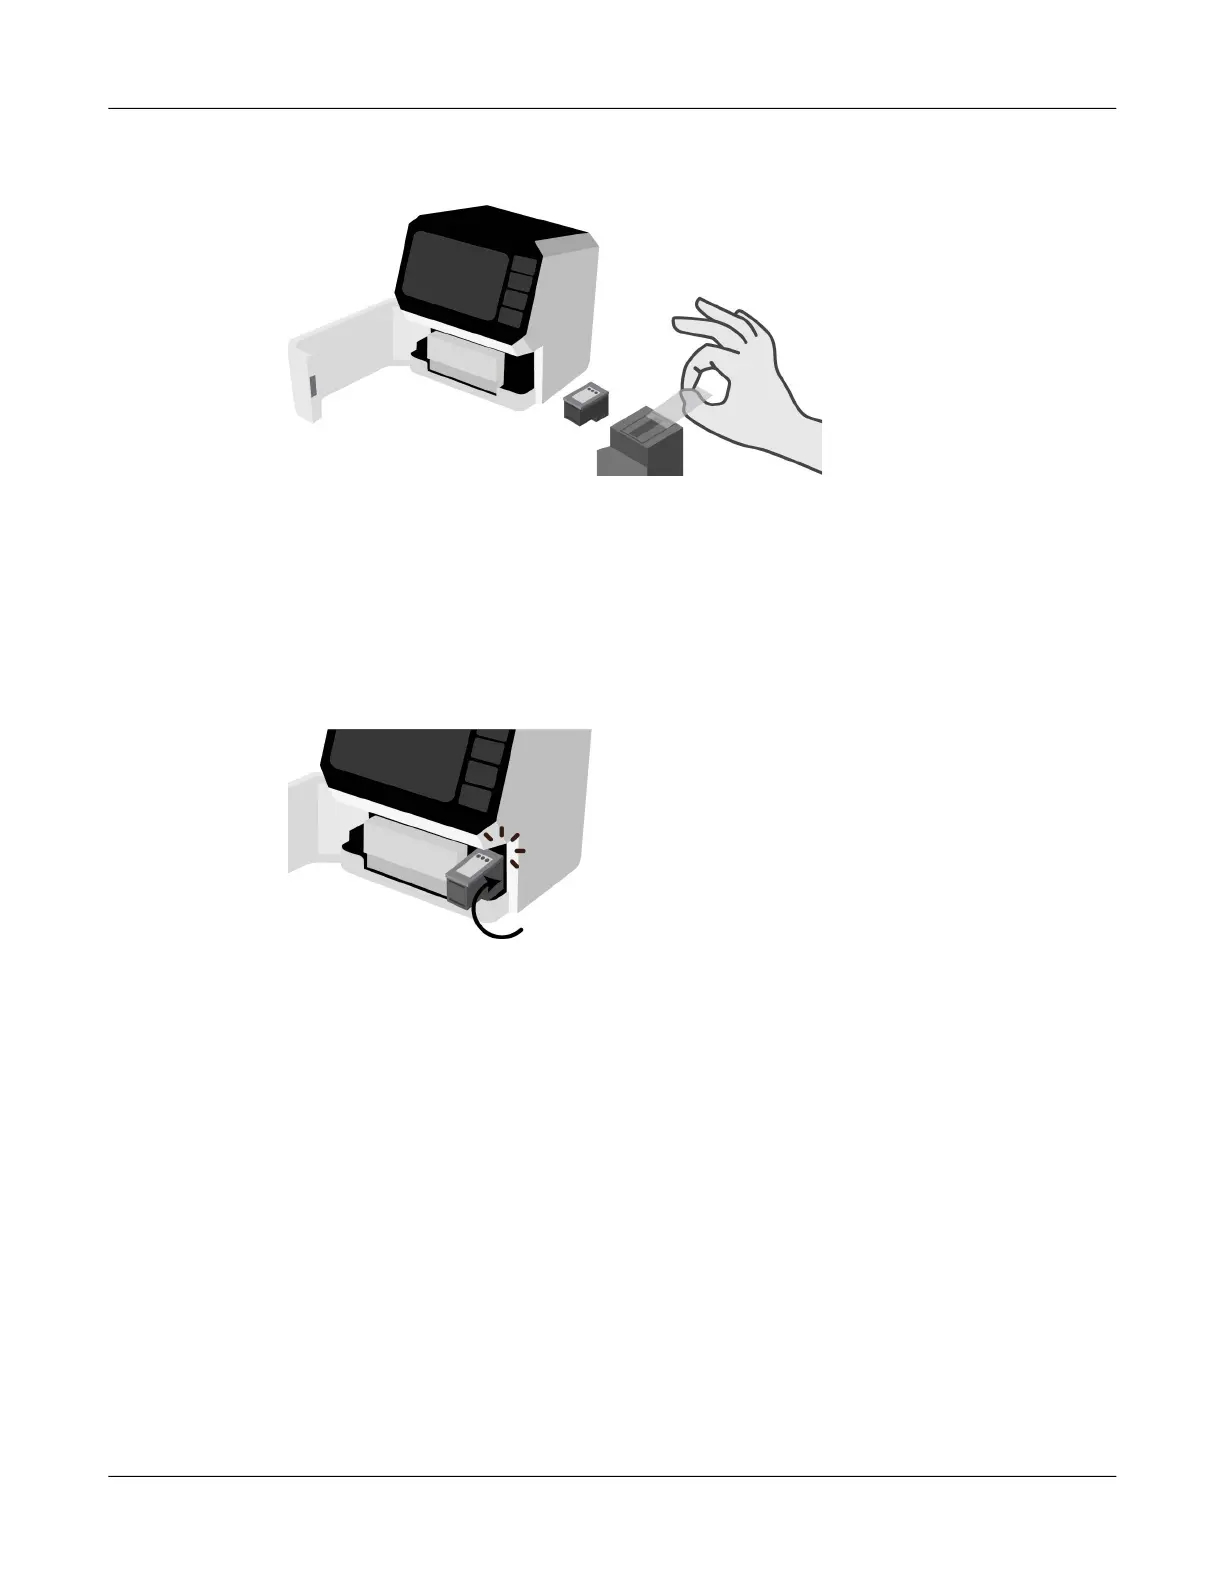
5. Remove the new ink cartridge from its packaging. Carefully remove the plastic tape covering
the ink nozzles.
Caution: Do not touch the ink cartridge ink nozzles or copper contacts. Touching these parts
will result in clogs, ink failure, and bad electrical connections. Do not remove the copper strips.
They are required electrical contacts.
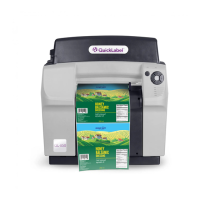
6. Hold the ink cartridge so that the copper strip is on the bottom and facing the printer. Slide the
ink cartridge into the cradle as shown.
Tilt the end of the cartridge facing you downward as you insert it. When the cartridge has
reached the back of the cradle, tilt it back upward to its normal position until it clips into the
cradle.
Note: If the ink cartridge slides back toward you, it is not seated properly. Lift the ink cartridge
and press it into the cradle. When installed properly, the ink cartridge will be held in place and
it will not freely move in any direction.
7. Close the front lid. The maintenance tray under the ink cartridge will move forward.