Media and Ink Cartridges
QL-E100 User Guide 31
Replacing a Media Roll
Use the following instructions to remove a media roll or empty cardboard core. Then install a
replacement media roll and feed media into the printer.
If media runs out during a print job, the print job will resume after the replacement roll is installed.
Any remaining labels in the job will be printed.
1. Make sure that the printer is powered on. If the printer is off, press the power button for
two seconds and then release it. The power button will light green and you will hear the printer
initializing.
2. The next step will differ based on when you are replacing the media roll.
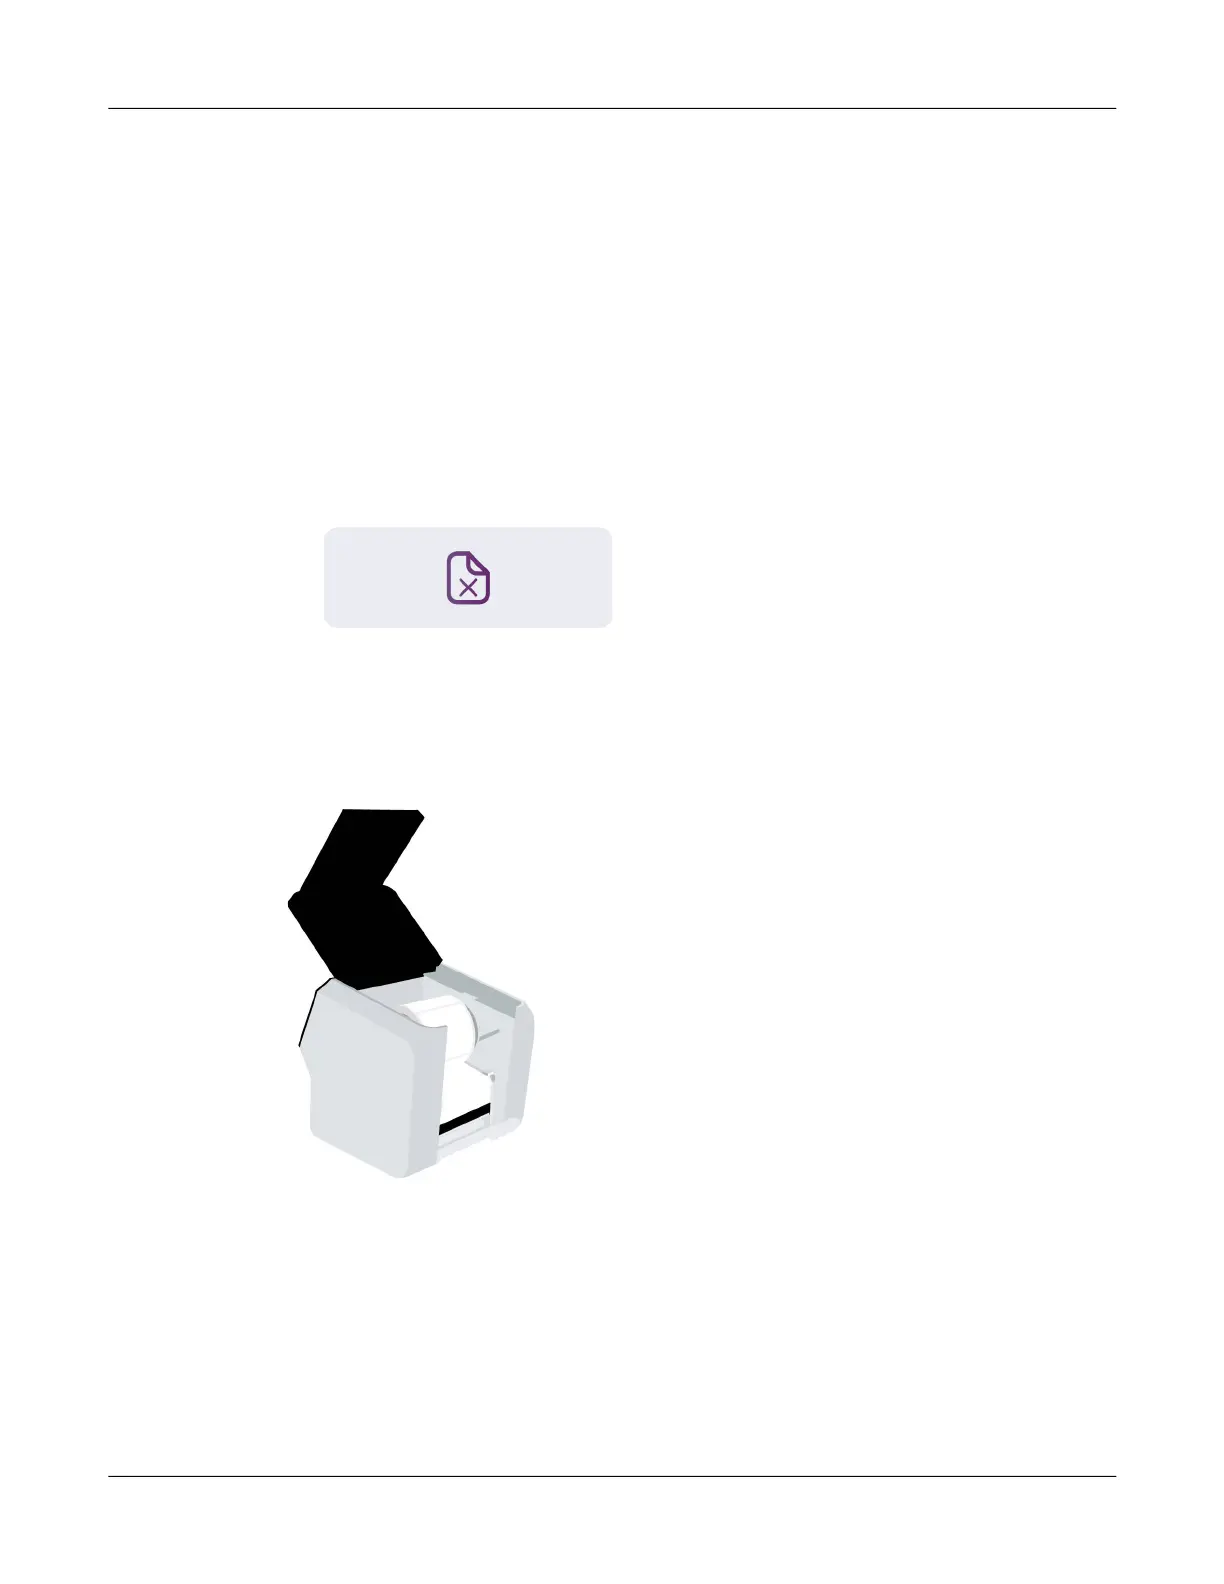
• Use the following instructions if you are not printing and the printer is in the Ready mode.
Tap the Unload Media icon or press the F3 key. The printer will feed any remaining media
backward out of the media entry slot.
• Use the following instructions if printing stops because the label roll is empty.
When the end of the label roll is reached, an error message will appear on the
touchscreen. The printed labels will be advanced and then paused. Gently pull the printed
labels forward out of the media exit slot.
3. Open the upper lid.
4. Lift the roll holder out of the printer.
5. Loosen the screw on the narrow flange until the flange moves freely on the spindle. Remove
the narrow flange. Remove the media roll or empty cardboard core from the roll holder.