Configure > Advanced > I/O connections > Monitor > General. Ensure that the default1
values are set:2
- Numbers of Monitors: Auto3
- Resolution HD1: Auto4
- Resolution HD2: Auto5
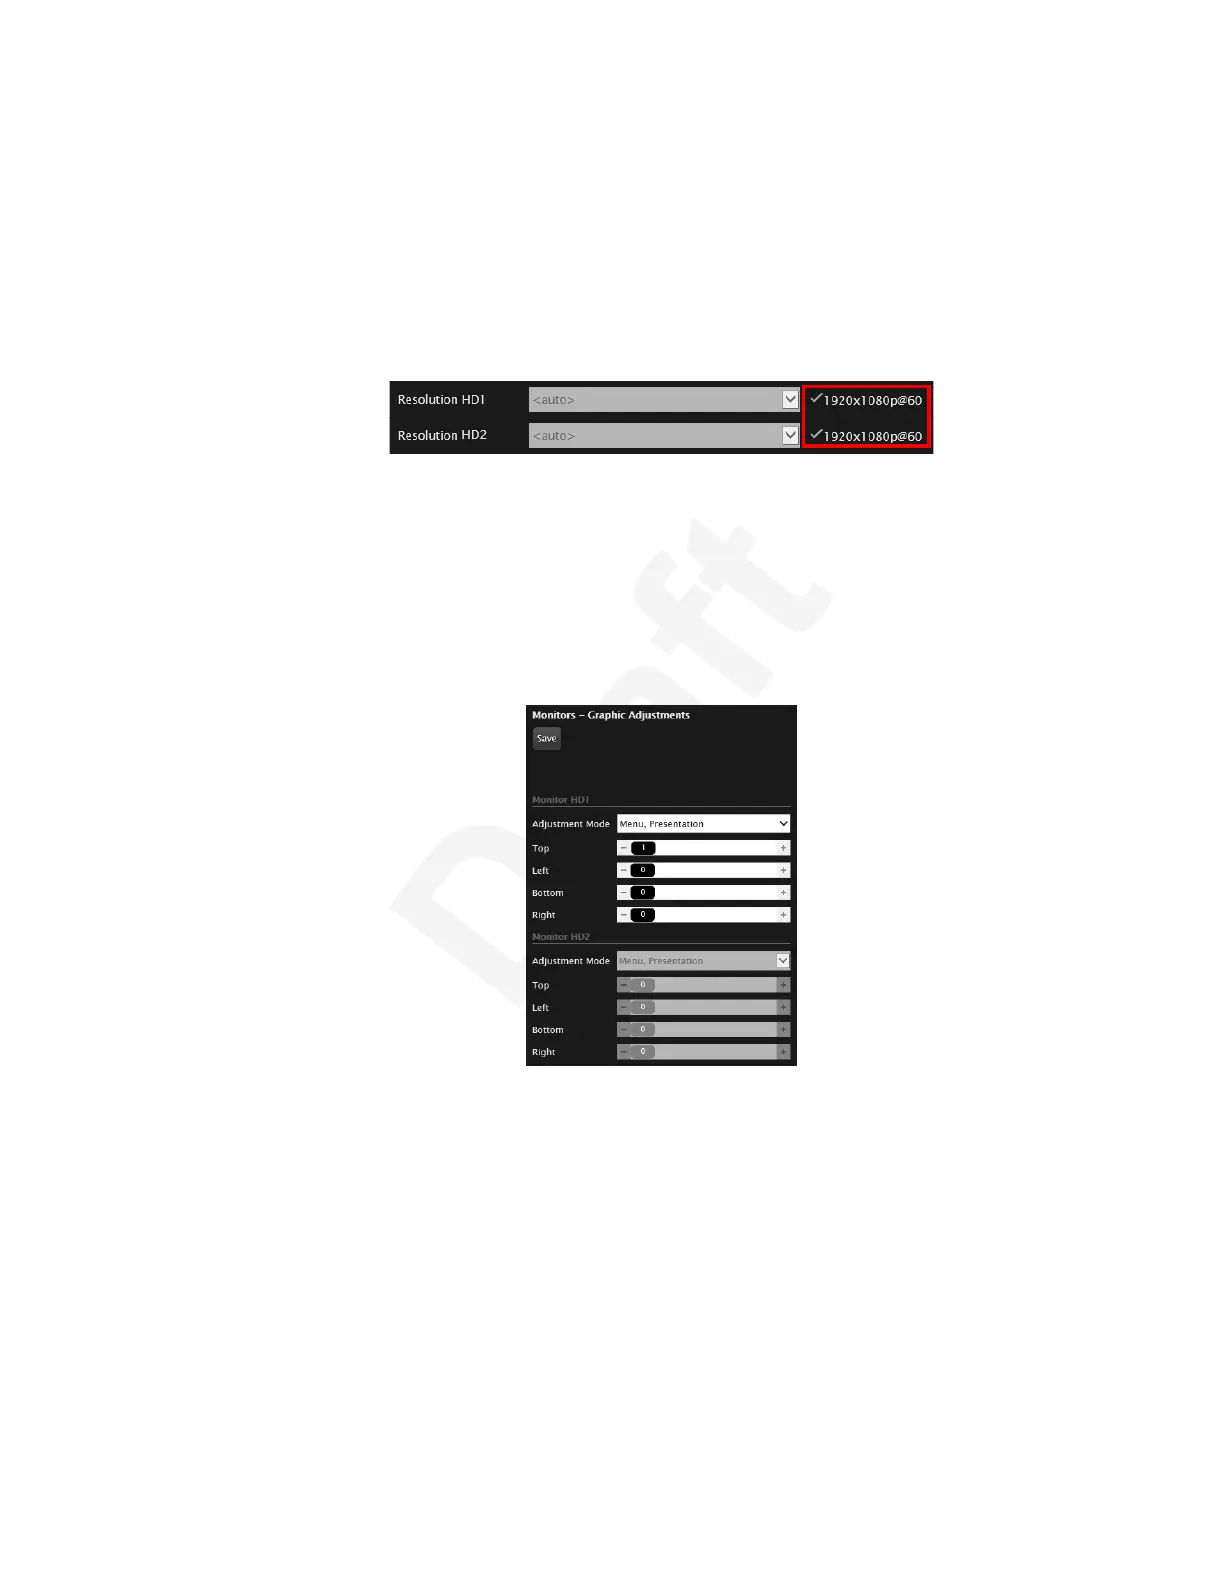
• In the General screen, check that the detected resolutions of both monitors are identical and6
corresponding to the expected ones.7
8
Figure 101: Detected Resolution9
• Access the monitor settings. From the XT Series web interface, select Administrator10
settings > I/O connections > Monitor > Graphic Adjustments. From the endpoint's main11
menu, select Configure > Advanced > I/O connections > Monitor > Graphic12
Adjustments. Ensure that the Adjustment Mode is set to Menu, Presentation and all other13
fields are either set to 0 or are set to identical values.14
This is not applicable if using a 4K monitor. It is supported only for HD1 on the XT700015
Series.16
17
Figure 102: Adjusting the monitor18
• Check the settings on the third party monitor. These settings vary depending on the monitor19
vendor and model. These are the most relevant things to check:20
- The monitor vendor and model should be identical.21
- The graphic settings, such as backlighting, contrast, sharpness, and color should be22
identical and ideally they should be the default values.23
- The movie or cinema mode should be used and not the gaming mode.24
- Cropping or resizing of the content on the monitors should be disabled.25
- Any dynamic gain or smart management of the image should be disabled.26
Troubleshooting the Avaya Scopia
®
XT Series
December 2017 Avaya Scopia
®
XT Series User Guide 120
Avaya - Proprietary. Use pursuant to the terms of your signed agreement or Avaya policy.
DRAFT—December 15, 2017—1:33 PM (UTC)
 Loading...


