indicate that the transfer is still in progress. If you shut down the XT Series or unplug the USB key1
while a file transfer is in progress, the transfer will be interrupted and you will need to restart it2
manually from the XT Series Web interface. A special icon over the file will show that the transfer3
failed.4
You can view recordings from the local USB storage device either on the XT Series or using any5
standard media player. The system saves the file as an MP4, and records the video in H.2646
format with audio in AAC-LC format. You can view recordings saved to the network via the Avaya7
Equinox Unified Portal (see Using Avaya Equinox Unified Portal).8
If using a USB device to record a videoconference hosted by your built-in MCU, up to six remote9
endpoints can join the meeting (if your license is MCU 9). If your license is MCU 4, up to three10
remote endpoints can join. If more remote endpoints already joined, you cannot start a recording.11
Important:
Any recordings you make are not authorized by the manufacturer and are made at the sole12
responsibility and liability of the user.13
Recorded videoconferences use one monitor only. During recording, the auxiliary monitor displays14
the same video layout as the primary monitor.15
Before you begin16
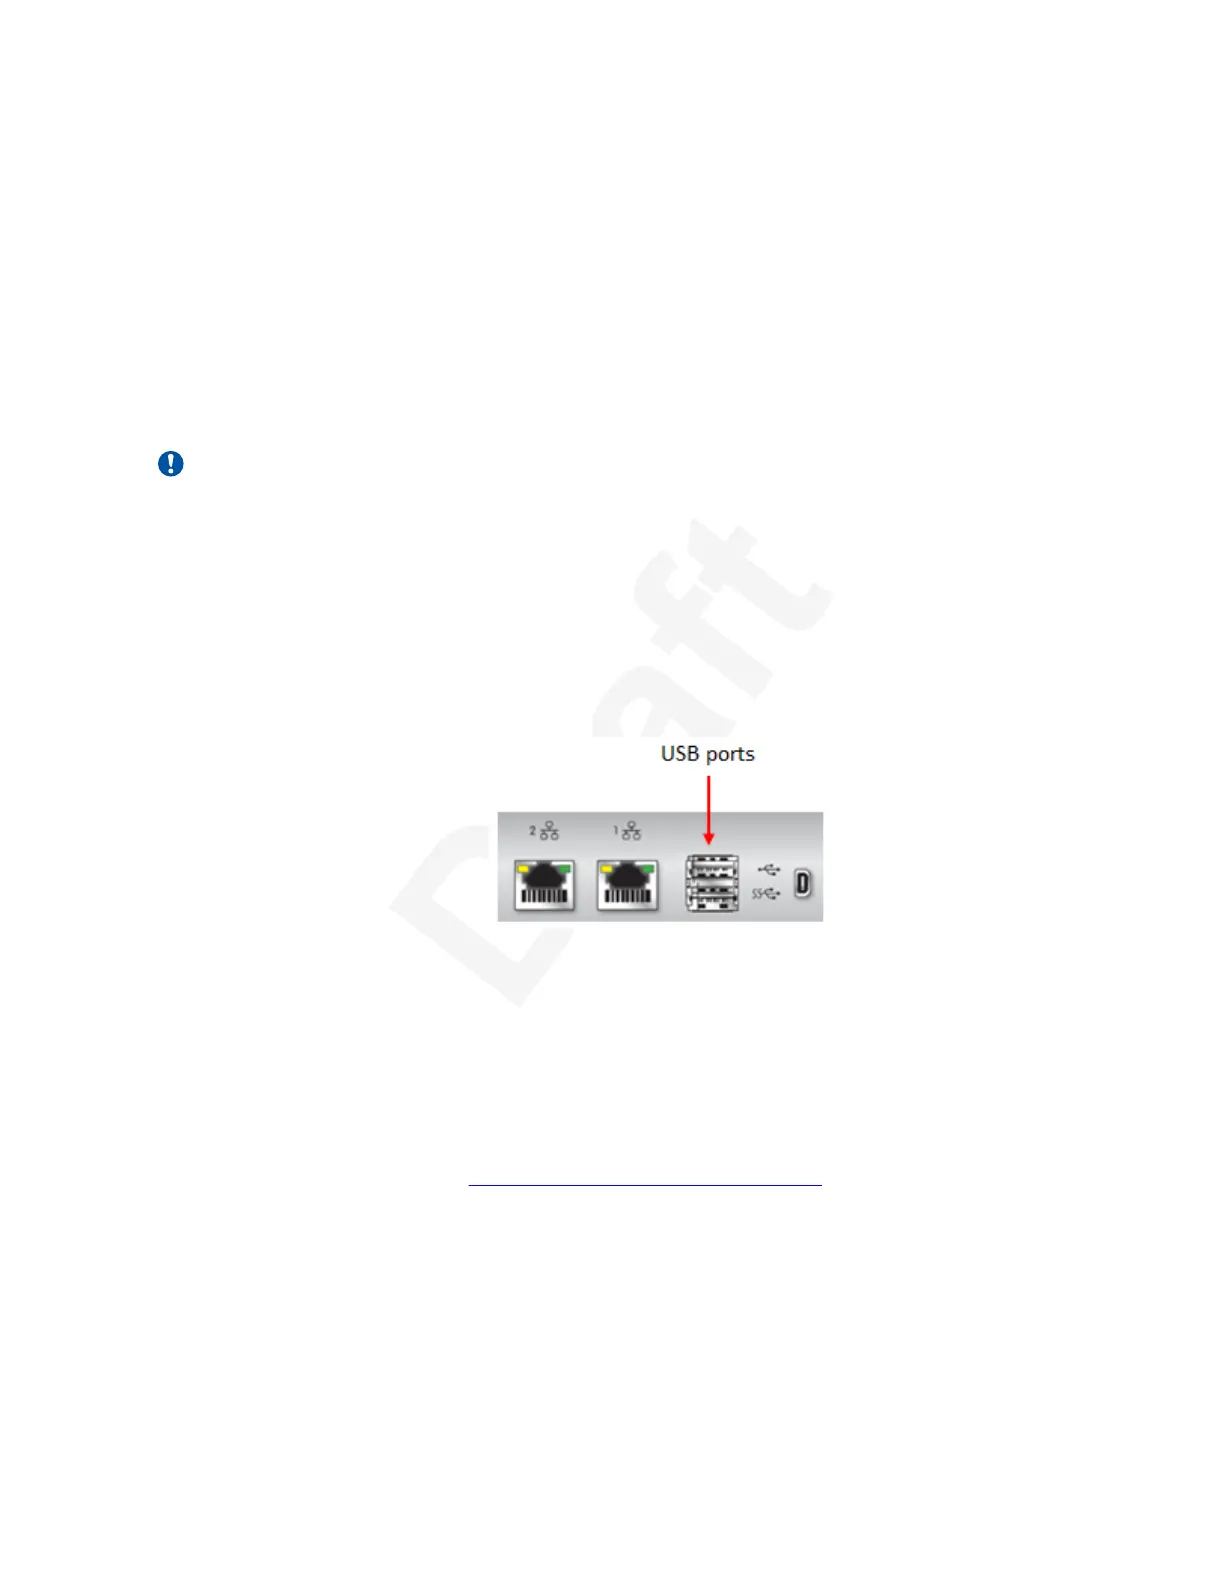
• To record to a local USB storage device, insert it in the lower USB port on the XT Series. Use17
a USB storage device formatted with FAT32, EXT2, EXT3, EXT4. Other formats, even if18
supported, are not recommended.19
20
Figure 84: Connecting a USB drive to the XT Series21
• To record directly to the network, your Equinox Solution must include a recording server, the22
XT Series must be managed by Equinox Management, and the meeting must be hosted by23
an external Scopia Elite MCU or the Equinox Conferencing Media Server (or an older model).24
The endpoint must be accessible remotely by Equinox Management with its address in the25
remote access settings (see Deployment Guide for Avaya Scopia
®
XT Series). For more26
information, contact your system administrator.27
• (Optional) Customize your recording settings for local USB recording, such as video28
resolution, as described in
Enabling and Configuring Recording on page 103. For example, to29
increase the recording time allowed, lower the recording bitrate.30
Procedure31
1. Access the Recording menu. From the XT Series web interface, select More Actions >32
Recording. From the endpoint's main menu, select Recording, or during a call, press ok/33
menu on the XT Remote Control Unit, and select Meeting Options > Recording.34
Recording Meetings
December 2017 Avaya Scopia
®
XT Series User Guide 95
Avaya - Proprietary. Use pursuant to the terms of your signed agreement or Avaya policy.
DRAFT—December 15, 2017—1:33 PM (UTC)