
C
Christopher HurleyAug 15, 2025
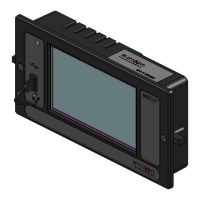
Why my Axion 40 Series EDSS does not turn on?
- SsuarezsarahAug 15, 2025
The EDSS might not be turning on due to several reasons: a disconnected or damaged power cable between the battery and EDSS (connect or repair the cable), low or no power supply voltage (check the battery or bus circuit breaker), a disconnected ignition power source (connect the power cable or repair the connector), or blown Front Sign Junction board fuses (replace the fuses).