3. Physical installation
3.5 Power loop through to the projector electronics
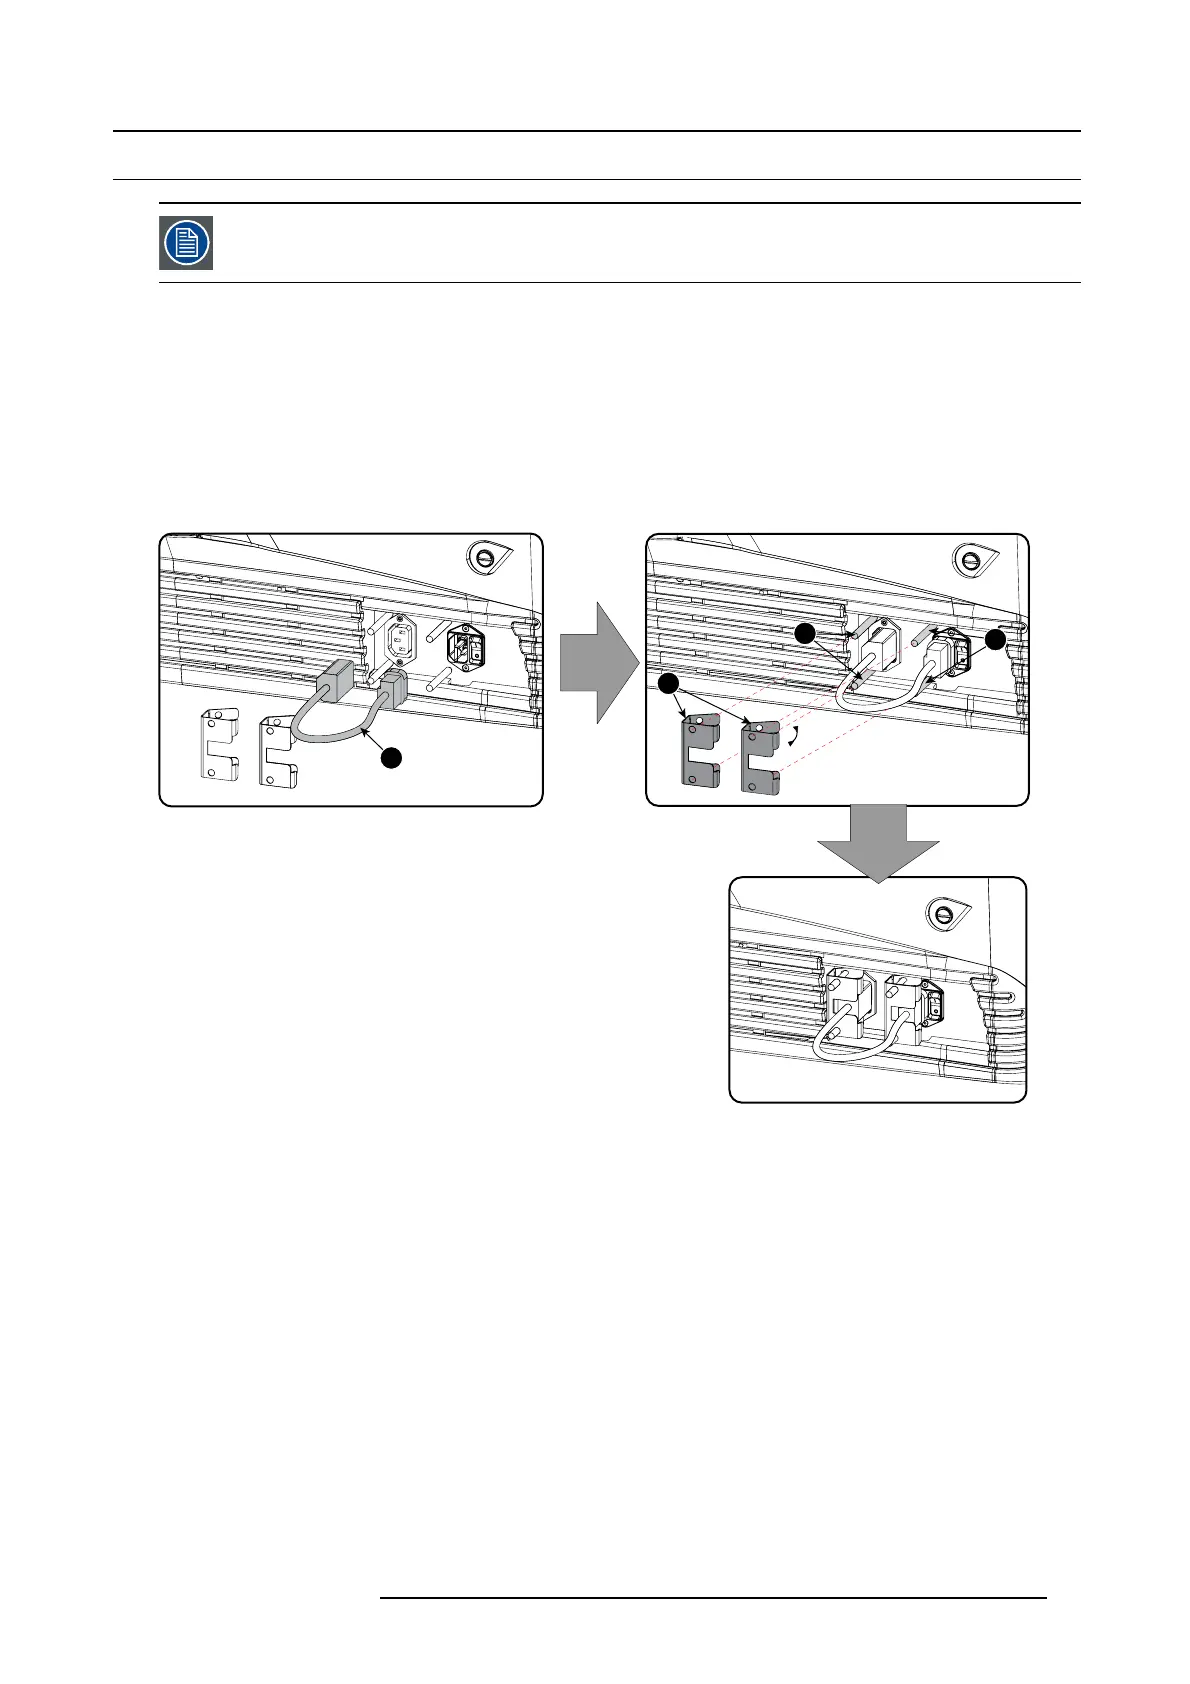
This procedure explains how to provide the projector electronics with power in case no UP S u nit is used.
Note that the projector is by default configured for use w ithout UPS . So, the short po w er link cab le is already
installed.
Necessary tools
No tools.
Necessary parts
Short power link c able with plug type C13/C 14
How to loop through the power
1. Plug in the short power cable (1) which w as delivered with the projector.
Warning: Always use the Barco short power cable which is d elivered with the projector.
1
2
3
3
Image 3-10
Power loop through connection
2. Secur e both plugs o f the s hort cable with
a fixation spring (2). Handle as follow:
- Squeeze the fixation spring together.
-Slidethefixa t io n spring on the fixation pins (3) while squeez ing together and push it against the power p lug.
- Release the fixation spring.
R59770495 DP2K-23B 30/04/2010
25

 Loading...


