7. Communicator Touch Panel
W
Image 7-6
Mount touch panel
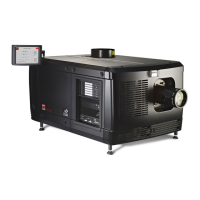
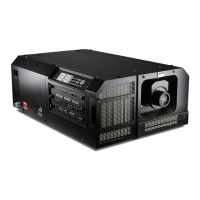
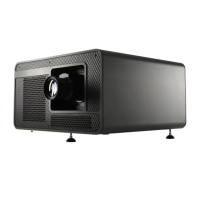
4. C onnect the circular plug of the multi c able with the circular s ocket at th e rear side of the DP2K -23B projector.
Image 7-7
5. Attach the multi cable to t he swivel arm using the two Velcro strips.
6. C onnect the DC plug, the RJ 45 E thernet plug and the D-SUB plug into their respective sock ets on the touch panel interface.
Image 7-8
Connections
R59770495 DP2K-23B 30/04/2010 71
 Loading...
