Setup Program
45
2019-02 EN 5020079.00A.04
> Touch the icon «Securing» to activate automatic securing for decorative stitches and combined stitches.
> Touch the icons «-» or «+» in the lower section of the display (2) to program the number of securing
stitches in close succession.
> Touch the icon «Securing» again to deactivate automatic securing for decorative stitches and combined
stitches.
> To secure the selected pattern at the end, touch the icon «Pattern end».
– The machine secures and stops at the end of the pattern.
> To deactivate securing at the end of the pattern, touch the icon «Pattern end» again.
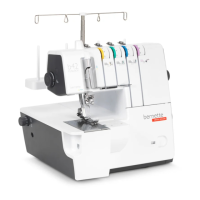
Programming the button «Thread cutter»
The automatic securing can be programed before the thread cut takes place.
> Touch the icon «Setup Program».
> Touch the icon «Sewing settings».
> Touch the icon «Program buttons and icons».
> Touch the icon «Program the button thread cutter».
> Touch the icon «Securing» to activate 4 securing stitches before cutting.
> Touch the icons «-» or «+» to program the number of securing stitches.
> Touch the icon «Securing» again to deactivate the automatic securing.
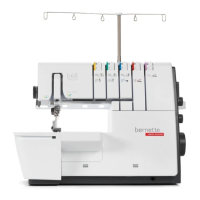
Adjusting the presser foot position with needle stop down
With lowered needle, the presser foot is raised to hovering position when the needle is programmed in the
down position.
> Touch the icon «Setup Program».
> Touch the icon «Sewing settings».
> Touch the icon «Program buttons and icons».Touch the switch again to deactivate the presser foot raised
to hovering position with needle stop down.
> Touch the icon «Adjust the presser foot position with needle stop down».
> Touch the switch to activate the presser foot raised to hovering position with needle stop down.
> Touch the switch again to deactivate the presser foot raised to hovering position with needle stop down.