17
8 - Front suspension / wheel Release 01 Date 09/2007
48
23
R
– Open the adjuster by completely unscrewing adjusting screw
R.
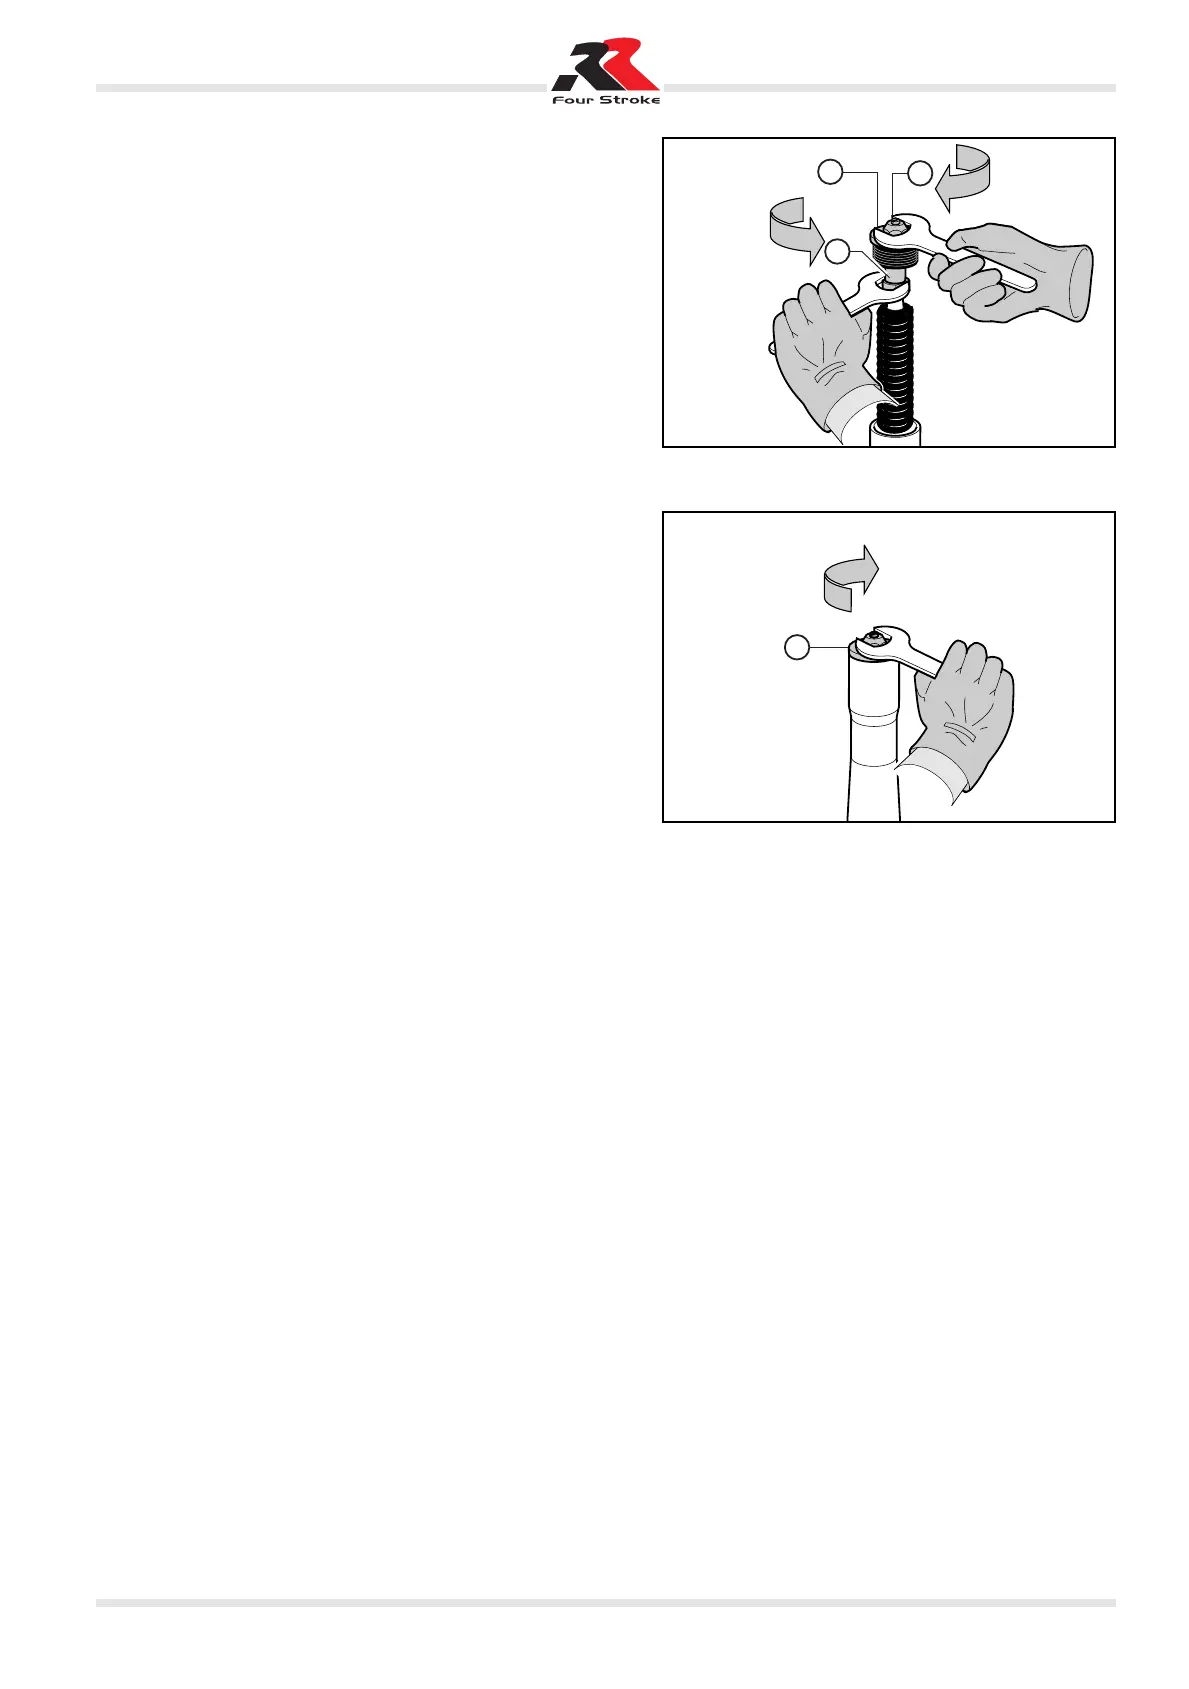
– Using two 19-mm spanners, tighten counternut 23 on plug 48
to the prescribed torque (see table in Chapter 3 Tightening
torques - Specifications - Recommended products).
– Push up the sheath along the fork leg.
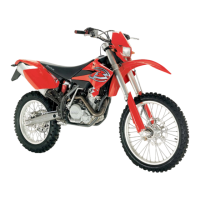
– Using the 19-mm spanner, screw plug 48 on the leg holder to
the prescribed torque (see table in Chapter 3 Tightening
torques - Specifications - Recommended products).
– Restore the proper adjustment by turning adjusting screw R
(see table in Chapter 3 Tightening torques - Specifications -
Recommended products).
48
Reinstalling the fork on the vehicle
Follow the reverse procedure to the removal, observing the
tightening torques specified in the table in Chapter 3 Tightening
torques - Specifications - Recommended products.
To ensure proper operation of the fork, fit the wheel on the fork
by following these steps:
– Insert the pin through the right-hand wheel holder, the wheel
and the left-hand wheel holder.
– Screw tight the pin nut on the left side.
– Push the fork legs completely and then release them a few
times.
– Tighten the two screws on the right-hand wheel holder in the
sequence 1-2-1.
08_Inghilterra_059311 27-12-2007 18:49 Pagina 17



 To Next Page