104
Manage Check-in also allows you to use Spy Mode on a station or
room, provided the privacy feature has not been activated and the
station device allows two-way transmission.
Stations that are not part of the check-in process would include sta-
tions assigned to hallway speakers or amplifiers or areas that were
scheduled to be vacant when the check-in procedure began. For
more information, see "Managing Exclusion and Vacancy Lists” on
page 108.
6.1.1 Starting Check-In
You can manually start the Check-In procedure from the dashboard.
Check-In can also be started via the Routines feature.
Check-In does not play any audio instruction announcements or send
any text instructions to web interface stations or GA10PV display sta-
tions. If you want audio instruction announcements or text instruc-
tions on web interface stations or GA10PV display stations, refer to
the Nyquist C4000 System Administrator Manual for instructions on
setting up a routine that includes audio instructions in an announce-
ment or text instructions to be sent to web interface dashboards and
GA10PV displays. The routine can be triggered by a Check-in Start, or
the Check-in can be started by the routine.
To manually start Check-In:
Step 1 If not already on your dashboard, select Dashboard
from the navigation bar.
Step 2 Under Calling/Paging, select Manage Check-In.
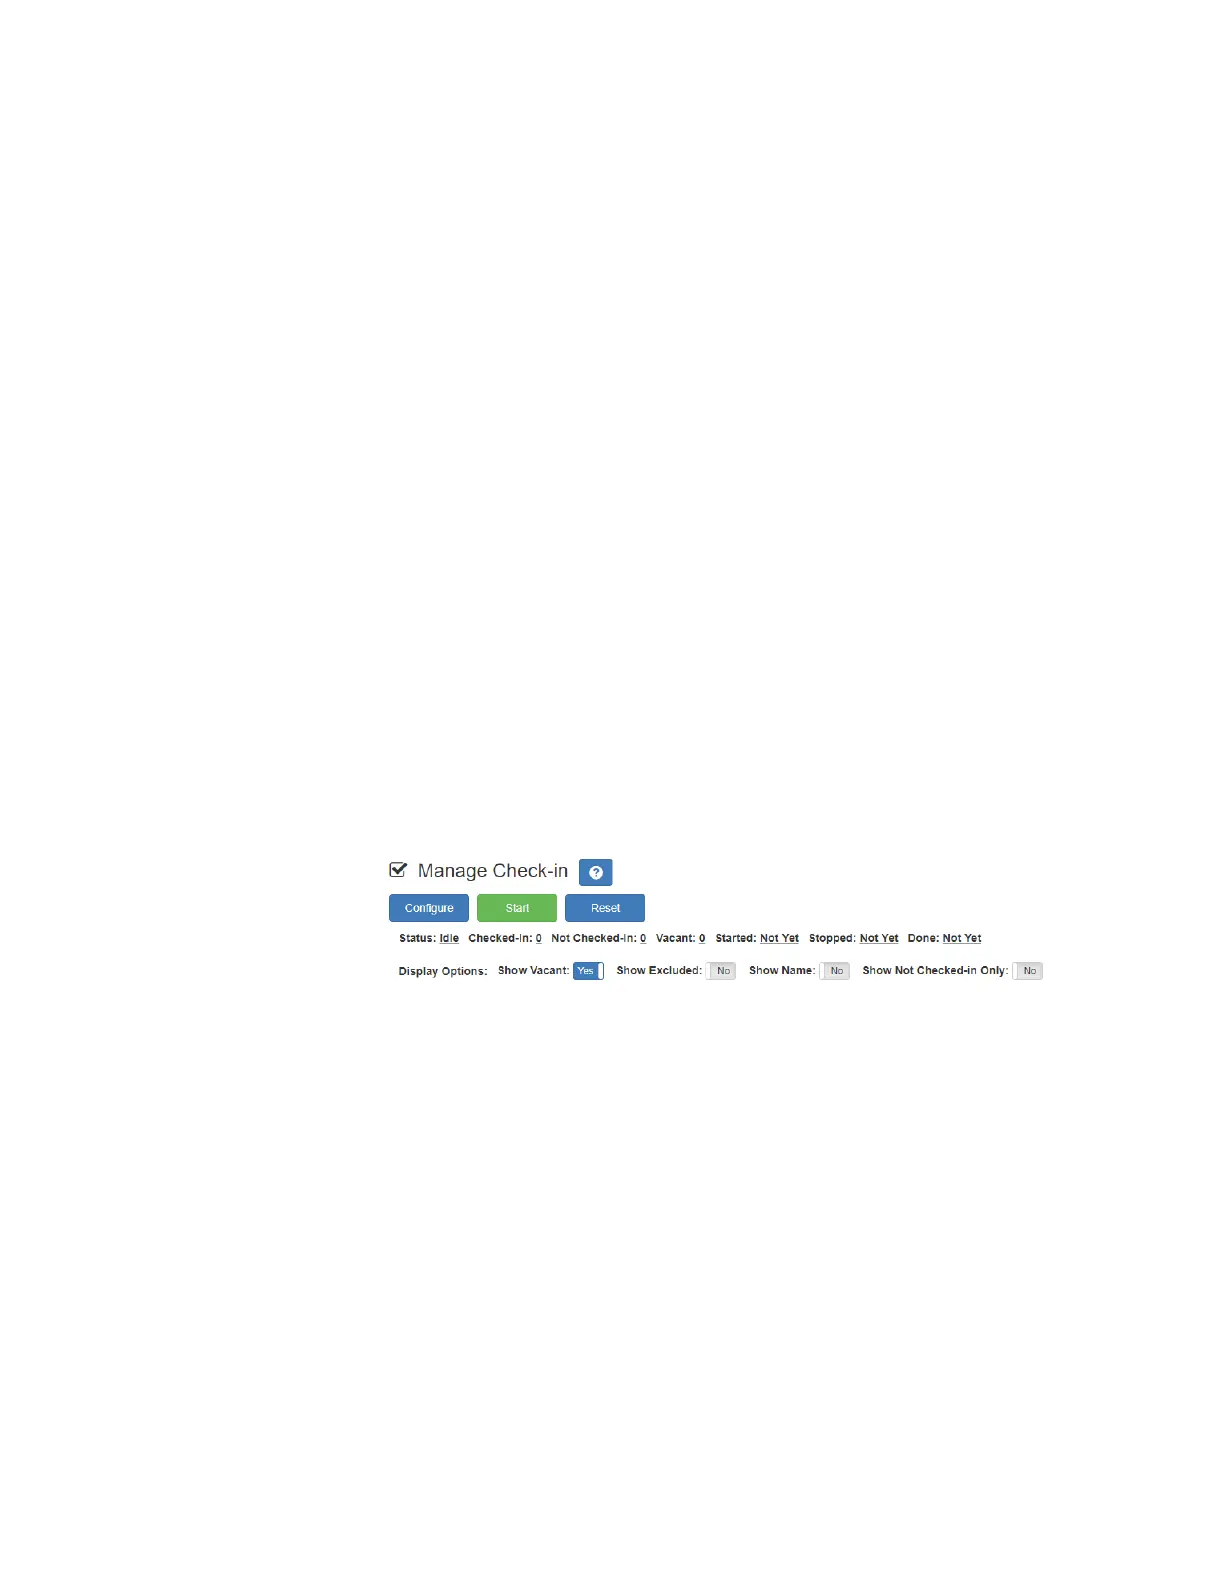
Step 3 On the Manage Check-In page, select Start.
When Check-In starts, the Start button changes to a Stop button and
the red squares that represent occupied classrooms or areas begin
changing to green squares as staff members begin checking in.
Figure 6-3, Manage Check-In When Idle
 Loading...