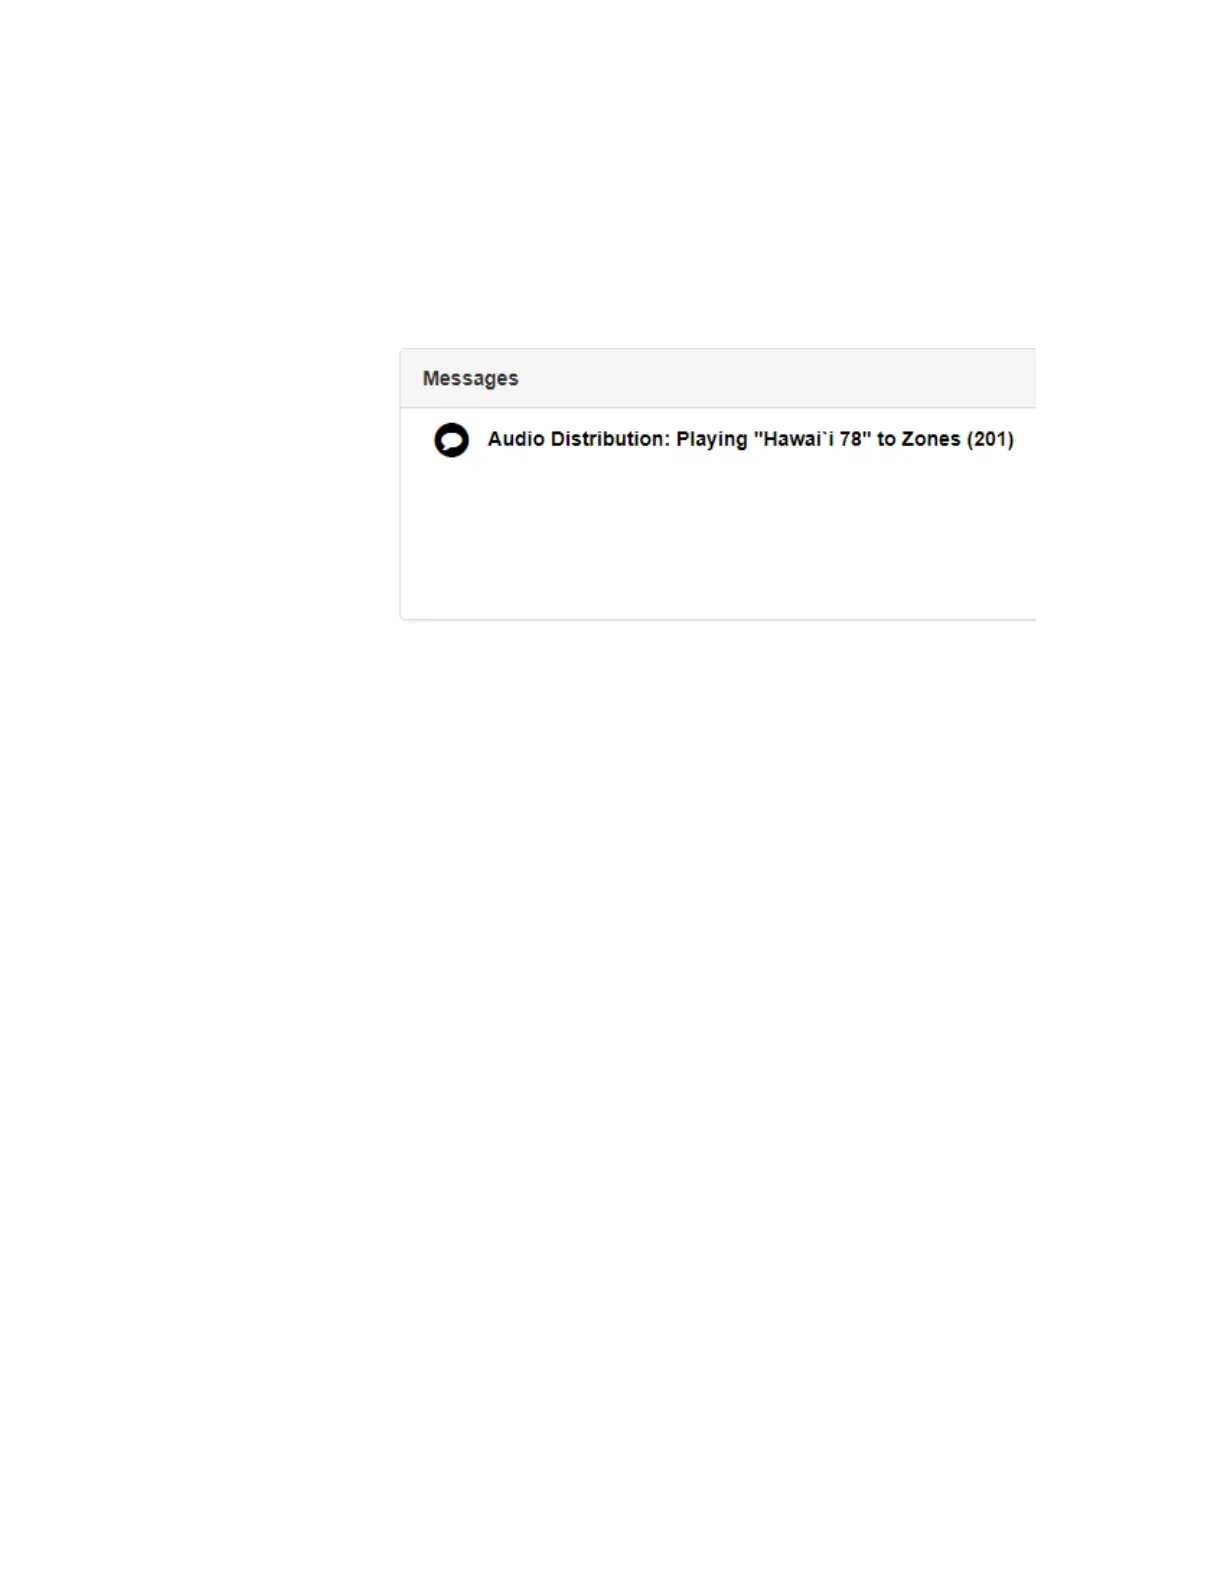
Home
Bogen
Conference System
Nyquist C4000 Series
Bogen Nyquist C4000 Series User Manual
4
of 1
of 1 rating
146 pages
Give review
Manual
Specs
To Next Page
To Next Page
To Previous Page
To Previous Page
Loading...
42
When Audio Distributi
on is enabled, an in
formational message
appears in the Messages window
of the Admin W
eb UI dashboard,
indicating the song that
is curren
tly playing
and to which speakers
(all or selected) and to which zones audio is playing to.
Figure 2-26, Audio Distribution S
tatus
53
55
Table of Contents
Default Chapter
3
Default Chapter
3
Table of Contents
3
List of Figures
7
List of Tables
11
1 Introducing the C4000 System
13
Using the Web-Based User Interface
14
Accessing the Dashboard
14
Figure 1-1, Login Page
14
Figure 1-2, C4000 Dashboard
15
Figure 1-3, Dashboard Areas
16
Figure 1-4, Maps Pane
17
Figure 1-5, Dashboard Messages
17
Making UI Selections
18
Figure 1-6, Audio Distribution Section of Dashboard
18
Table 1-1, UI Icons
18
Getting Help
19
Figure 1-7, Help Menu
19
2 Managing Audio Distribution
21
Figure 2-1, Audio Distribution Sources
22
Figure 2-2, Line-Input Sources
23
Managing Line-Input Sources
23
Figure 2-3, Available Channels for an MMPA
24
Figure 2-4, Line Input for NQ-A4300 Audio Power Amplifier
24
Managing Songs
25
Viewing the Song List
25
Figure 2-5, Songs Page
25
Playing Songs Directly from a USB Memory Stick
26
Table 2-1, Songs Page Parameters
26
Uploading Songs from a USB Memory Stick
27
Adding Songs
27
Figure 2-6, Add Song Page
28
Figure 2-7, Adding Multiple Songs
29
Table 2-2, Add Song Page Parameters
29
Editing Song Information
30
Deleting a Song
30
Table 2-3, Edit Song Page Parameters
30
Managing Playlists
31
Viewing Playlists
31
Figure 2-8, Playlists Page
31
Creating a Playlist
32
Table 2-4, Playlists Page Parameters
32
Figure 2-9, Add Playlist Page
33
Table 2-5, Add Playlist Parameters
34
Adding Songs to a Playlist
35
Figure 2-10, Manage Playlist Page
35
Changing Song Order in a Playlist
36
Deleting a Song from a Playlist
36
Editing a Playlist
36
Deleting a Playlist
37
Using Internet Radio Services
37
Viewing Internet Radio Services
38
Figure 2-11, Internet Radio Services Permissions
38
Figure 2-12, Internet Radio Services View
38
Adding a Source
39
Figure 2-13, Add Source Page
39
Table 2-6, Internet Radio Services
39
Table 2-7, Radio Source Parameters
40
Deleting a Source
42
Managing Credentials
42
2.4.4.1 Viewing Credentials
42
Table 2-8, Credentials Parameters
42
2.4.4.2 Add Credentials
43
Figure 2-14, Add Credential
43
Table 2-9, Add Credential Parameters
43
2.4.4.3 Edit Credential
44
Figure 2-15, Edit Credential
44
Table 2-10, Edit Credentials Parameters
44
2.4.4.4 Delete Credentials
45
SOUNDMACHINE Sign up
45
Using SOUNDMACHINE Music Selection Schedules
46
Creating an Audio Distribution
46
Figure 2-16, Audio Distribution Portion of Dashboard
46
Figure 2-17, Audio Distribution Set in Cos
46
Figure 2-18, Role Permissions for Audio Distribution
47
Figure 2-19, Create an Audio Distribution
47
Table 2-11, Create an Audio Distribution Parameters
48
Figure 2-20, Audio Distribution Play Icon
49
Starting and Stopping Audio Distribution
49
Figure 2-21, Adding Scheduled Audio
50
Figure 2-22, Adding Audio-Dist Trigger
51
Figure 2-23, Audio Distribution Actions
52
Other Features and Audio Distribution
52
Audio Distribution Status
53
Figure 2-24, Audio Distribution Enabled
53
Figure 2-25, Audio Distribution Disabled
53
Figure 2-26, Audio Distribution Status
54
3 Managing Announcements
55
Starting and Stopping Announcements
55
Figure 3-1, Announcement Icon
56
Figure 3-2, Announcement Page
56
Figure 3-3, Announcement Page with Stop Button
57
Announcements, Zones, and Priorities
58
Adding an Announcement
59
Figure 3-4, Add Announcement Page
60
Table 3-1, Add Announcement Page Parameters
61
Using SSML for Text-To-Speech Entries
62
Table 3-2, SSML Formats for Text-To-Speech Entries
63
Viewing Announcements
66
Figure 3-5, Announcements Page
66
Table 3-3, Announcements Page Parameters
66
Editing Announcements
67
Table 3-4, Edit Announcement Page Parameters
68
Deleting an Announcement
69
4 Managing Alarms and Tones
71
Stopping and Starting Alarms
71
Figure 4-1, Alarm Button
72
Figure 4-2, Alarm Page
72
Starting and Stopping Tones
73
Figure 4-3, Alarm Page with Stop Option
73
Figure 4-4, Tone Icon
74
Figure 4-5, Tone Page
75
Viewing Available Tones
76
Figure 4-6, Tone Page with Options
76
Figure 4-7, Tones Page
77
Table 4-1, Tones Page Parameters
77
Uploading Tones
78
Figure 4-8, Add Tone - Upload File
79
Generating Tones
80
Table 4-2, Add Tone Page Parameters (Upload)
80
Figure 4-9, Add Tone - Generate Tone
81
Table 4-3, Add Tone Page Parameters (Generate)
82
Using Line Input for Tones
82
Figure 4-10, Add Tone - Line Input
83
Editing Tones
84
Table 4-4, Add Tone Page Parameters (Line Input)
84
Figure 4-11, Edit Tone Pages
85
Table 4-5, Edit Tone Page Parameters
86
5 Making Pages and Calls
89
Figure 5-1, C4000 Dashboard
89
Managing Calls
90
Placing Call Using Directory
90
Figure 5-2, Directory Button
90
Figure 5-3, Directory Page
91
Figure 5-4, Calling Extension
92
Placing Call Using Dial Pad
93
Figure 5-5, Dial Pad Button
93
Figure 5-6, Dial Pad
93
Figure 5-7, Page Exclusion Button
94
Using Page Exclusion
94
Figure 5-8, Paging Exclusions Page
95
Figure 5-9, Add Paging Exclusion Page
95
Deleting from Page Exclusion List
96
Using Call Forwarding
96
Figure 5-10, Call Forwarding Button
97
Figure 5-11, Call Forwarding Popup Menu
97
Launching Pages
98
Single-Zone Paging
99
Figure 5-12, Paging Single Zone
99
Figure 5-13, End Call
100
Record Page
101
Figure 5-14, Record Page Button
101
Prepend Page
102
Figure 5-15, Record Page
102
Figure 5-16, Prepend Page Button
103
Figure 5-17, Prepend Page
103
All Call Paging
104
Figure 5-18, All Call Button
104
Figure 5-19, All Call
105
Emergency All Call Paging
106
Figure 5-20, Emergency All Call Button
106
Figure 5-21, Emergency All Call
107
Facility Paging
108
Figure 5-22, Facility Page Button
108
Figure 5-23, Facility Page
108
Multi-Site All Call Paging
110
Figure 5-24, Multi-Site All Call Button
110
Multi-Site Emergency All Call
111
Figure 5-25, Multi-Site Emergency All Call Button
111
6 Managing Check-In
113
Viewing Check-In Status
113
Figure 6-1, Manage Check-In Button
114
Figure 6-2, Manage Check-In
114
Table 6-1, Color-Coded Check-In Status
114
Table 6-2, Check-In Display Options
115
Starting Check-In
116
Figure 6-3, Manage Check-In When Idle
116
6.1.1.1 Station Check-In
117
6.1.1.2 Check-In Done and Finish
117
Stopping the Check-In Process
117
Figure 6-4, Listen In, or Spy Mode, Button
118
Resetting the Check-In Process
118
Using Spy Mode
118
Configuring Check-In
119
Figure 6-5, Configure Check-In
119
Managing Exclusion and Vacancy Lists
120
Table 6-3, Check-In Configuration Options
120
7 Managing Display Messages
123
Creating a Display Message
123
Figure 7-1, Example of Priority Message in Fullscreen
123
Figure 7-2, Display Message Button
124
Figure 7-3, Display Message
125
Table 7-1, Display Message Options
126
Using Color in Display Messages
128
Table 7-2, Default Color Alias
129
Removing Messages
131
Figure 7-4, Remove Message Button
132
Figure 7-5, Remove Message
133
8 Routines and Other Tasks
135
Starting and Stopping Routines
135
Figure 8-1, Routines Button
137
Figure 8-2, Routines List
138
Figure 8-3, Routine Page
139
Viewing the Schedule for the Week
140
Figure 8-4, Routines Manager
140
Figure 8-5, Weekly Schedule Section of Dashboard
140
Manually Controlling Output Contacts
141
Figure 8-6, Schedule Page
141
Figure 8-7, Output Control Section
142
Figure 8-8, Manual Control Buttons
142
Index
143
Other manuals for Bogen Nyquist C4000 Series
User Guide
157 pages
4
Based on 1 rating
Ask a question
Give review
Questions and Answers:
Need help?
Do you have a question about the Bogen Nyquist C4000 Series and is the answer not in the manual?
Ask a question
Bogen Nyquist C4000 Series Specifications
General
Brand
Bogen
Model
Nyquist C4000 Series
Category
Conference System
Language
English