5-68
Confidential
8.26 Laser Unit
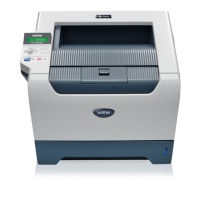
(1) Release the Hooks of the Air duct from the frame. Slide the Air duct to the direction of
1b and remove the Air duct.
Fig. 5-90
(2) Remove the five cup S M3x6 Taptite screws.
(The left back screw has already remove at “8.13 Main Shield Plate ASSY“)
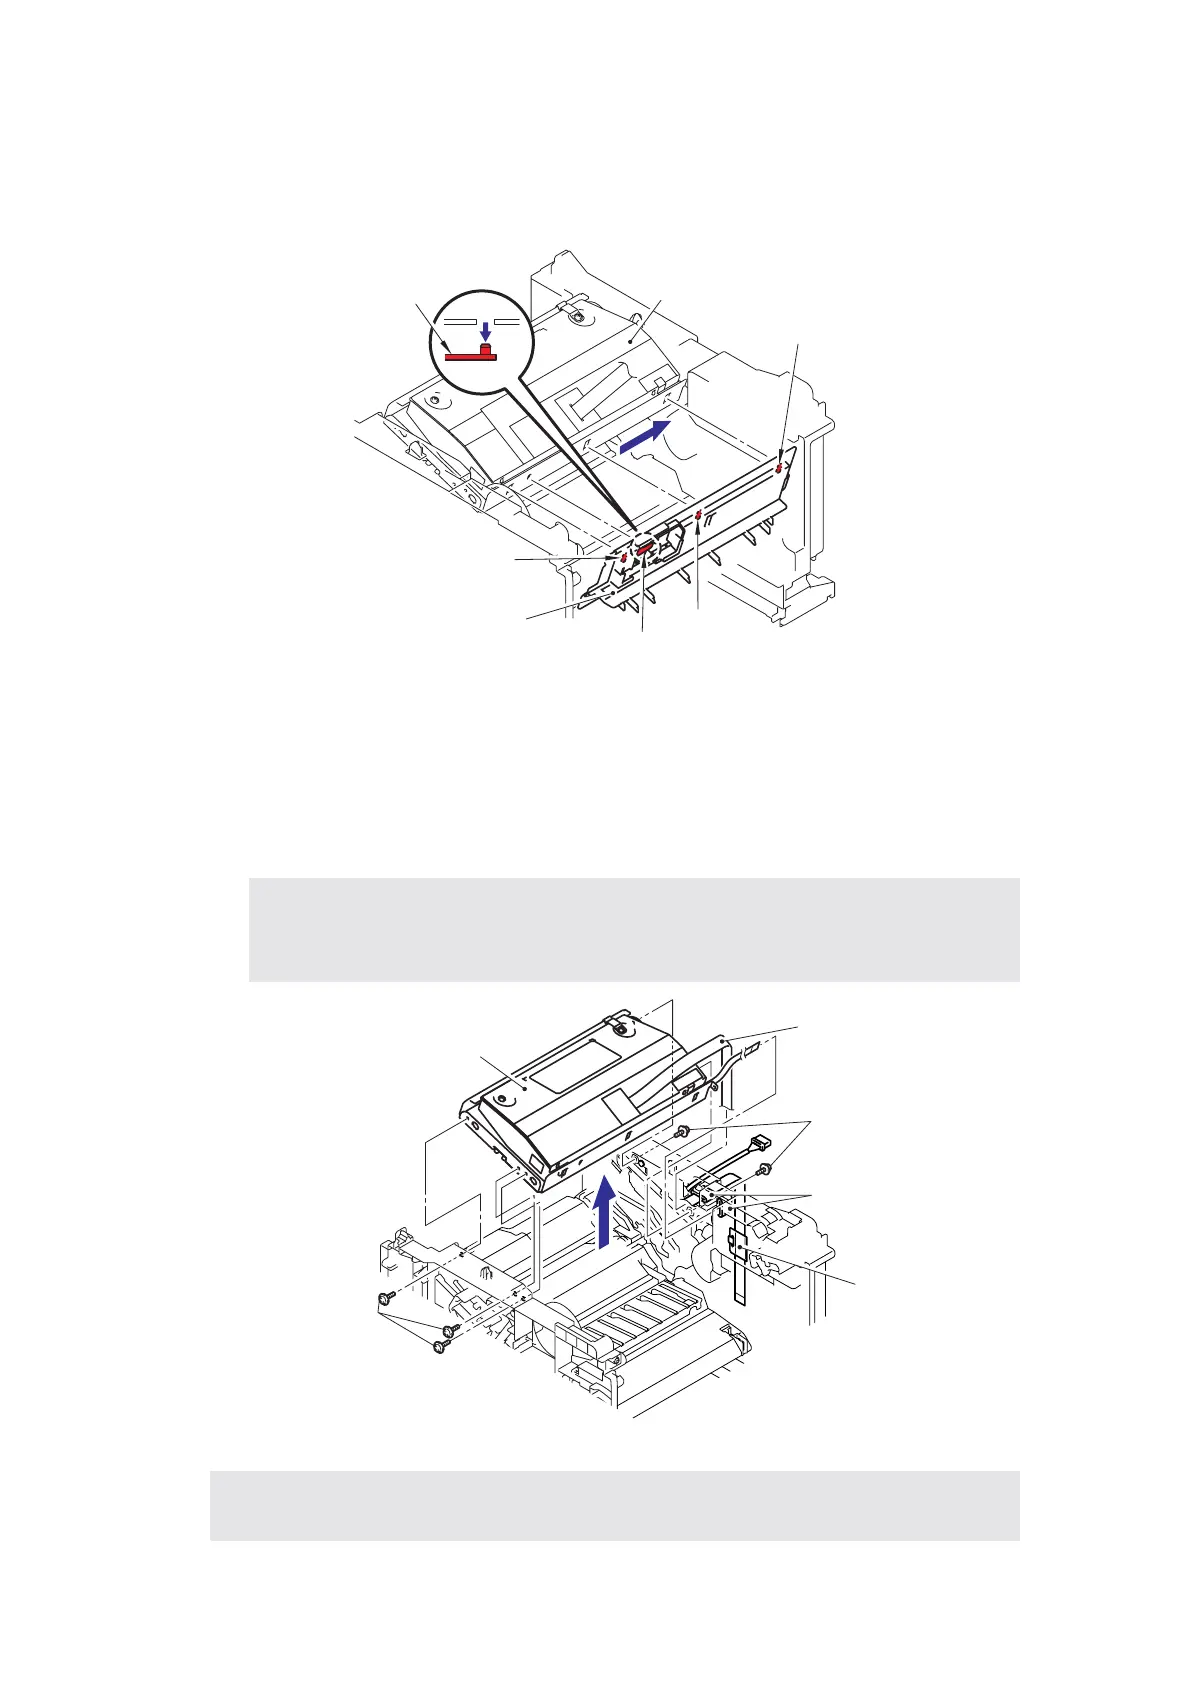
(3) Remove the Protective film from the Flat cable.
(4) Pull out the two Flat cable from the Core.
(5) Remove the Laser unit.
Fig. 5-91
Note:
• Be careful not to lose the Protective film attached on the flat cable.
• Do not touch the Laser scanner window directly.
Assembling Note:
• Before assembling the Laser unit, make sure put on the Core.
Pin
Hook
Hook
Hook
Hook
Laser unit
Air duct
1b
1a
Taptite, cup S M3x6
Core
Flat cable
Protective film
Laser unit
Taptite, cup S M3x6

 Loading...