3
Commissioning
22/79 ekr CON 600 net – Process Data Exchange via Profibus
3.2.2 Meaning of the Fields and Buttons
The Profibus configuration menu includes the following fields and
buttons:
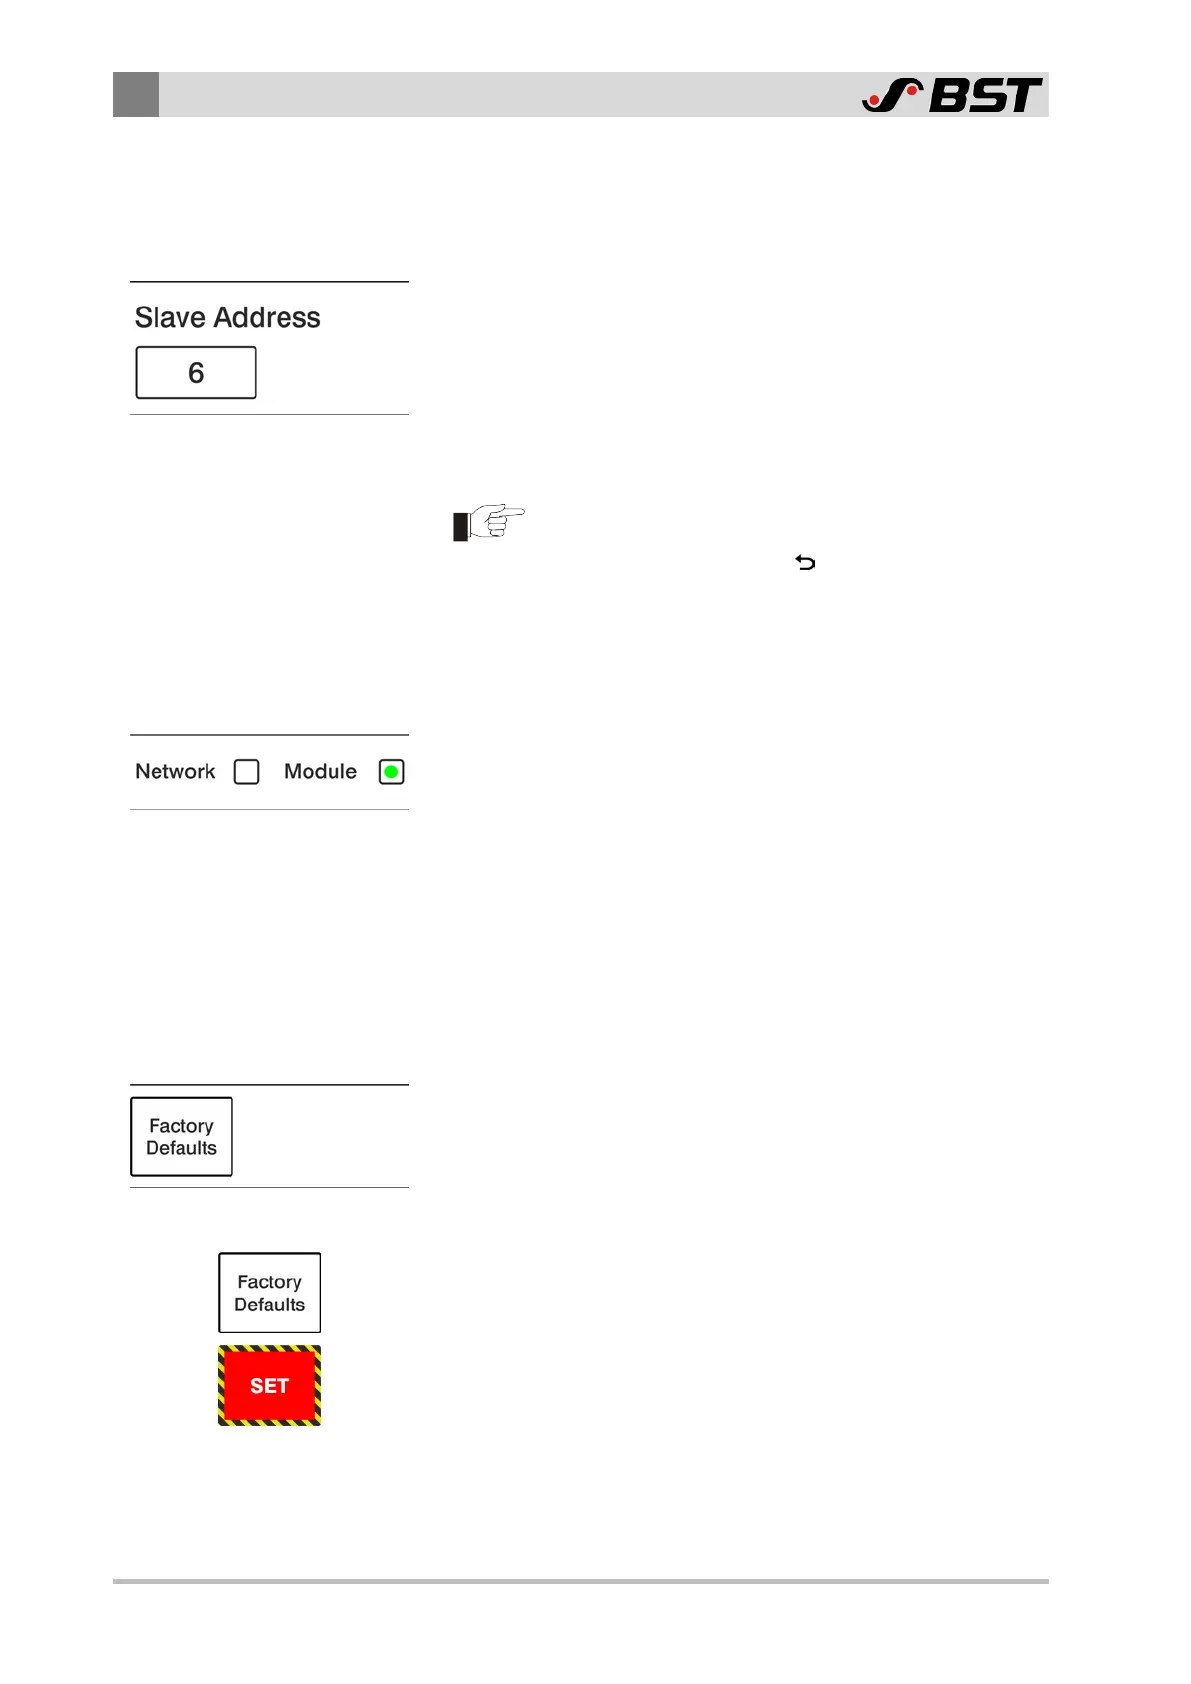
Slave Address
This area displays the currently valid slave address of the Profibus
interface module (6 in the example). The slave address is the sta-
tion address which is to be used to connect the interface module
to the Profibus.
If necessary, you can manually enter a new station address here in
the range from 1 to 125.
If the slave address has been changed, the Profibus inter-
face module is automatically restarted after exiting the
configuration menu with the
button. This activates the
new slave address immediately. Otherwise the new slave
address becomes active only after switching the controller
off and on again.
Virtual Status LEDs
The Profibu interface module has four status LEDs, indicating the
operating status of the network connection and of the interface
module. The two virtual status LEDs in this area of the configura-
tion menu indicate the current status of the corresponding status
LEDs on the Profibus interface module. In this way you can check
the condition of the status LEDs without opening the controller
housing.
A description of the different status LEDs can be found in chapter
Status LEDs on the Profibus Interface Module, page 10.
Factory Default Settings
In this area you reset the values of all configuration parameters of
the Profibus interface module to the factory default settings.
Procedure:
1. Press the Factory Defaults button.
A red SET button is displayed to the right of the Factory Defaults
button.
2. Press the SET button.
The values of all configuration parameters are reset to the fact-
ory default settings.
Immediately after pressing the SET button, the module status
LED H22 on the processor board of the Profinet interface mod-
ule lights up constantly red (see Module Status LEDs, page 11).
No more data exchange takes place.
 Loading...