Chapter 2
2-31
F-2-119
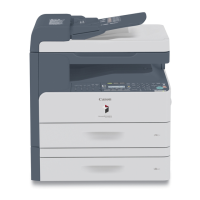
10) Disconnect the connector [1], and release the locking lever [3] of the
pre-transfer charging assembly [2]; then, take out the pre-transfer
charging assembly.
Using alcohol, clean the pre-transfer charging wire.
F-2-120
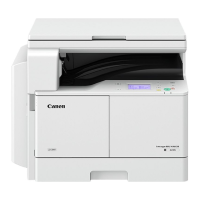
11) With the lock released, slide in the primary charging assembly, and
connect the connector.
Check to make sure that the solvent is fully dry.
12) With the lock released, slide in the pretransfer charging assembly,
and connect the connector.
F-2-121
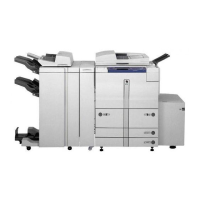
- Check to make sure that the solvent is fully dry.
- Check to make sure that the one-way arm [1] of the pretransfer
charging assembly is on the eccentric cam [2].
13) Mount the primary charging assembly cover and the pre-transfer
charging assembly cover with a screw (1 pc. each).
14) Close the front cover.
2.2.16 Mounting the Pickup Assembly
0007-6647
iR105i/iR105+ / iR9070
1) Shift down the lever [1] in the direction of the arrow, and remove the
pickup roller releasing spacer [2].
F-2-122
Close the manual feed tray unit [3].
2) Open the right upper cover and the right lower cover, and push the
release buttons of the front deck (right) and cassette 3/4; then, slide
them halfway out.
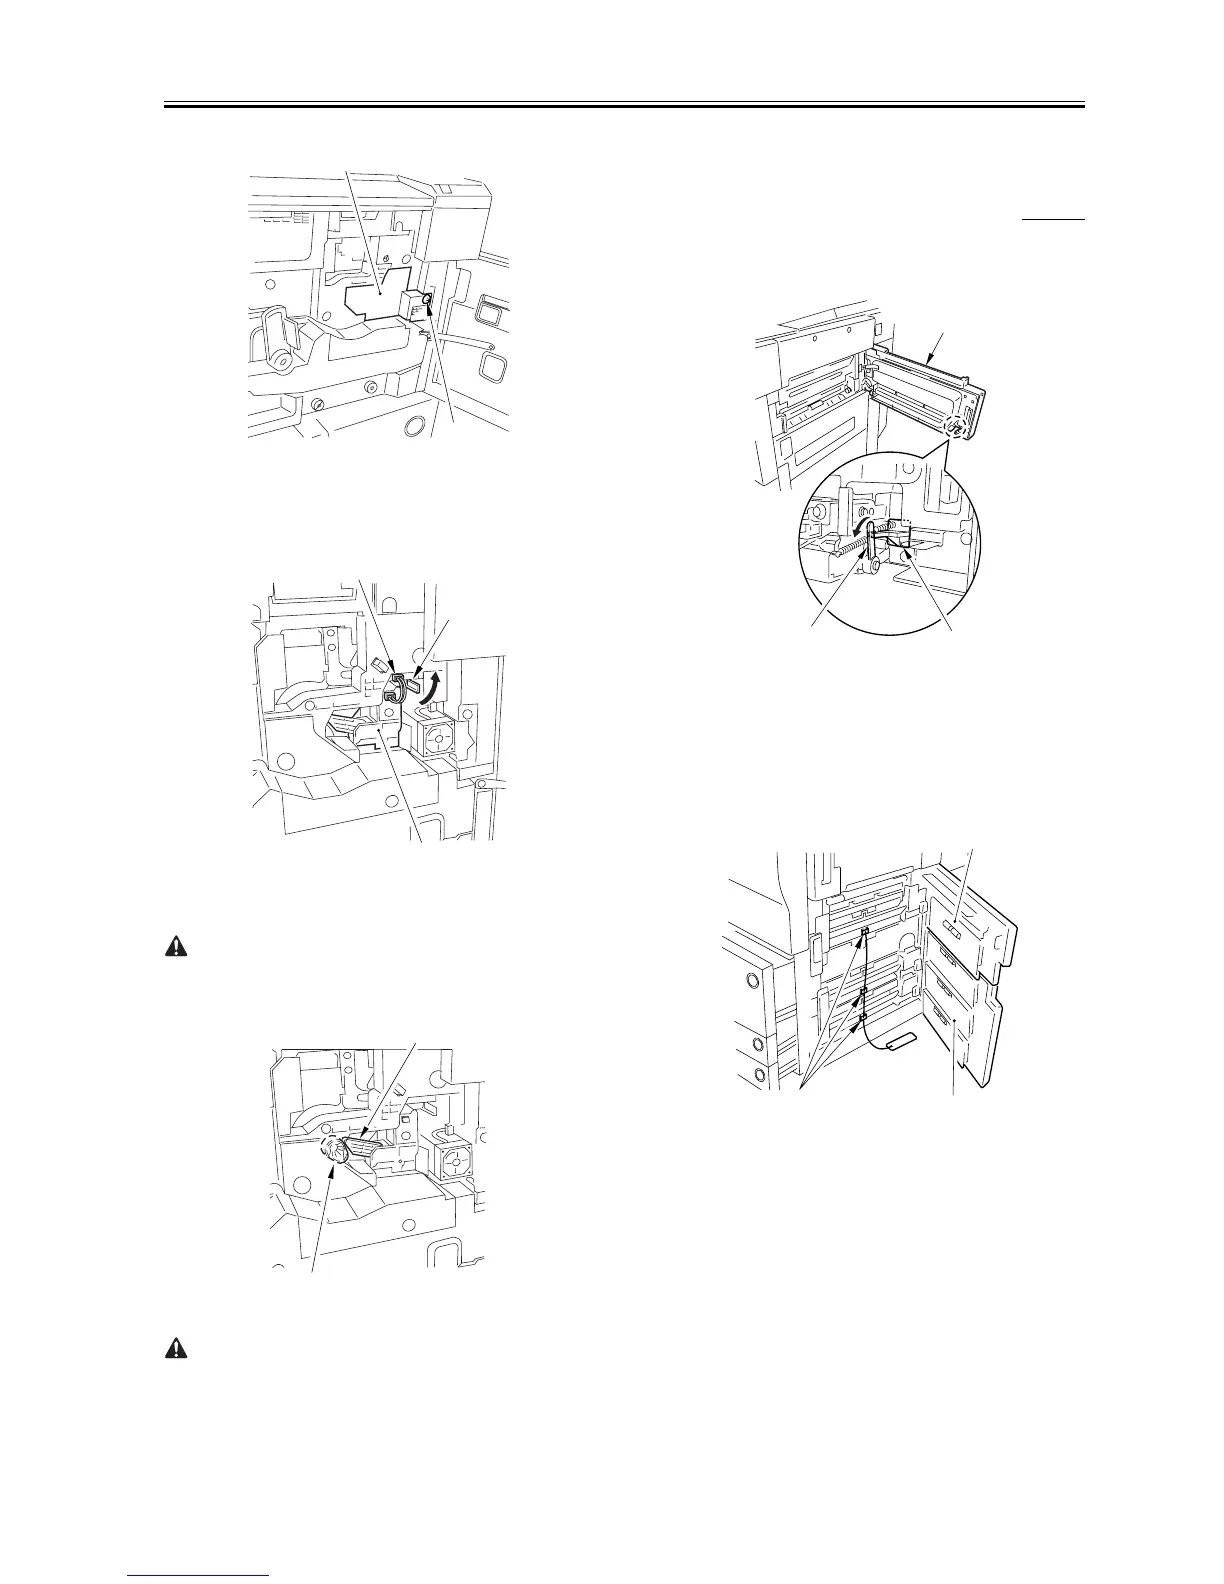
3) Remove the three pickup roller releasing spacers [1].
Close the upper vertical path cover [2] and the lower vertical path
cover [3].
Fit the front deck (right) and the cassette 3/4 back in.
F-2-123
4) Press the releasing button of the front deck (left), and slide it to the
front.
Secure the deck locking plate [1] to the front deck (left) with an RS
tightening screw [2] (M4x10; white).
Close the front deck (left).
[1]
[2]
[2]
[3]
[1]
[1]
[2]
[2]
[3]
[1]
[1]
[2]
[3]
 Loading...