Chapter 11
11-24
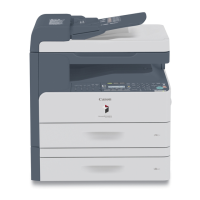
F-11-27
1) Remove the rear cover.
2) Remove the high-voltage transformer (DC).
3) Remove the flywheel.
4) Remove the drum gear.
5) Remove the waste toner pipe.
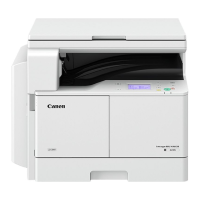
6) Remove the screw, and loosen the harness guide [1]; disconnect the
two connectors [2], and remove the four screws [3]; then, detach the
lifter drive assembly (for the right deck) [4].
F-11-28
11.5.7.2 Removing the Lifter Drive Assembly (left deck)
0007-1937
iR105i/iR105+ / iR9070 / iR85+ / iR8070
Construction
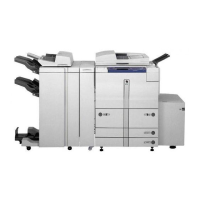
F-11-29
1) Remove the rear cover.
2) Open the system box assembly.
3) Remove the DC controller assembly.
4) Disconnect the three connectors [1], and remove the four screws [2];
then, detach the lifter drive assembly (for the left deck) [3].
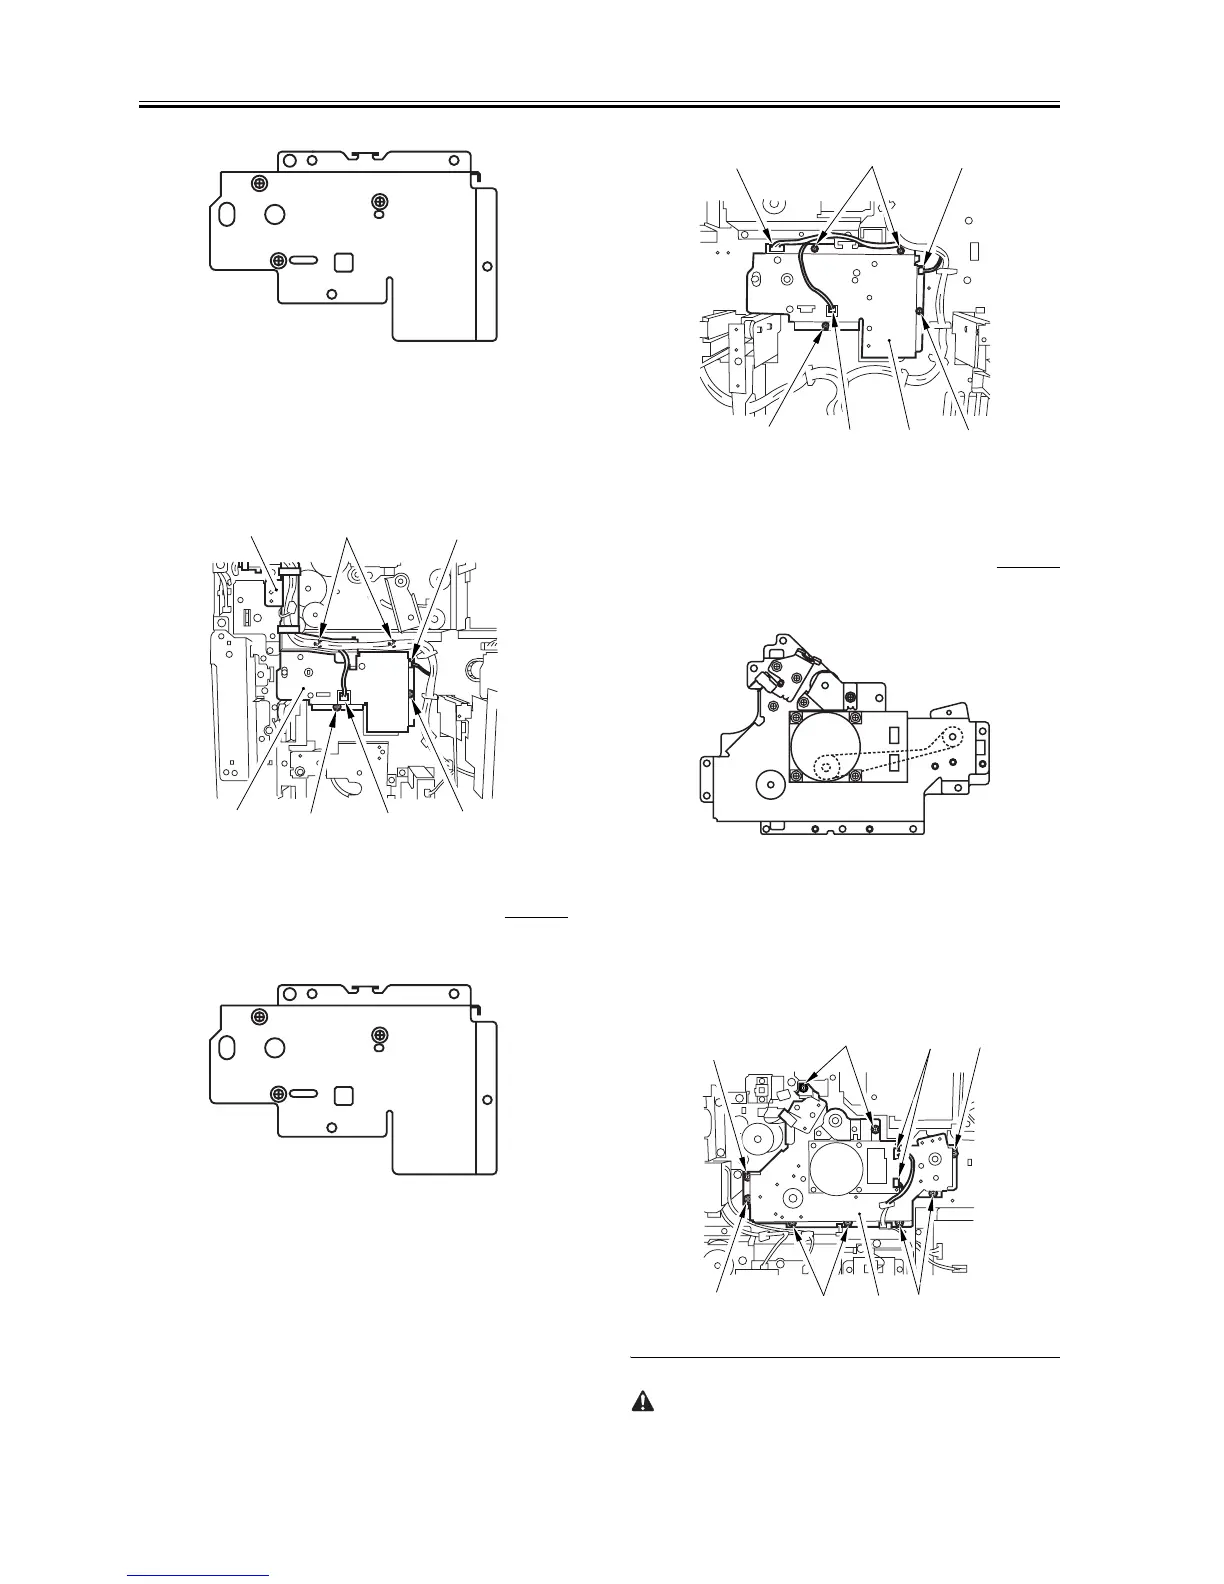
F-11-30
11.5.8 Main Drive Assembly
11.5.8.1 Removing the Main Drive Assembly
0007-1940
iR105i/iR105+ / iR9070 / iR85+ / iR8070
Construction
F-11-31
1) Remove the rear cover.
2) Remove the high-voltage transformer (DC).
3) Remove the flywheel.
4) Remove the drum gear.
5) Remove the waste toner pipe.
6) Remove the drum drive assembly.
7) Remove the waste toner drive assembly.
8) Disconnect the two connectors [1], and remove the nine screws [2];
then, detach the main drive assembly [3].
F-11-32
[3]
[3] [3][2]
[2]
[1]
[4]
[1] [1]
[1]
[2]
[2]
[2]
[3]
[2]
[1]
[2]
[2]
[2]
[2] [3] [2]
 Loading...