CHK Power Quality Pty Ltd, User Manual – Miro Power Quality Logger and Analyser, 15 August 2016
Website: www.chkpowerquality.com.au; Enquiries: sales@chkpowerquality.com.au; Page 17
Address: Unit 1, 3 Tollis Place, Seven Hills, NSW 2147, Sydney, Australia; ABN: 53 169 840 831; Telephone: +61 2 8283 6945;
Fax: +61 2 8212 8105; Website: www.chkpowerquality.com.au
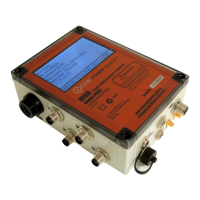
Step 1: The strap is first fed through the holster slats and wrapped around the pole as
shown in figure 4.4.1.1.
Step 2: Bring the strap forward to embrace the Miro as shown in figure 4.4.1.2.
Step 3: Wrap the strap around the post and secure the Miro with the quick release clip at the
rear as shown in figure 4.4.1.3.
Do not connect the Miro to the pole without embracing the unit with the strap, as this
may weaken the holster over time; refer to figure 4.4.1.4.
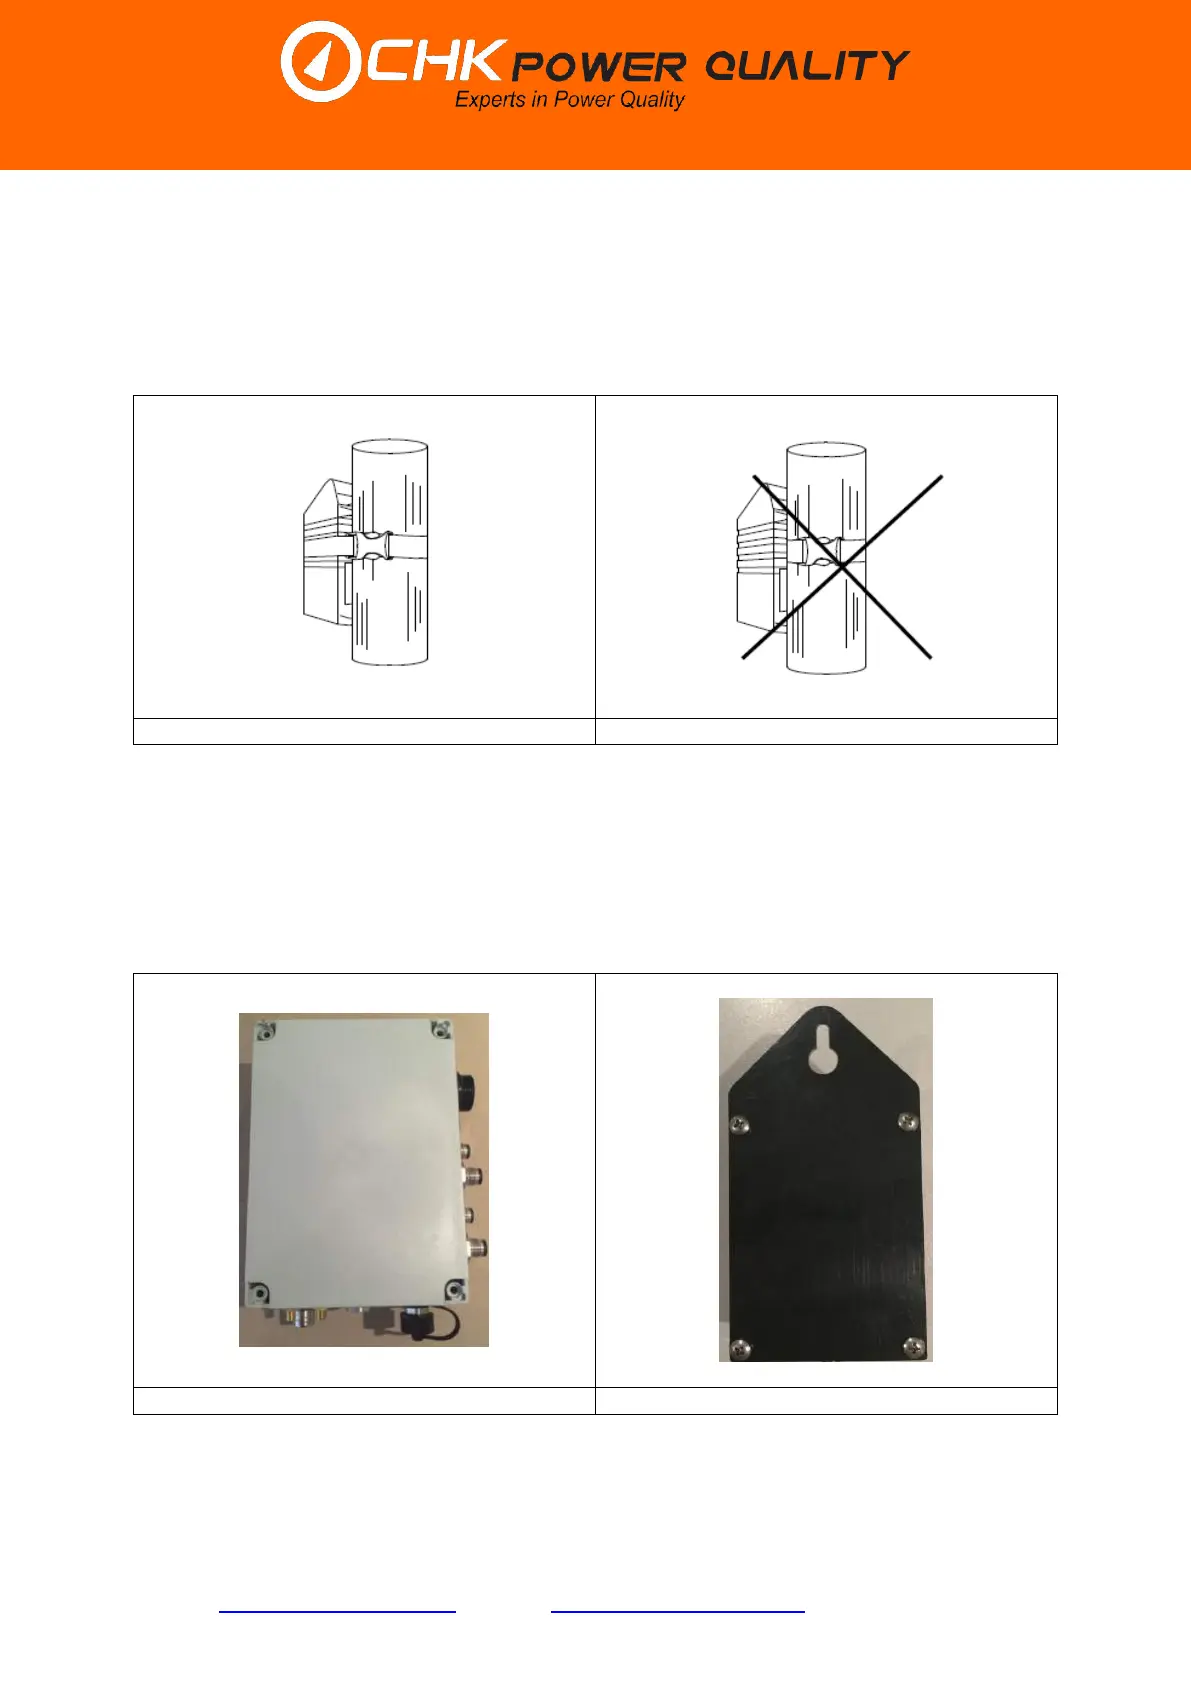
4.4.2 Using a back-plate
Step 1: Screw the optional back-plate provided to the back of the Miro case using four
stainless steel M5 x 16mm pan screws as illustrated in figures 4.4.2.1 and 4.4.2.2.
4.5 Connecting the Miro
 Loading...