Page | 12
LENS INSTALLATION
Remove the body cap and install the lens by screwing it onto the mount.
IMPORTANT: For the COMPUTAR 12.5-75mm Zoom Lens, the CS-C Adapter needs to be left
on. If you're using another lens, refer to the table below for types and support materials to
determine whether the CS-C Adapter is needed.
IMPORTANT: * Zoom lenses have the side effect of not covering the entire sensor, which will
create a black ring around the periphery of the image. This phenomenon is also called
“VIGNETTING” thus, the user ought to be aware of that fact. Please also note that the only lenses
that will not cause “VIGNETTING” with the Chronos 2.1-HD are the FUJIAN and SIGMA models in
the list above.
POWERING UP THE CAMERA
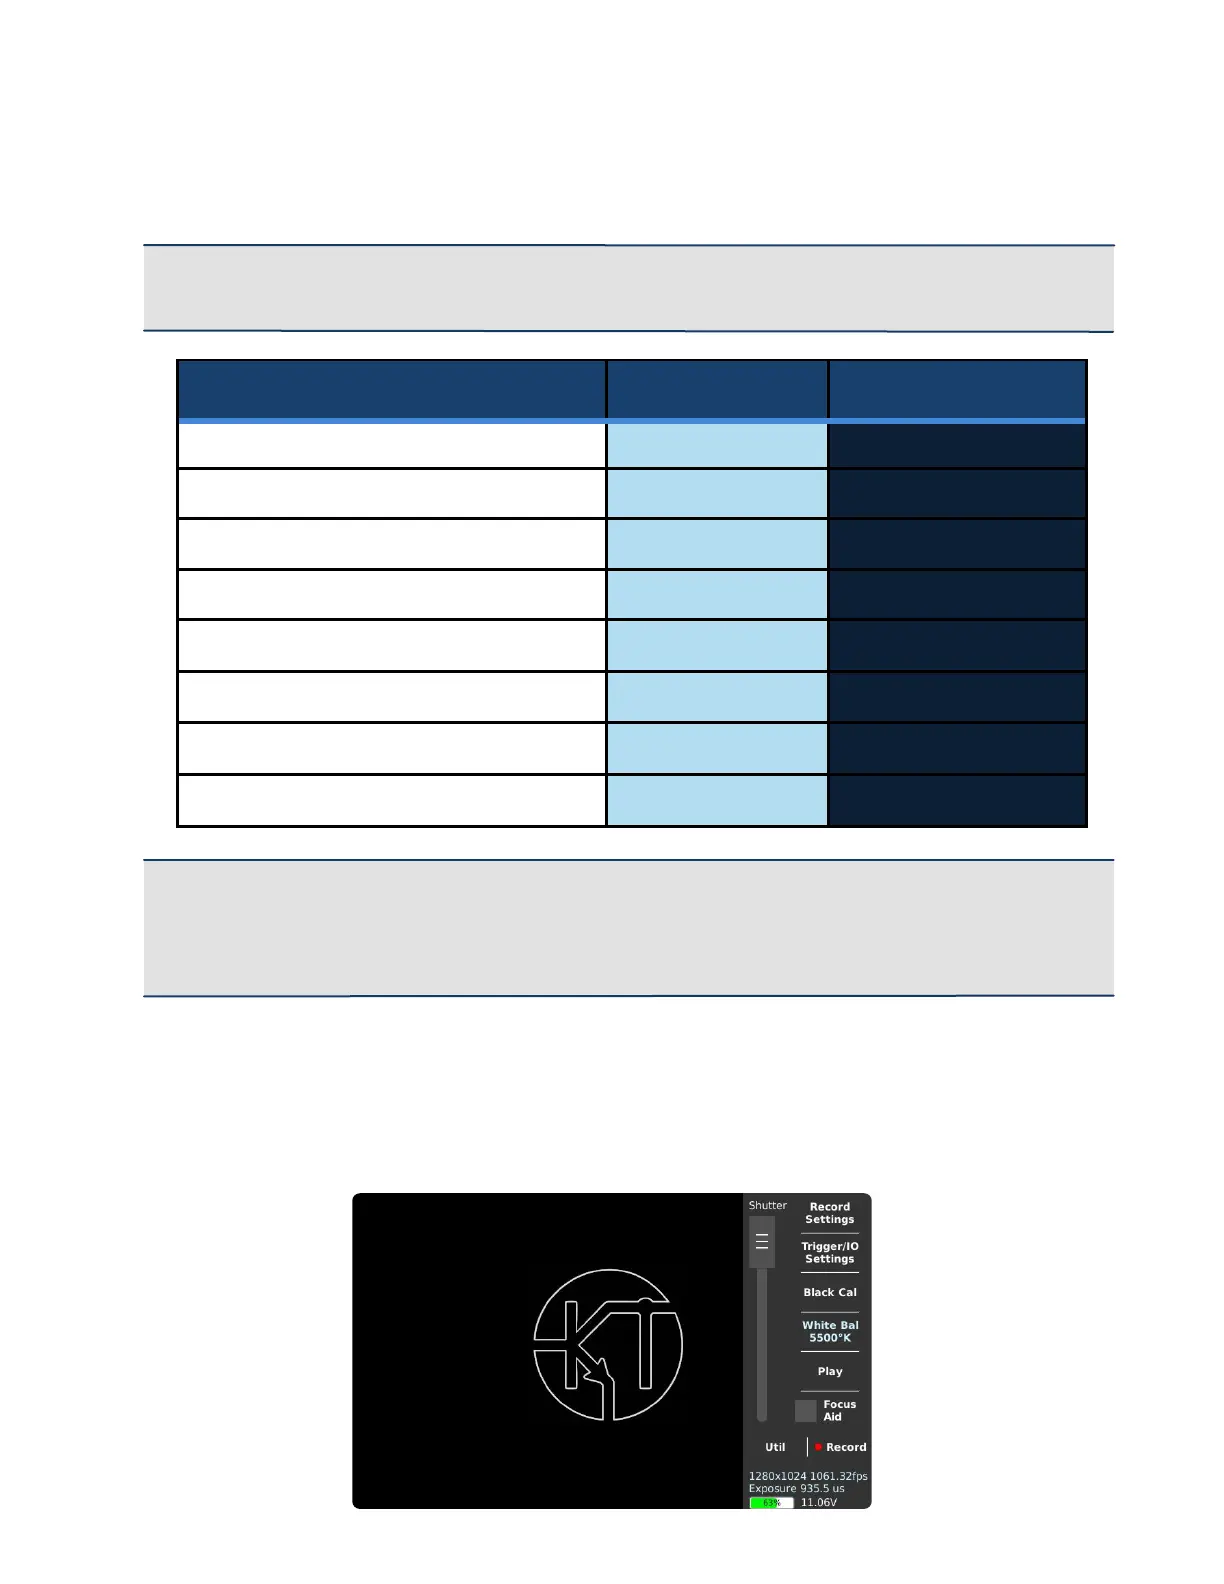
To turn on the camera, simply do a press and release of the power-on button. Give
about a minute for the camera to boot and to initialize itself. When the process is
complete you will be greeted by the screen below.