User Guide| LQ Series 4.0
1. Click Add Licenses Online
2. Copy and paste the ticket number into the 'Enter ticket ID' space. Click blue
check mark to submit.
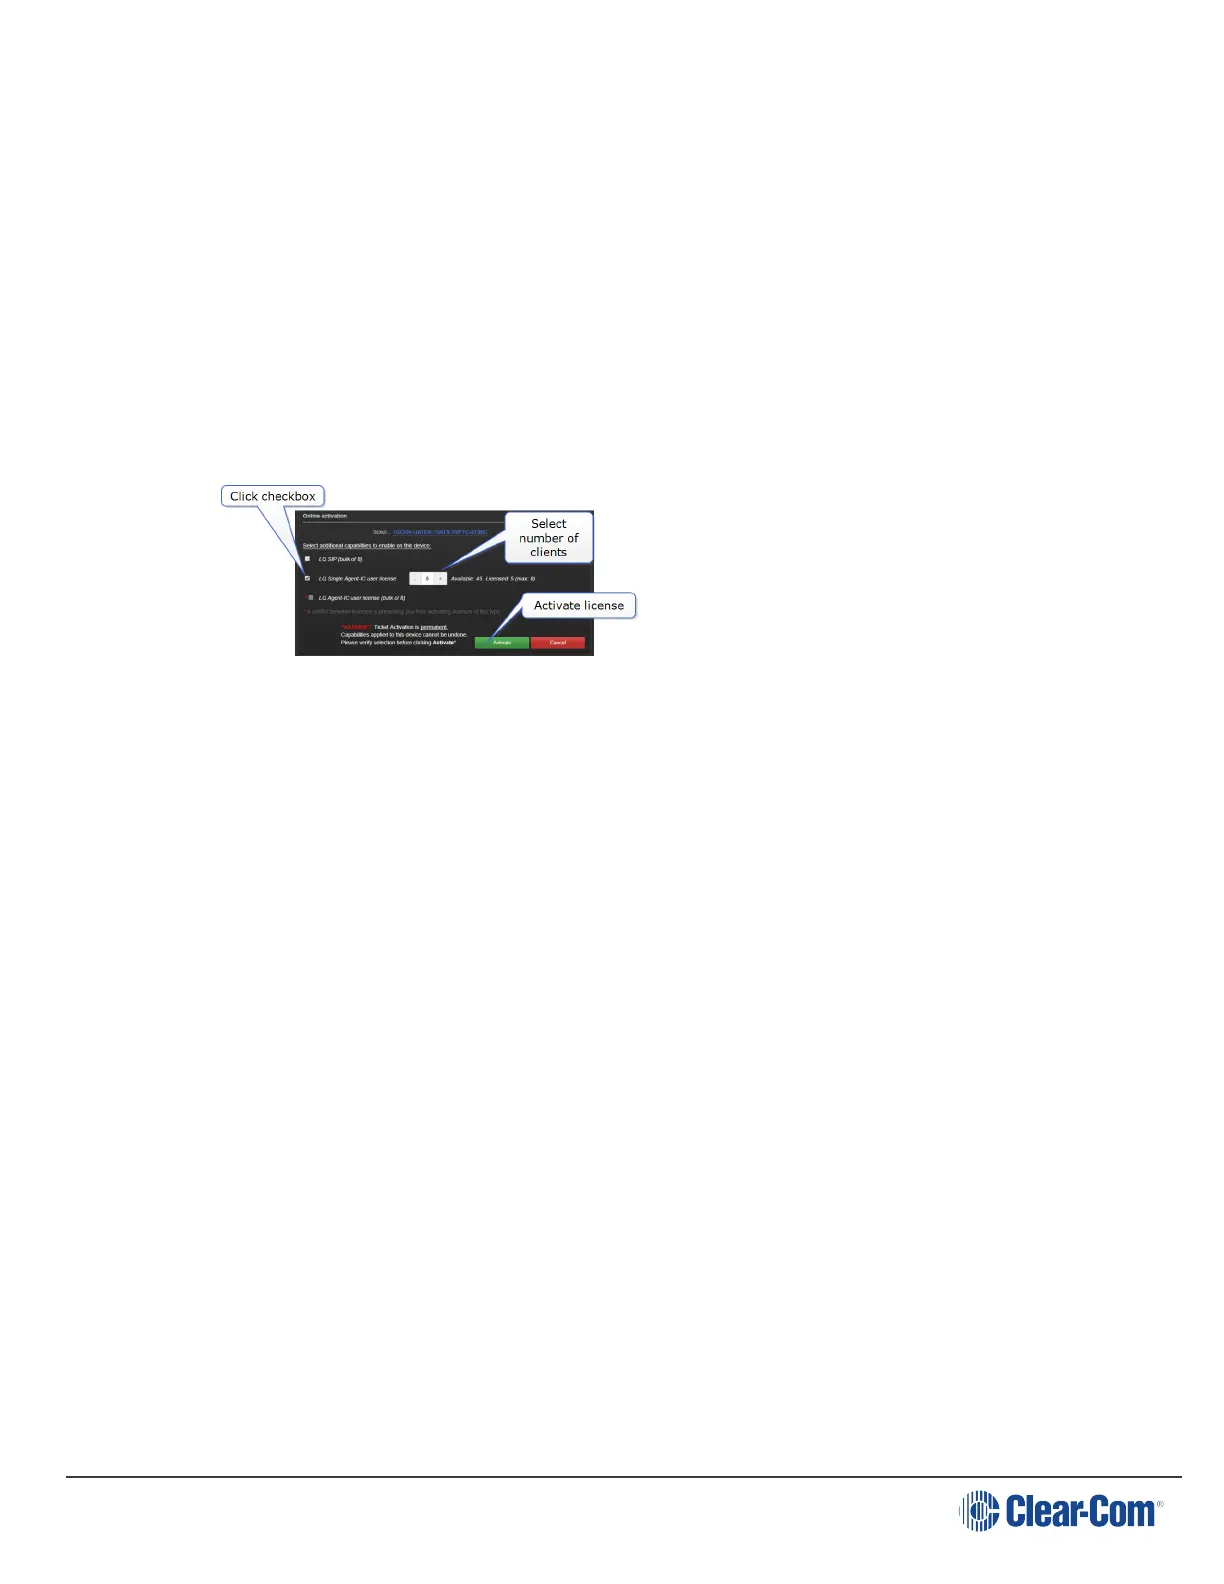
3. This pulls up available licenses on this ticket. Decide which license or licenses
you want to add to the current LQ unit.
4. Click to select a license checkbox. This tells the CCM that you want to add this
feature to the current LQ. When you click an option, available licenses and
constraints will be shown.
5. Click Activate.
Note: Select carefully as once a license has been added to a unit it cannot be re-allocated
to a different unit.
16.2
Add licenses offline
Note: Activating LQ licenses offline means that the LQ unit cannot or does not have
access to the Internet.
When you add licenses to an LQ unit that is offline, (Device>General>License)
you must first download the Context File. The Context File is basically an LQ
'holder' for your license that you will send to the third party license manager, who
will load the new license codes into the Context File and send it back to you.
1. Click Get Context File. This downloads the Context File to your computer
(.WibuCmRac extension).
2. Save the Context File to an appropriate location (a folder or USB stick).
3. Email the Context File to Clear-Com.
4. Clear-Com will 'load' the license into the Context File and email it back to you.
5. In the License page, click Send Update File. Navigate to where you have
stored the updated Context file and click to upload it. This adds your licenses to
the LQ unit.
Note: Licenses belong to an LQ unit, they are NOT transferrable between units.
Page 139