User Guide| LQ Series 4.0
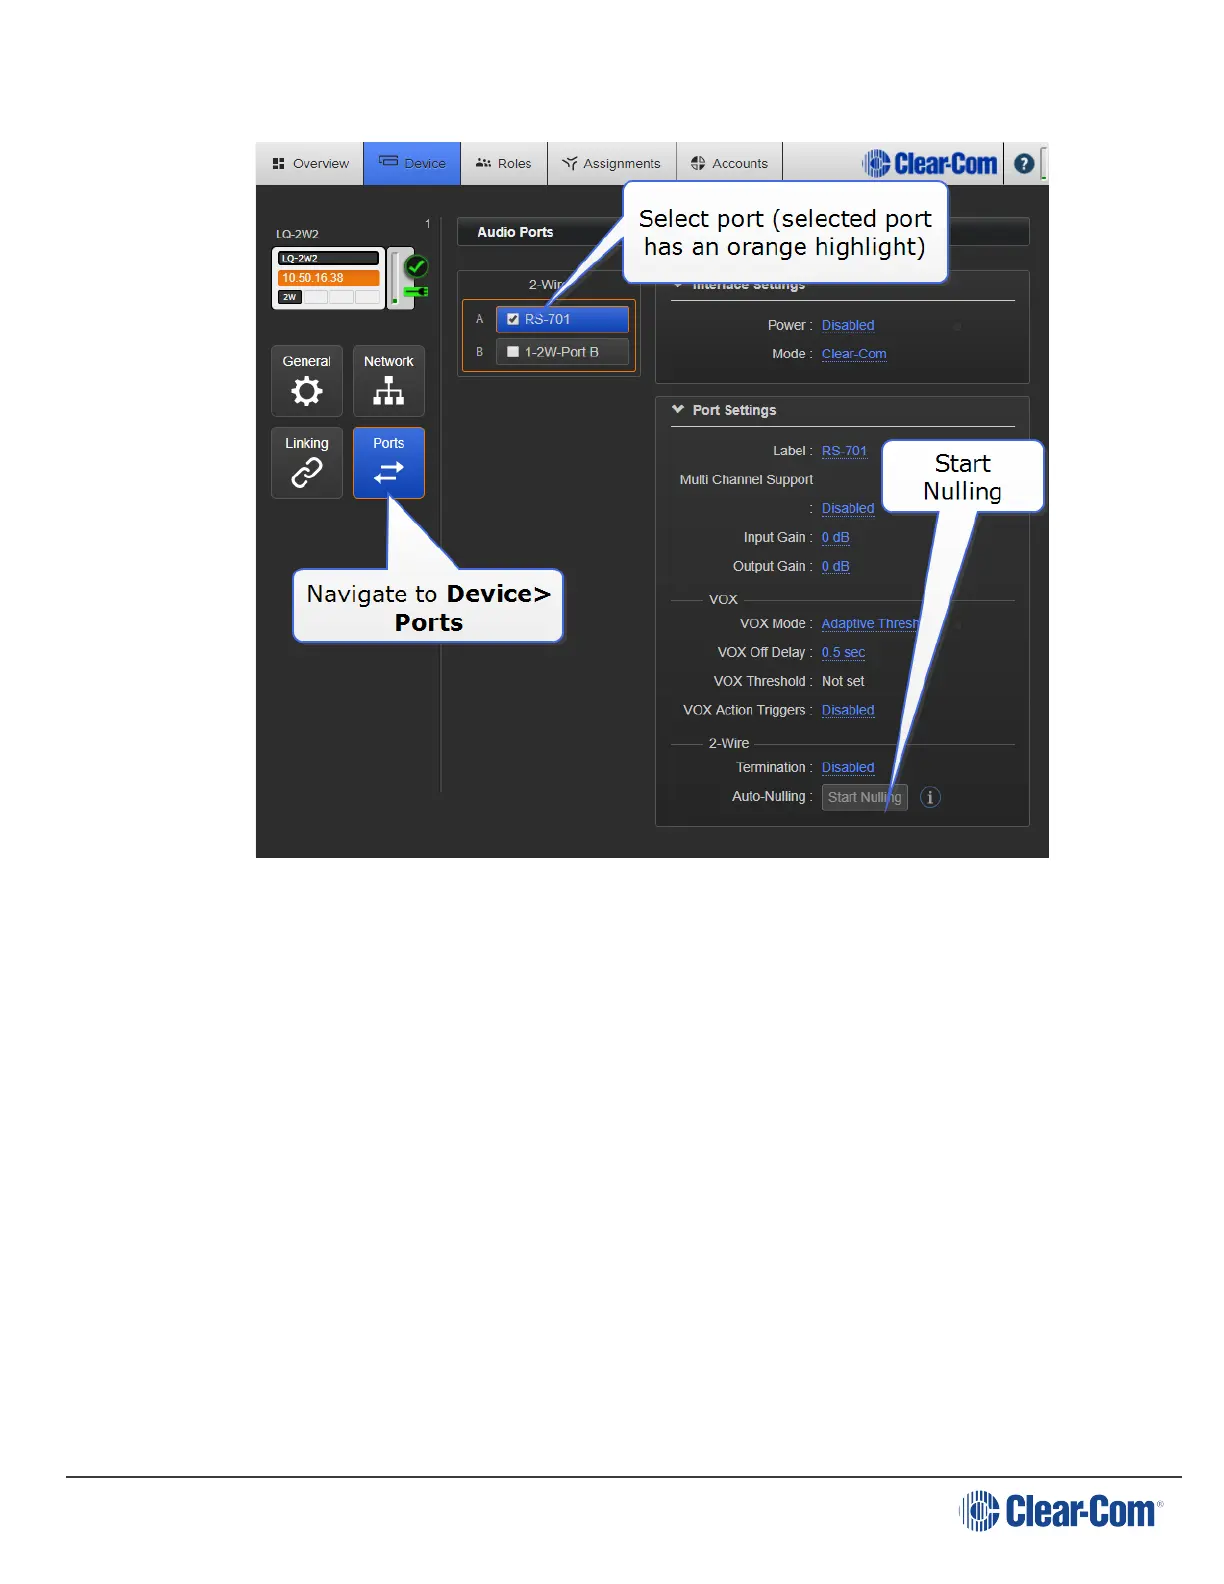
8. Expand port sections and click on the Auto-Nulling button for each port.
Note: The auto-nulling operation emits a loud hiss on the circuit. When auto-nulling,
ensure that all talk buttons on external Partyline devices are turned off.
For more information, see:
About Linking on page 58
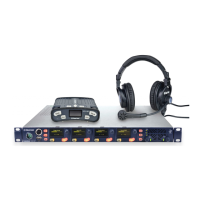
In LQ 4.0 and above a HelixNet Main Station can also be included in a Link-Group.
LQ to HelixNet connectivity on page 123
4.3 Using Channels to route audio
1. Click on the Assignments button within the navigation bar.
2. Select the Channels tab.
3. Select Channel 1 (or other Channel) from list on the right of Assignments page.
4. Add Port on each device to required Channel by clicking on the + symbol to the
right of each port.
Page 51