34
camera, subject, dye, or material may have a variable amount of time before the next picture is
desired. This mode is geared toward specialized applications and we would recommend the
use of “Automatic Distance” under most circumstances.
5.1.7.1 Advancing the rail
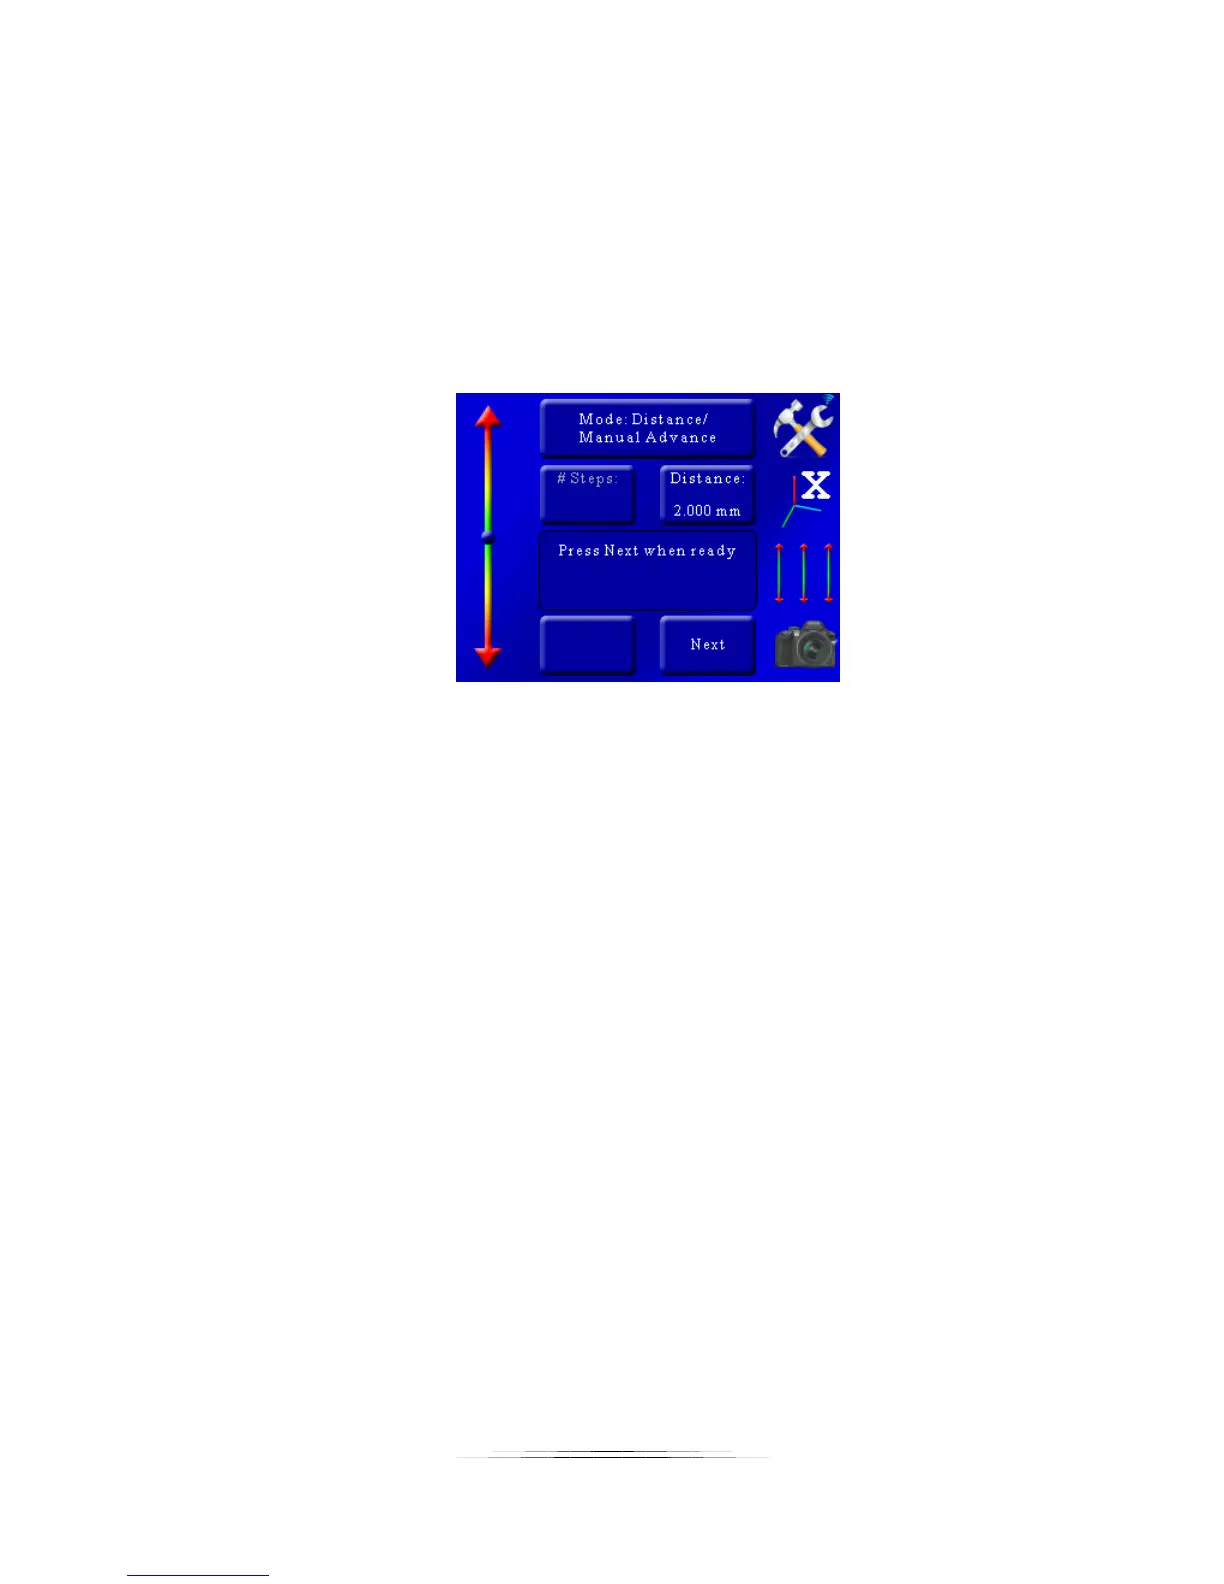
After the start and stop points have been selected like in the “Automatic Distance” mode, the
rail will automatically move to the start point and take the first picture (or pictures). Once the
shutter activates, the rail will move to the next position. You will then see the following:
At this point press the “Next” button to advance to the next step.
5.1.8 Mode: Auto-Rotary
“Auto-Rotary” is similar to the “Auto-Distance” mode except that it is designed for rotary tables.
This mode will use the rotary table parameters in the settings.
5.1.8.1 Degrees per Step
“Deg/Step” is the rotational distance the rotary table will move for every step. To adjust this
angle press the “Deg/Step” button and enter the desired angle you would like the rotary table to
move per step.
5.1.8.2 Selecting the Start/End Positions
Use the position slider on the left to find the appropriate beginning of the picture sequence.
Once happy with that position, press the “Set” button. The status window will change to “Select
the end position”. Again, use the position slider on the left to choose the final position of the
sequence. Press the “Set” button to confirm the end position.