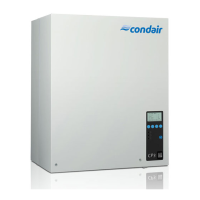
66
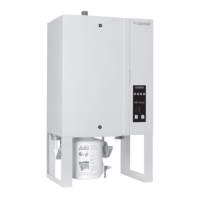
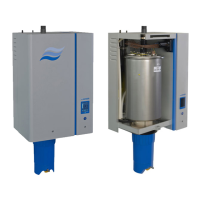
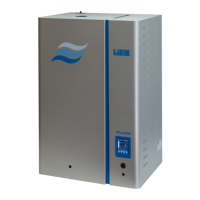
7.3.4 Removal and installation of the drain pump
The steam cylinder does not need to be removed when removing the drain pump.
1. Detachelectriccables(polarityofthecablesmustnotbeobserved).
2. Releasehoseclampsandremovethehosesfromtheconnectors.
3. Pullthedrainpumpofftheholdingdevice.
4. Separatetheelectricmotorfromthepumpbody:releasethelockonthebayonetcatch,then
counter-rotate the electric motor and the pump body.
The assembly and the installation
of thedrainpumpfollowsthereversesequence. Beforeas-
semblingthepump,checkO-ringfordamageandreplaceifnecessary.Then,placetheO-ringon
the centering collar and moisten the O-ring with water.
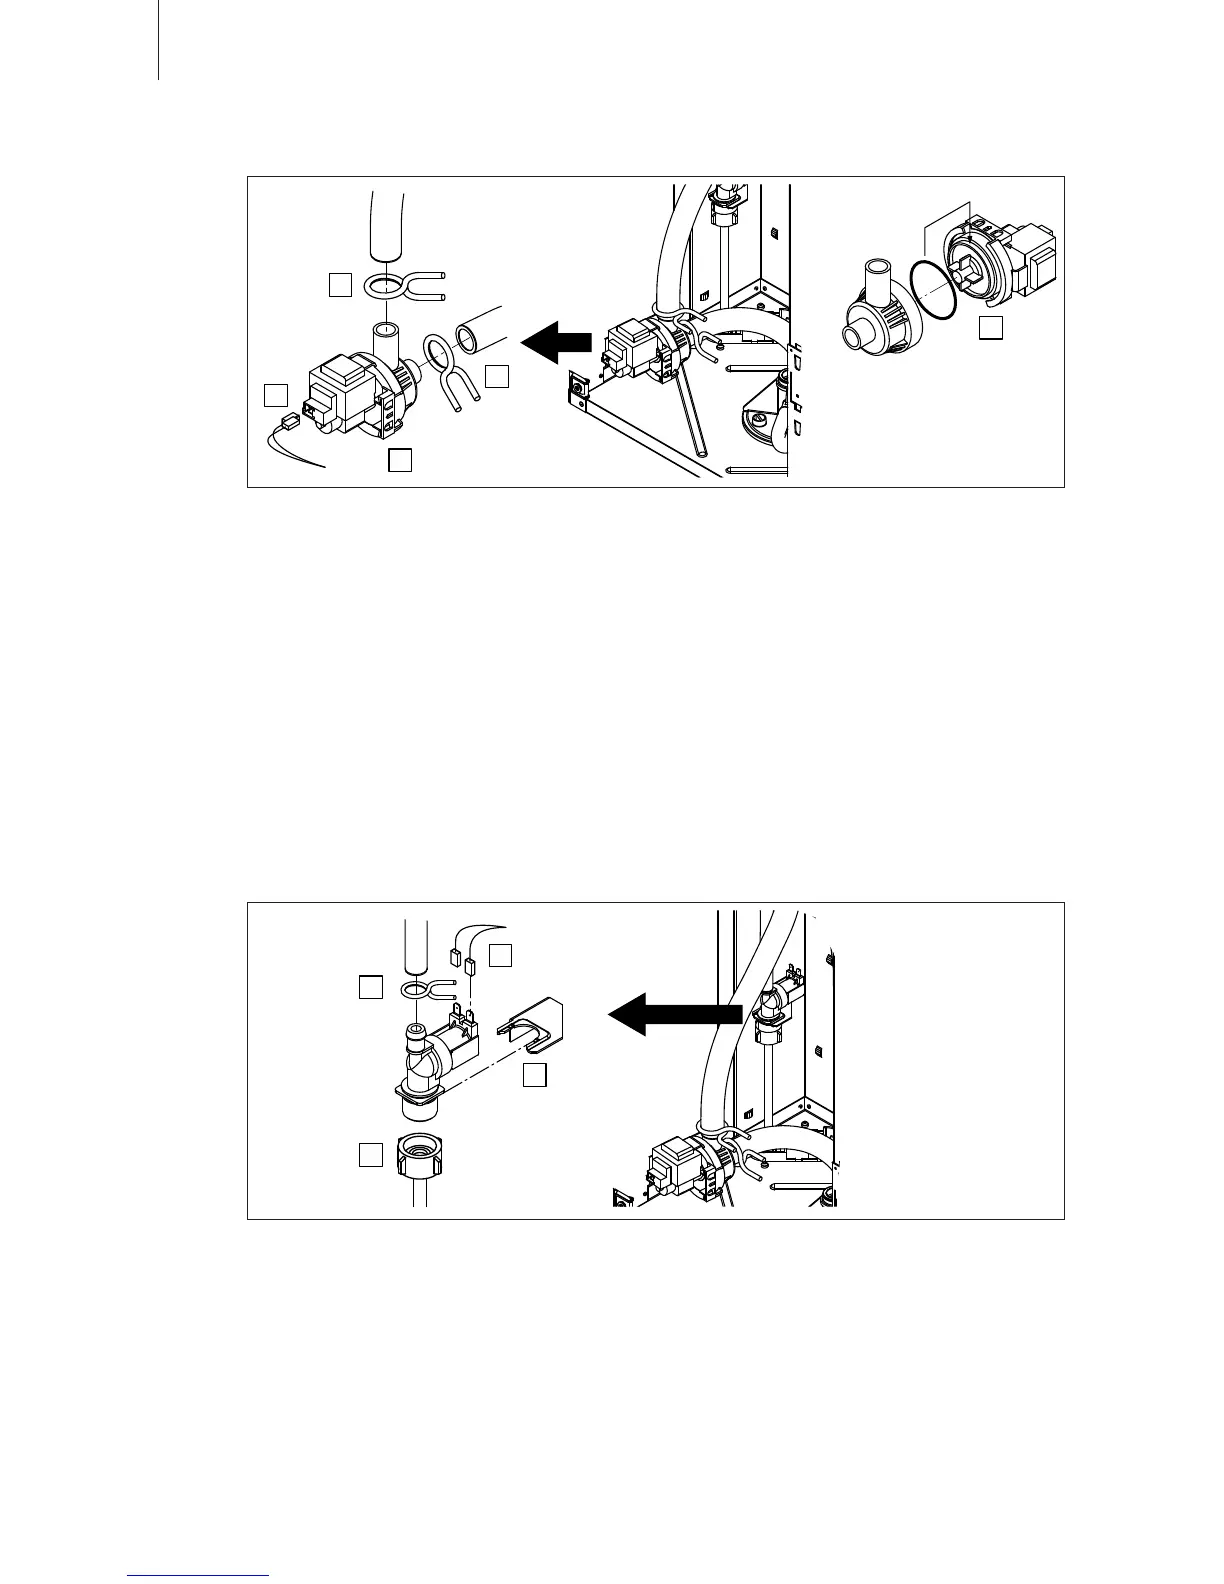
7.3.5 Removal and installation of the inlet valve
The steam cylinder does not need to be removed when removing the inlet valve.
1. Detachelectriccables(polarityofthecablesmustnotbeobserved).
2. Releasehoseclampandremovethehosefromtheconnector.
3. Unlockunionnutofthewaterpipeandremovewaterpipe.
4. Pulltheinletvalveofftheholdingdevice.
The installationoftheinletvalvefollowsthereversesequence.Theunionnutofthewaterpipe
must be tightened by hand only.
1
2
2
3
4
2
3
3
1