27
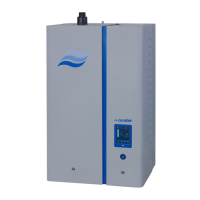
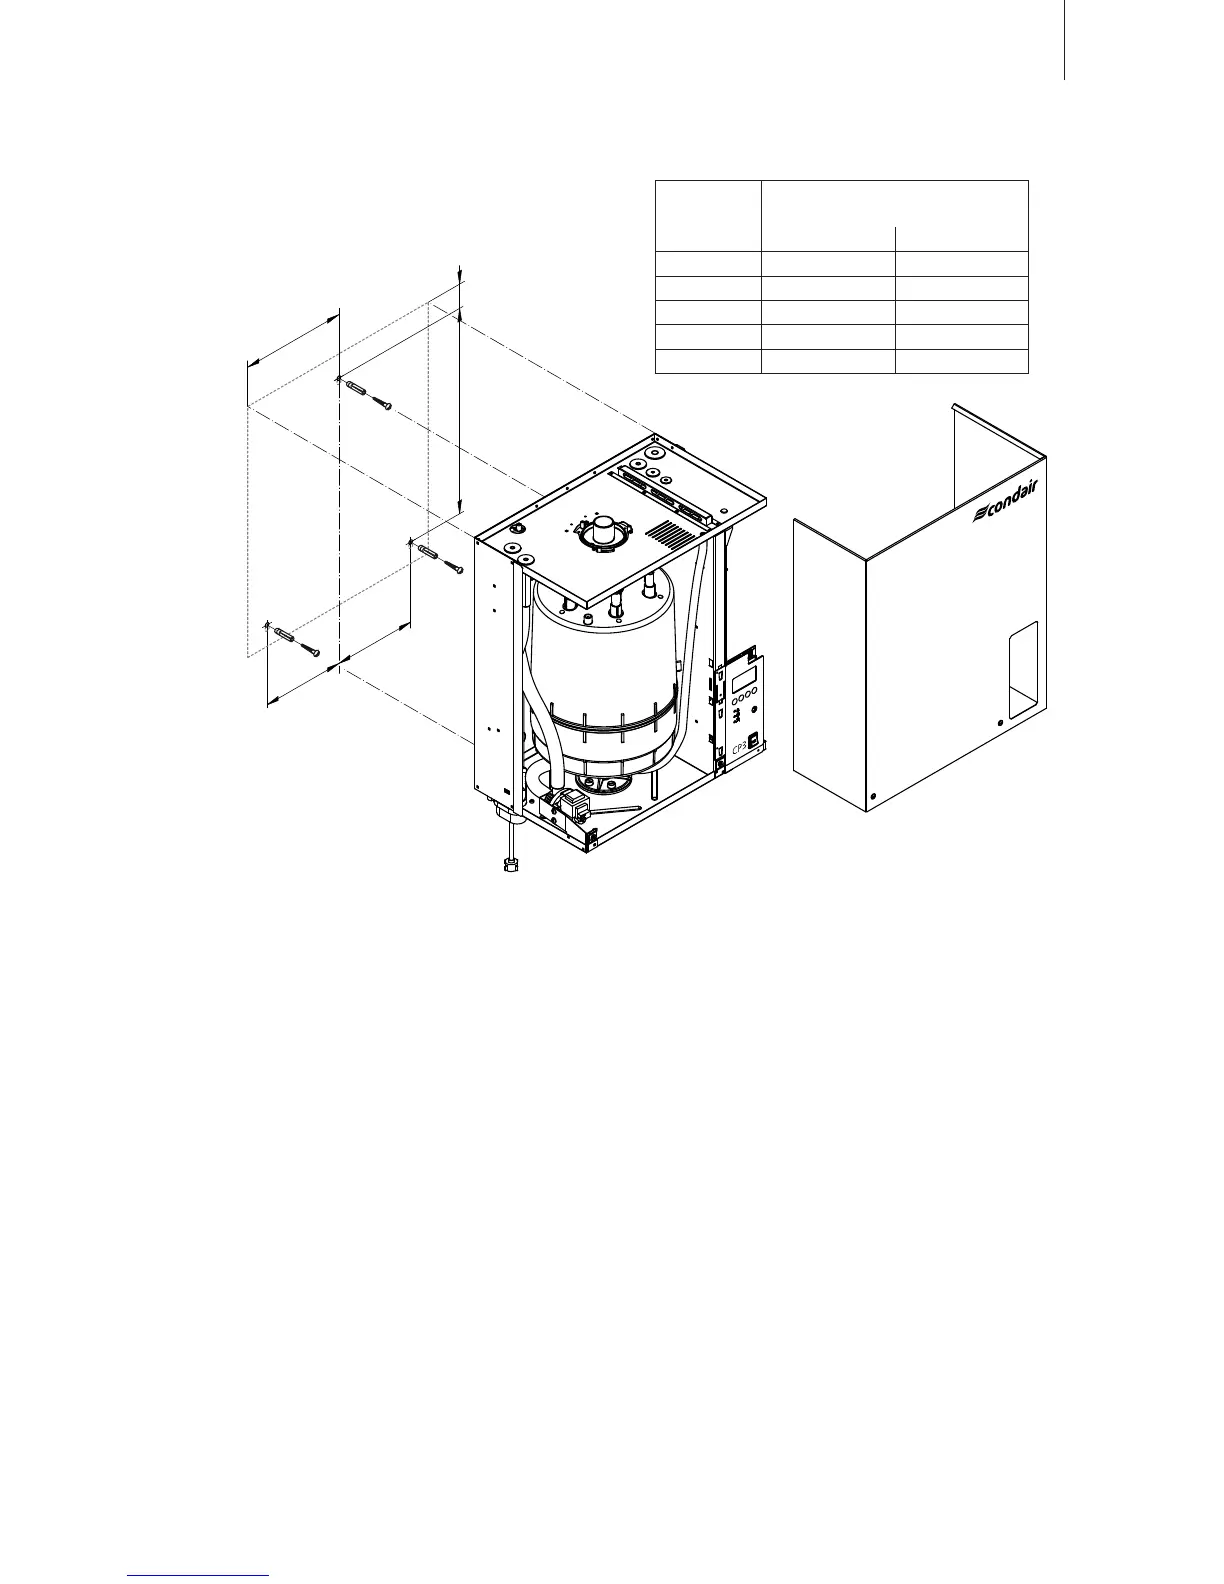
5.2.2 Mountingthehumidier
Procedure
1. Marktheattachmentpoint“A”onthewall.
2. Drillholeforattachmentpoint“A”(diameter:8mm,depth:40mm).
3. Insert the supplied plastic plug, and tighten the screw until the distance between the wall and the
screw head is 4 mm.
4. Unlockthetwoscrewsxingthefrontpaneltotheunit,thenremovethefrontpanel.
5. Hanguptheunitontothescrewandadjustithorizontallyandverticallyusingaspiritlevel.Then,
markthexingpoints“B”.
6. Drilltheholesforthexingpoints“B”(diameter:8mm,depth:40mm).
7. Insert the supplied plastic plugs, and tighten the screws until the distance between the wall and
the screw head is 4 mm.
8. Hangtheunitupontothescrews.Beforetighteningthescrews,readjusttheunitwiththespirit
level.
9. Reattachthefrontpanelandsecureitwiththetwoscrews.
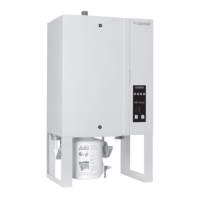
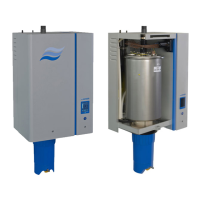
d
e
b
c
a
A
B
B
Dimensi-
on
Housing size
small large
a 228 mm 284 mm
b 51 mm 51 mm
c
500mm 545 mm
d
90mm 144 mm
e
180mm 216 mm