1. Select the “Child Lockout” option from the
Devices menu. Press the OK button.
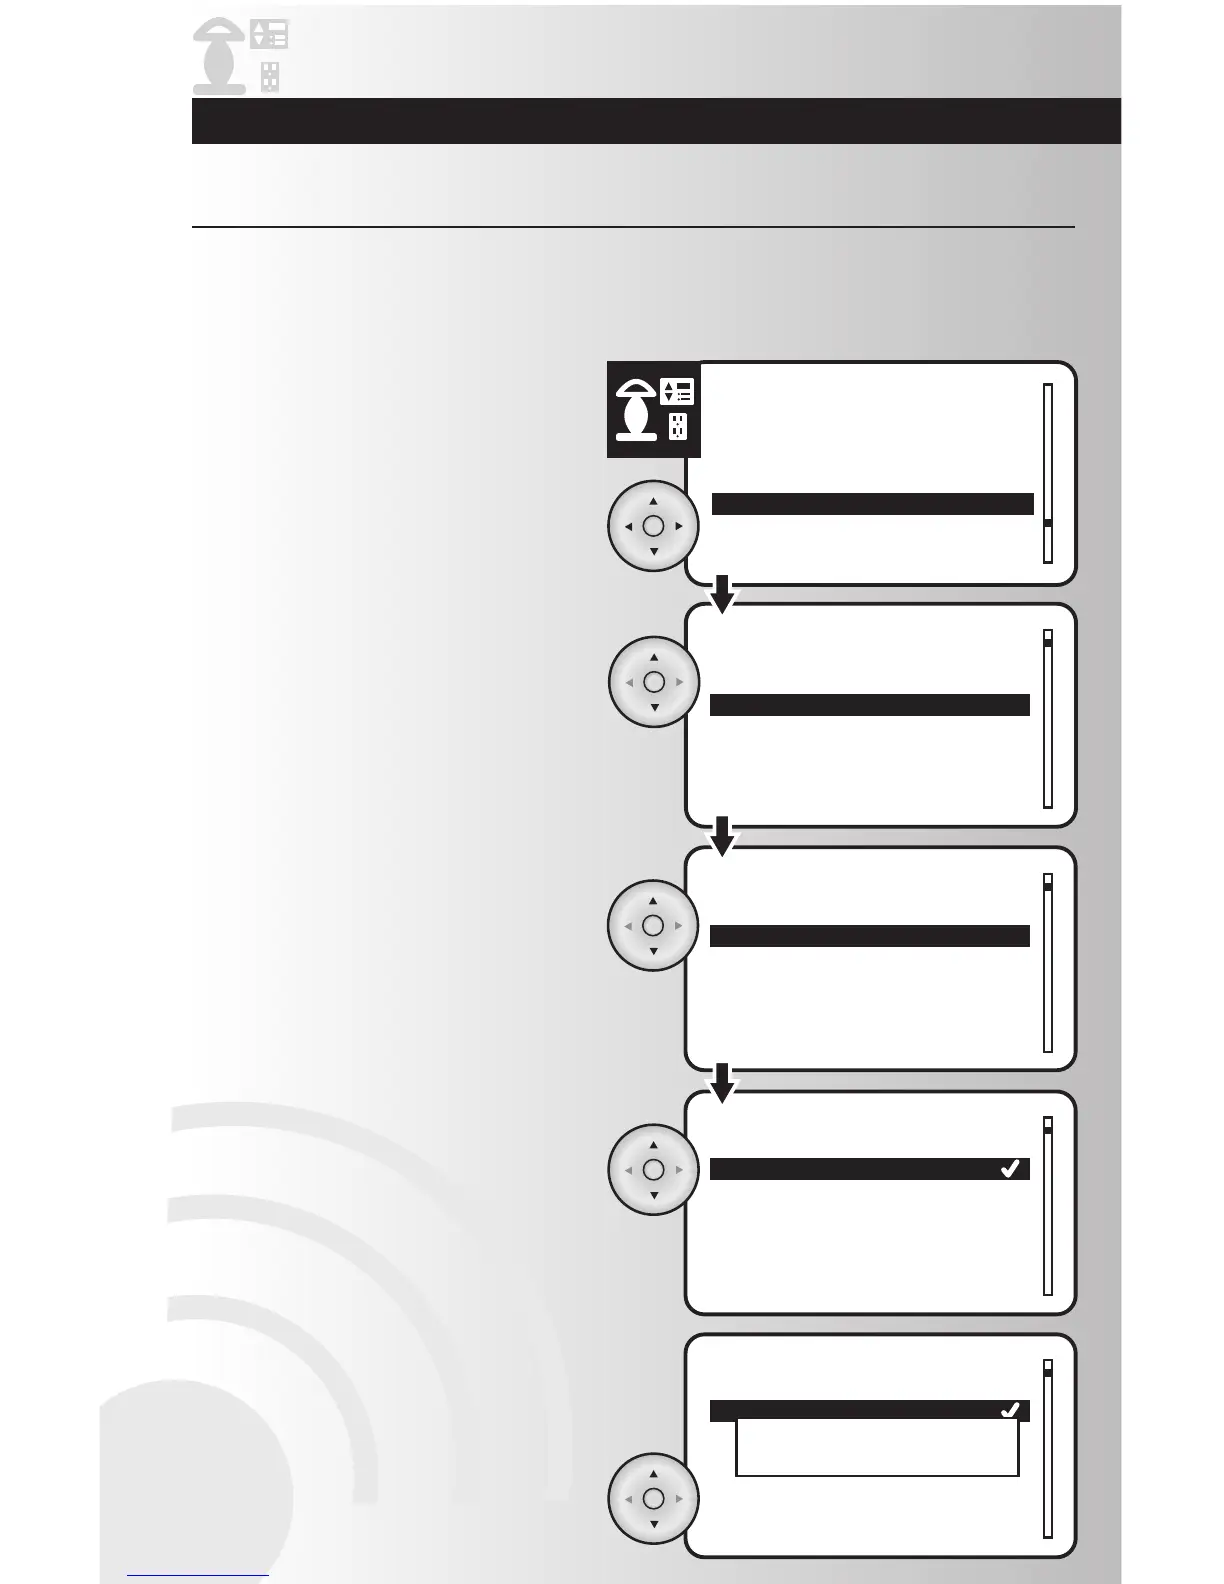
Activate Child Lockout
2. Use the up and down arrows to scroll and
highlight the location of the device for child
protection. Press the OK button.
3. Use the up and down arrows to scroll and
highlight the specific device for child
protection. Press the OK button.
4. The current level of protection will be marked
with a checkmark. If you want a different
level, use the arrow pad to highlight one of
the three available protection levels.
Press the OK button.
• If you select “No Lockout”, the device will
not be protected.
• If you select “Sequence Control” for a
Cooper device, press the button on the
device three times in less than 2 seconds to
turn the device on or off.
• If you select Remote control only, the
device will only be controlled by the
handheld or table top controller.
5. To confirm changes press the OK button to
save the settings, wait for a pop-up window
to display “Device updated.”
This function allows you to protect children from electrical devices. You can choose from “No Lockout,”
which will offer no child protection, “Sequence Control,” which will allow the device to be controlled locally
by a key press sequence, or “Remote Control Only,” which will only allow a device to be controlled with a
wireless controller.
Make Advanced Changes to Your System