MX-E Series Hardware Guide Mounting the Camera
31 Datalogic S.r.l.
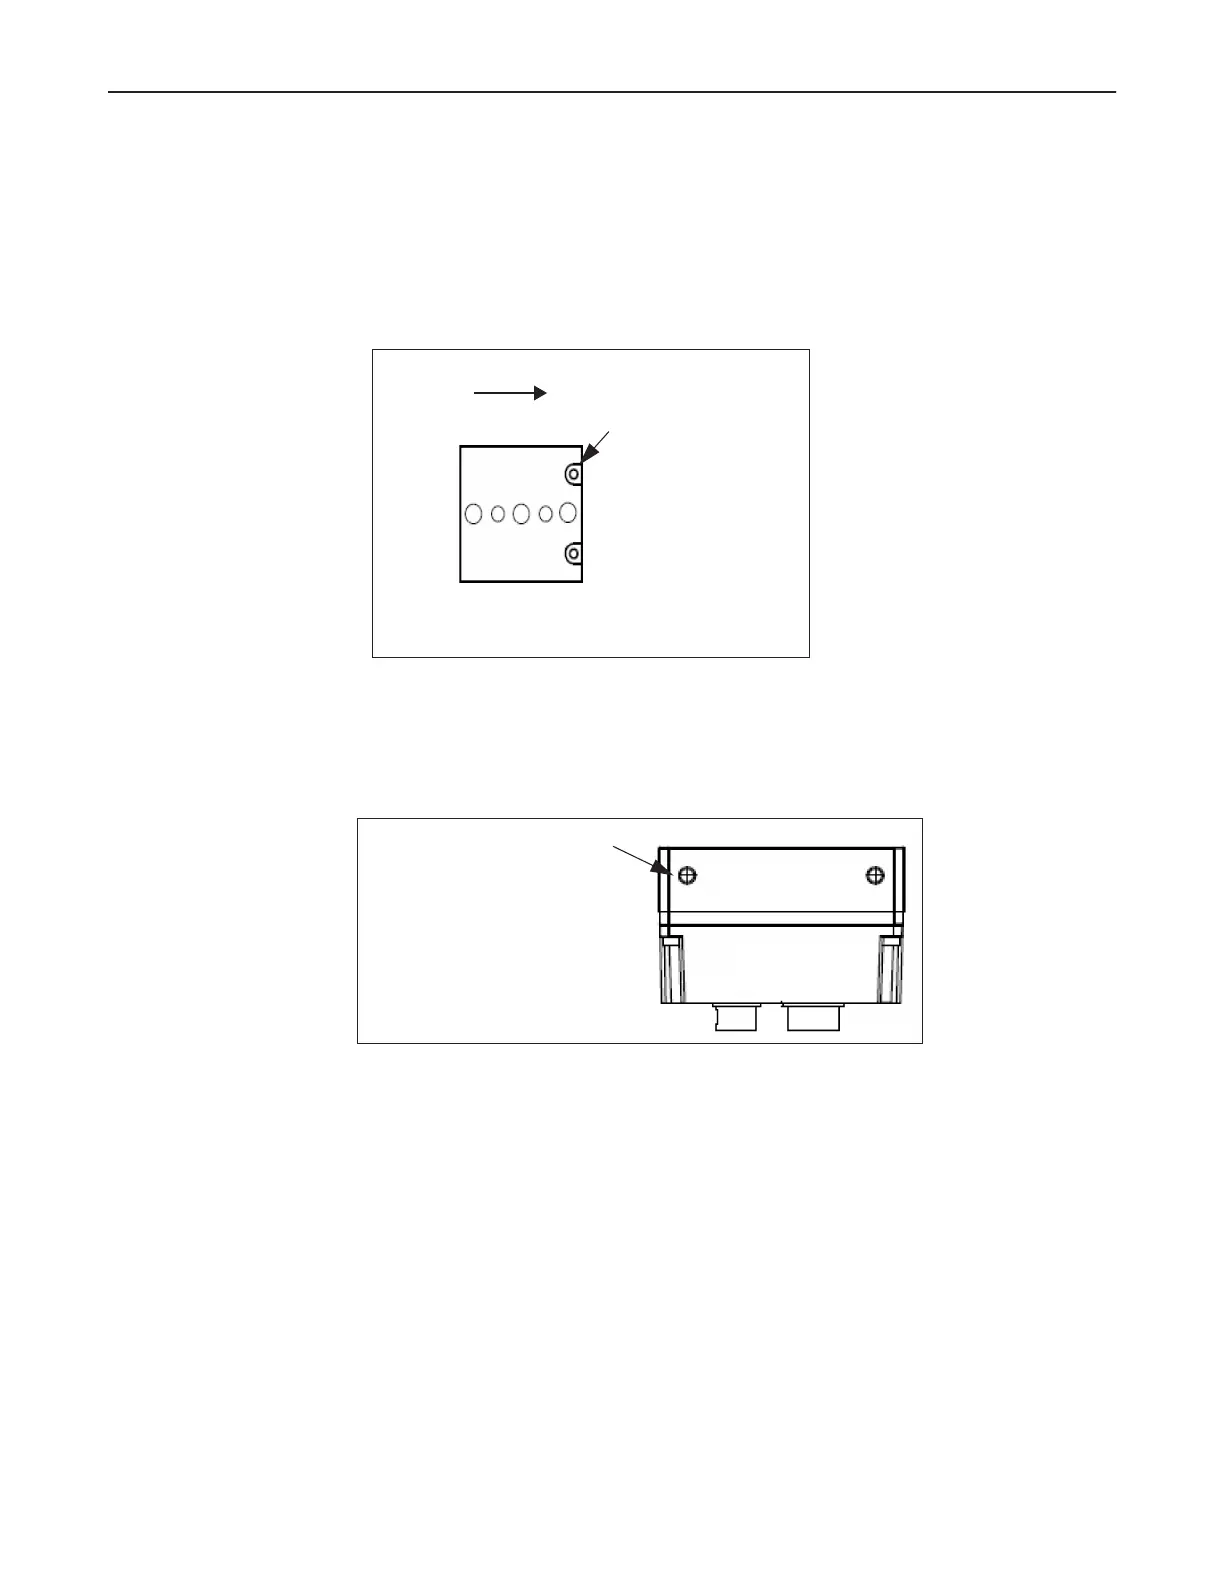
To mount an M2xx or M3xx camera
1. With the mounting block held tightly against the camera body, insert two mounting bolts through the mounting
bolt holes (see diagram below).
2. Turn the mounting bolt clockwise to tighten the block and secure it to the camera.
3. Use appropriately sized fasteners in the pre-threaded holes in the bottom of the mounting bracket to secure the
mounting block to a rigid surface for proper stability and heat transfer. (See “M2xx Camera Dimensions” on
page 26 and “M3xx Camera Dimensions” on page 27.)
To mount an M565/M570/M575/M580 camera
1. With the camera body held tightly against the desired mounting surface, insert two mounting bolts through the
mounting surface and into the mounting bolt holes (see diagram below).
To mount an M6xx camera
1. With the camera body held tightly against the desired mounting surface, insert appropriately sized mounting bolts
through the mounting surface and into the mounting bolt holes on the bottom of the camera (see “M6xx Camera
Dimensions” on page 29).
Camera Front
Mounting Bolts M3 (2 ea.)
M2xx and M3xx Mounting Block
(381-1354)
Mounting Bolt holes M4 (2 ea.)
Bottom View