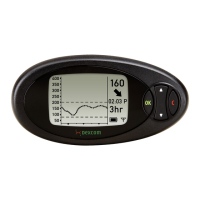
SEVEN PLUS User’s Guide | 45
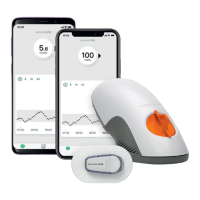
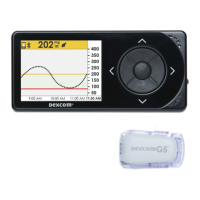
To use your SEVEN PLUS Continuous Glucose Monitoring System you will
need a Sensor, a Transmitter, and a Receiver. You will also need a blood glucose
meter and test strips for calibration. Once inserted and calibrated, the Sensor will
continuously measure and display your glucose readings for up to 7 days (166
hours after the 2-hour Start-Up period). The following sections will show you how
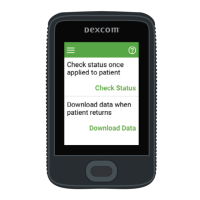
to insert the Sensor and start a new continuous glucose
monitoring session.
3.1 BEFORE YOU START
rWash your hands thoroughly.
rMake sure you charge your Receiver completely rst. See Chapter 2, Section 2.1, “Charging
Your Receiver Battery” for directions.
rCheck that the date and time are correct on the Receiver.
rIf this is a new Transmitter, make sure the correct Transmitter ID Number has been entered
into your Receiver (See Chapter 2, Section 2.2.2, “Setting your Transmitter ID”).
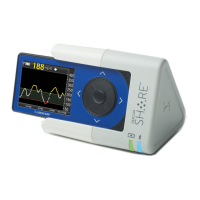
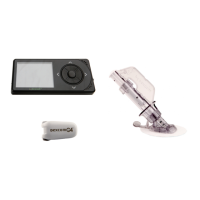
r Place the Transmitter next to the Receiver for at least 5 minutes to make sure they are talk-
ing with each other. There will be an Antenna Symbol in the lower right corner of the Trend
Graphs when the two devices are talking.
r
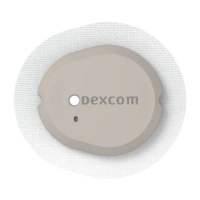
Check the expiration date on the Sensor. The expiration date format is YYYY-MM-DD.
Sensors must be inserted on or before the end of the calendar day printed on the Sensor
package label.
rQuality check (“QC”) your Blood Glucose Meter per the manufacturer’s instructions to make
sure it is providing you the best readings for calibration (e.g., check the code number and
use the control solution).
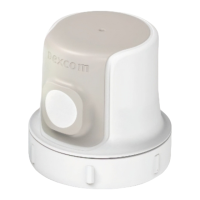
rClean the bottom of the Transmitter with a damp cloth or alcohol wipe, and dry before you
start a new Sensor session.
rIf you are using Auto Upload from a Lifescan
®
OneTouch
®
Ultra
®
meter, you must connect (or
“register”) your meter to your Receiver before you start.
rMake sure your meter and Receiver date and time match.