48 | SEVEN PLUS Continuous Glucose Monitoring System
3.4 PLACING THE SENSOR
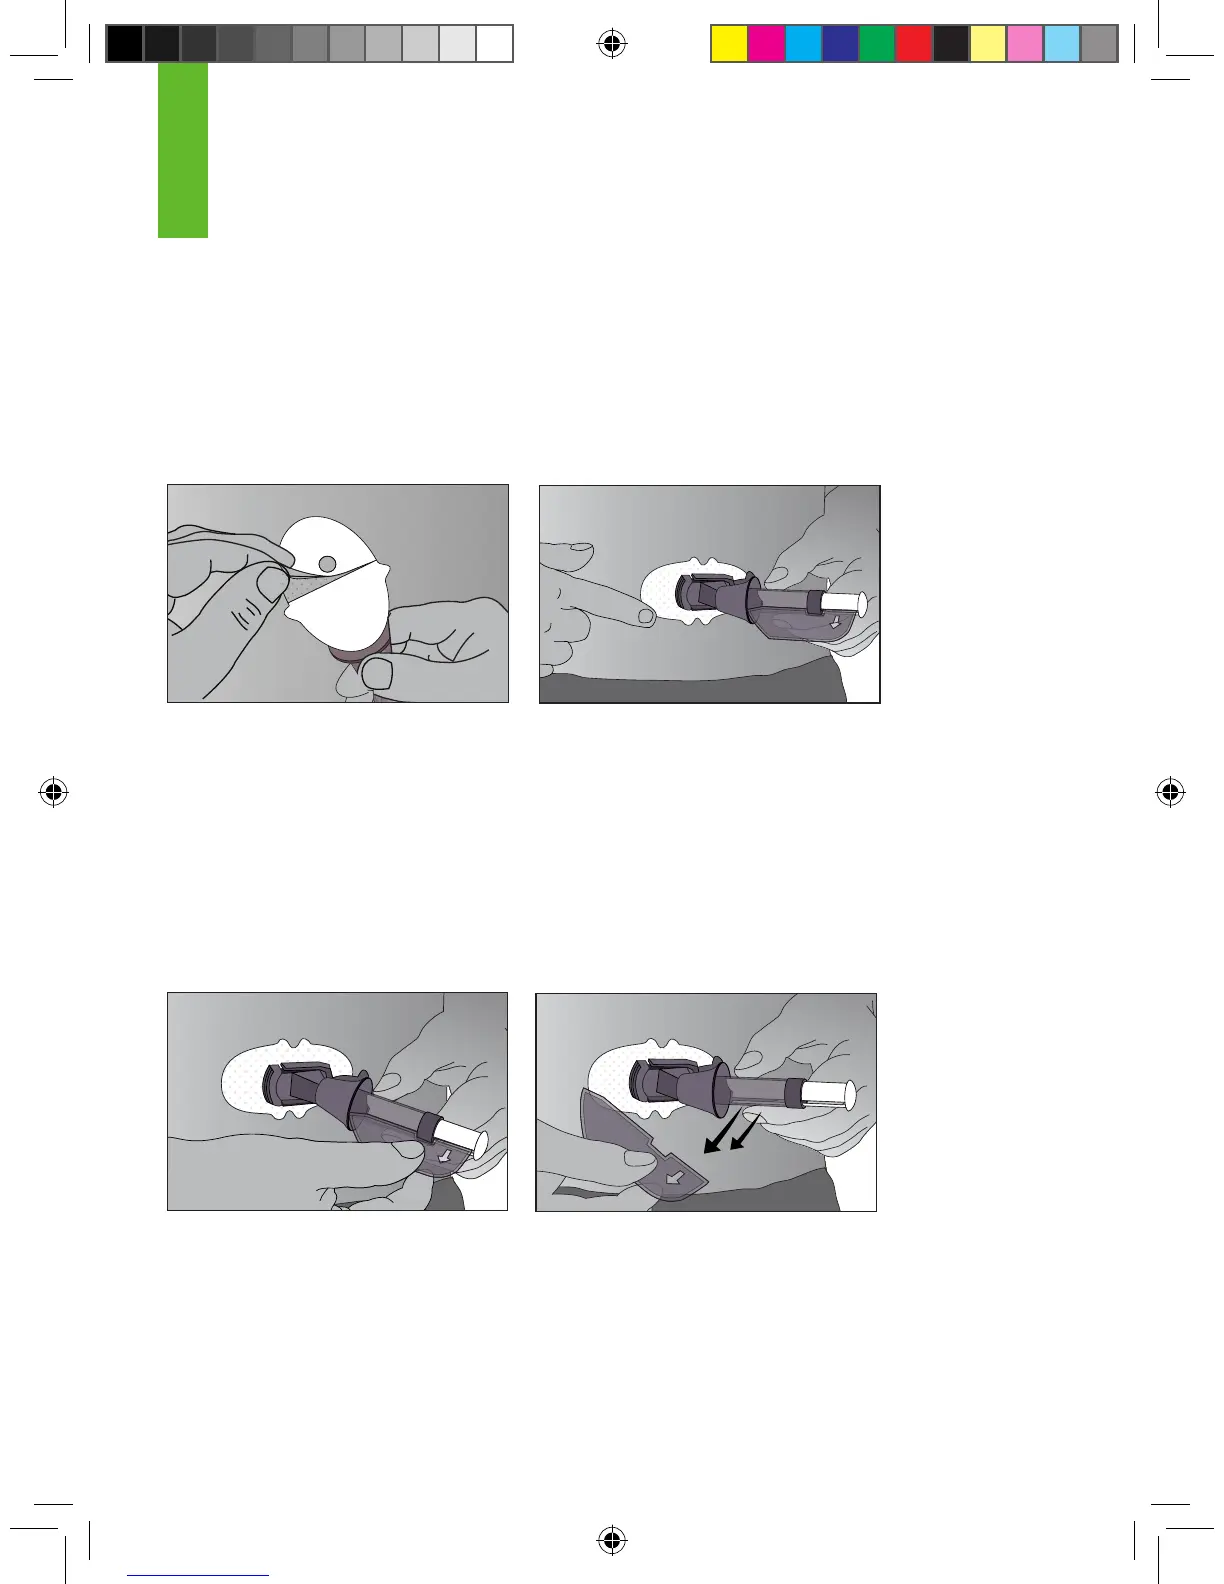
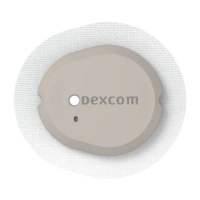
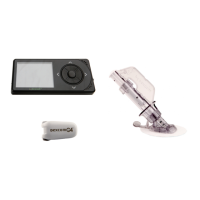
1. After you have cleaned your skin, remove the adhesive backing from the Sensor Pod. Hold the
Sensor by the plastic Applicator and try not to touch the sticky adhesive patch.
2. Place the Sensor on the area. You can place the Sensor at facing to the left or right of your
belly button. Make sure the Sensor is placed in the same direction shown in the picture below.
You should not place the Sensor pointing in the up or down direction.
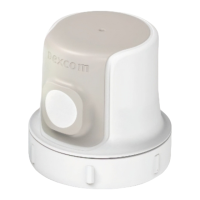
3. After placing the Applicator, press rmly on and around the outside of the adhesive patch to
make sure it is at.
a. Pressing the patch to remove any wrinkles should help it stick better.
b. Press rmly over the entire patch area.
4. Hold on to the Applicator. Then pull the Safety Lock/Transmitter Key straight out away from the
applicator, in the direction the arrow shows below.
3
Remove the Adhesive backing Adhere the Sensor on the skin
Remove the Safety Lock/Transmitter Key