50 | SEVEN PLUS Continuous Glucose Monitoring System
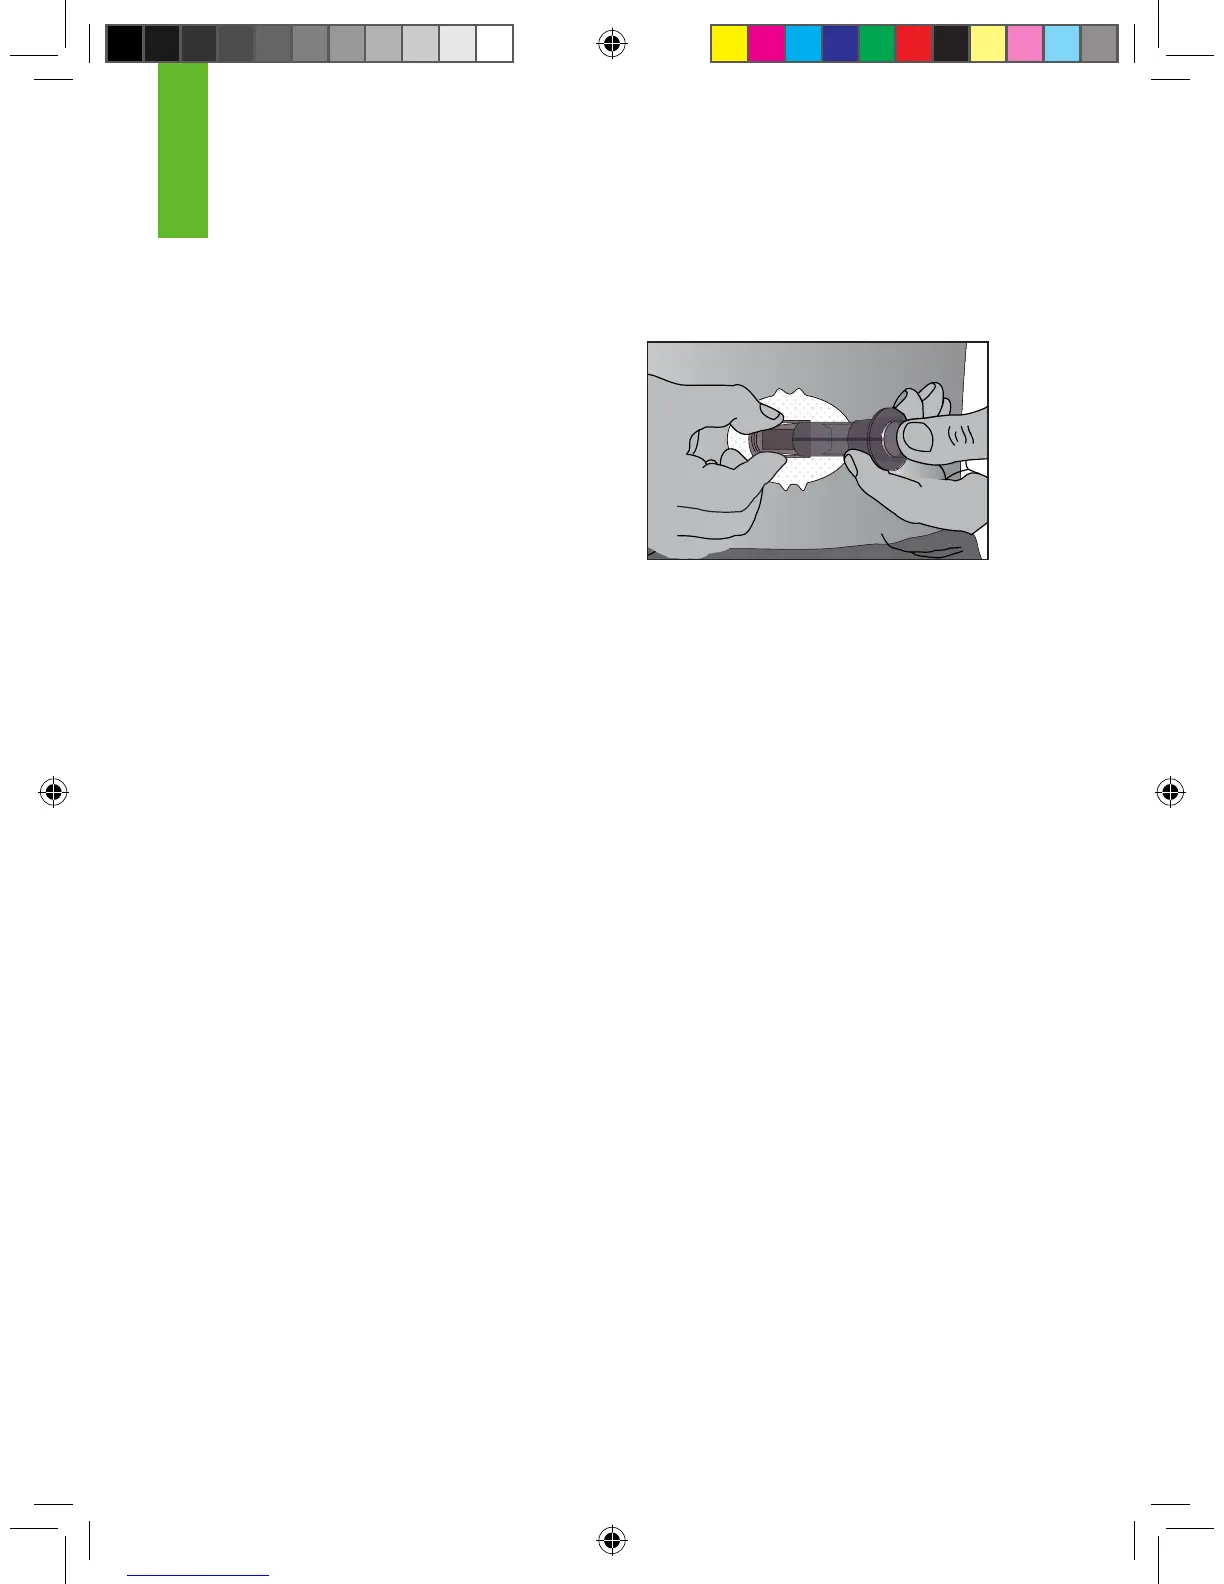
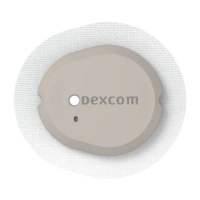
4. Squeeze the ribbed release tabs on the sides of the Sensor Pod to remove the Applicator.
When you squeeze the front release tabs, the back tabs will widen, allowing you to pull off the
Applicator. After this step, only the Sensor Pod will
be left on your body.
a. Make sure the Transmitter Latch is down
(against your body) to remove the Applicator.
5. The used Applicator can be thrown in the trash.
If you have any problems with insertion, save the Sensor and Applicator
and contact DexCom Technical Support at 1-888-SEVENGO (738-3646).
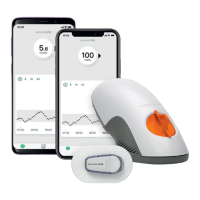
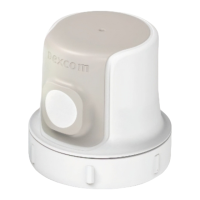
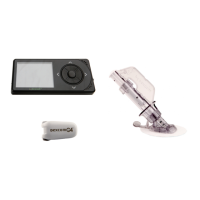
3.6 TRANSMITTER ATTACHMENT
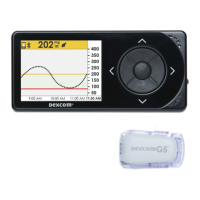
The Transmitter wirelessly sends your Sensor glucose information to the
Receiver. Once you have inserted your Sensor, you will need to snap the
Transmitter into the Sensor Pod. Follow the steps below to attach your Transmitter.
1. Clean and dry the bottom of the Transmitter with a damp cloth or an alcohol wipe before
every use.
a. Be careful not to touch the metal circles on the bottom of the Transmitter.
2. Place the Transmitter in the Sensor Pod with the at side facing down.
3. Pull the Transmitter Latch over the Transmitter to snap the Transmitter into place. The Trans-
mitter should lie at in the Sensor Pod. You should hear 2 “clicks.”
a. If you do not hear 2 clicks, the Transmitter might not be fully snapped in.
4. Make sure both sides of the Transmitter are secure inside the Sensor Pod.
a. Do this by sliding your rst and second ngers under the edge of the Sensor Pod (with
your ngernails against your skin under the Latch).
b. Place your thumb on top of the Transmitter.
c. Then squeeze together to make sure the Transmitter has been snapped in.
3
Release the Applicator