SEVEN PLUS User’s Guide | 51
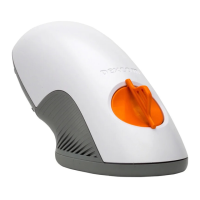
5. Remove the Transmitter Latch by holding the end of the Latch and quickly twisting off the Latch
away from your body.
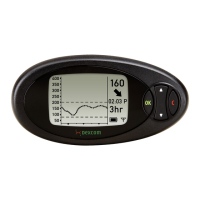
6. Press any button on the Receiver to check for the Antenna Symbol at the lower right corner
of the screen. If the Out of Range Symbol appears in the Status Box (upper right corner)
instead, move the Receiver closer to your Transmitter. (See Chapter 3, Section 3.7, “Transmitter
and Receiver Communication”).
HELPFUL HINTS:
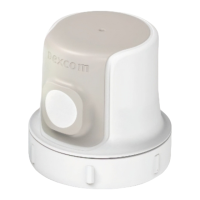
• Make sure you hear 2 clicks when you snap the Transmitter in place (see
Step 3). This helps ensure your device is water resistant (see Chapter 3,
Section 3.10, “The SEVEN PLUS and Water”).
• Make sure that you have the correct Transmitter ID Number entered into your Receiver (for all
new Receivers, the Manufacturer enters this number). See Chapter 2, Section 2.2.2, “Setting your
Transmitter ID”, for instructions on how to enter the Transmitter ID into your Receiver.
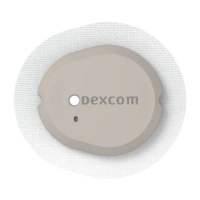
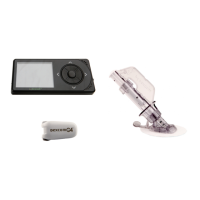
Install Transmitter
in Sensor Pod
Transmitter Installed
Transmitter Latch
Remove
Transmitter Latch