SEVEN PLUS User’s Guide | 59
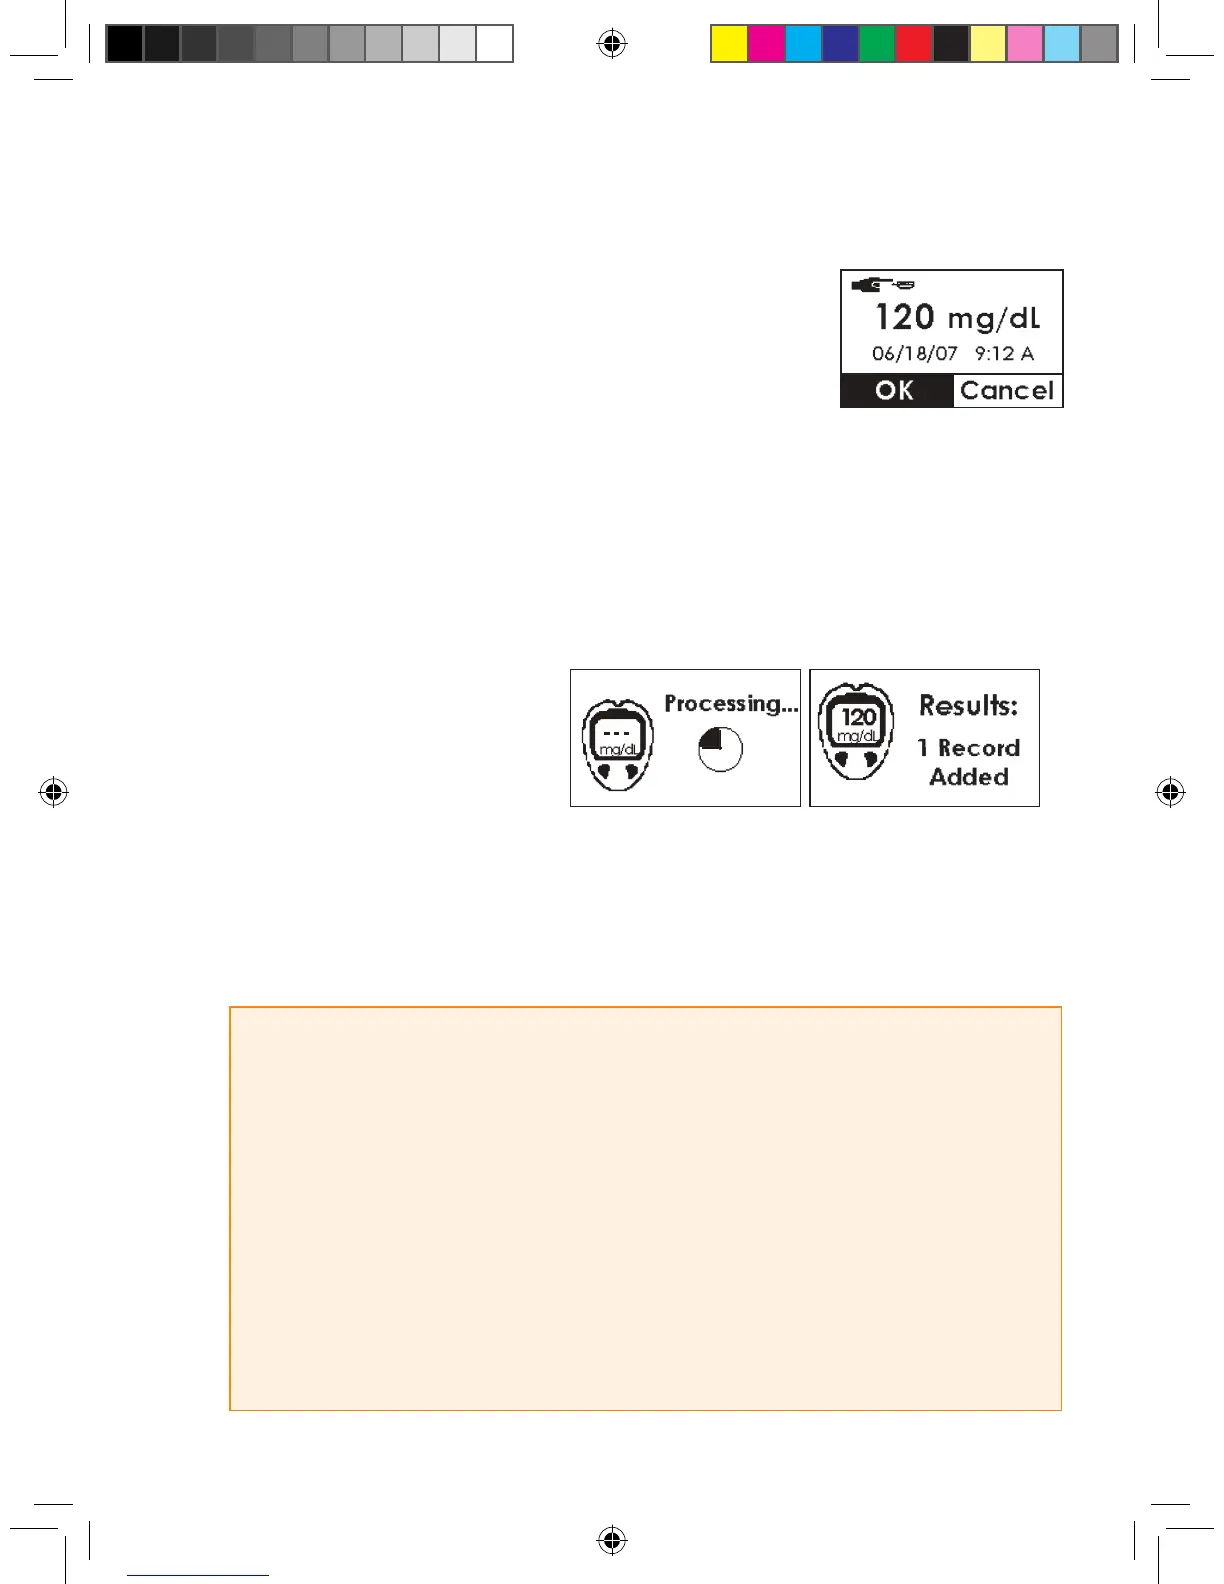
5. To enter the ngerstick reading taken from your meter, press the Up
p and Down q Arrows until you nd the correct reading. Enter a
reading between 40-400 mg/dL. Also make sure this reading was
taken within the past 5 minutes. Press the OK button to enter the
reading.
a. Press the OK button to conrm the reading entered is correct.
b. If the ngerstick reading displayed is incorrect, press the C button and enter in the correct
reading for calibration.
c. If you do not press any button, the Receiver will “time out” and no ngerstick reading informa-
tion will be entered.
d. Pressing the Arrow buttons lets you scroll through by 1 mg/dL. If you want to scroll faster then
hold down the Arrow button.
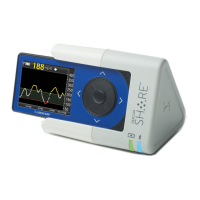
6. Next the Glucose Readings Pro-
cessing screen will
appear, followed by the
“Results Added” screen.
7. For Start-Up Calibration, repeat these steps for the second ngerstick reading.
8. A glucose reading will appear on the Receiver right away, and glucose readings will be updated
every 5 minutes.
9. If readings do not appear immediately, see Chapter 8, Section 8.2,
“Calibration Troubleshooting.”
HELPFUL HINTS:
• Always check that the Receiver and meter date and time are the same.
• Make sure a blood drop or glucose reading is displayed in the Status Box on any Trend Graph
before calibrating.
• Only ngerstick readings between 40-400 mg/dL can be used for calibration.
If 1 or more of your readings entered was outside of this range, the SEVEN PLUS will not calibrate.
You will have to wait to calibrate until your blood glucose is in this range.
• Always make sure the Antenna Symbol is displayed in the lower right corner of the Trend Graph
before you take ngersticks for calibration.
• You should always use the same glucose meter to calibrate the SEVEN PLUS that you routinely use
to measure your blood glucose. Do not switch your BG meter in the middle of Sensor wear.