Operating The Projector
Switching the projector on
• Connect the power cable between the mains supply and the projector. Switch on at the switch next to the power connector.
• Wait until the self-test has completed and the standby indicator on the projector control panel shows amber. The lamp will be off and the
projector will be in STANDBY mode.
• Press on the remote control or the control panel and hold for 3 seconds, to switch the projector ON. The power indicator on the
control panel will show green, the lamp will light and the shutter will open.
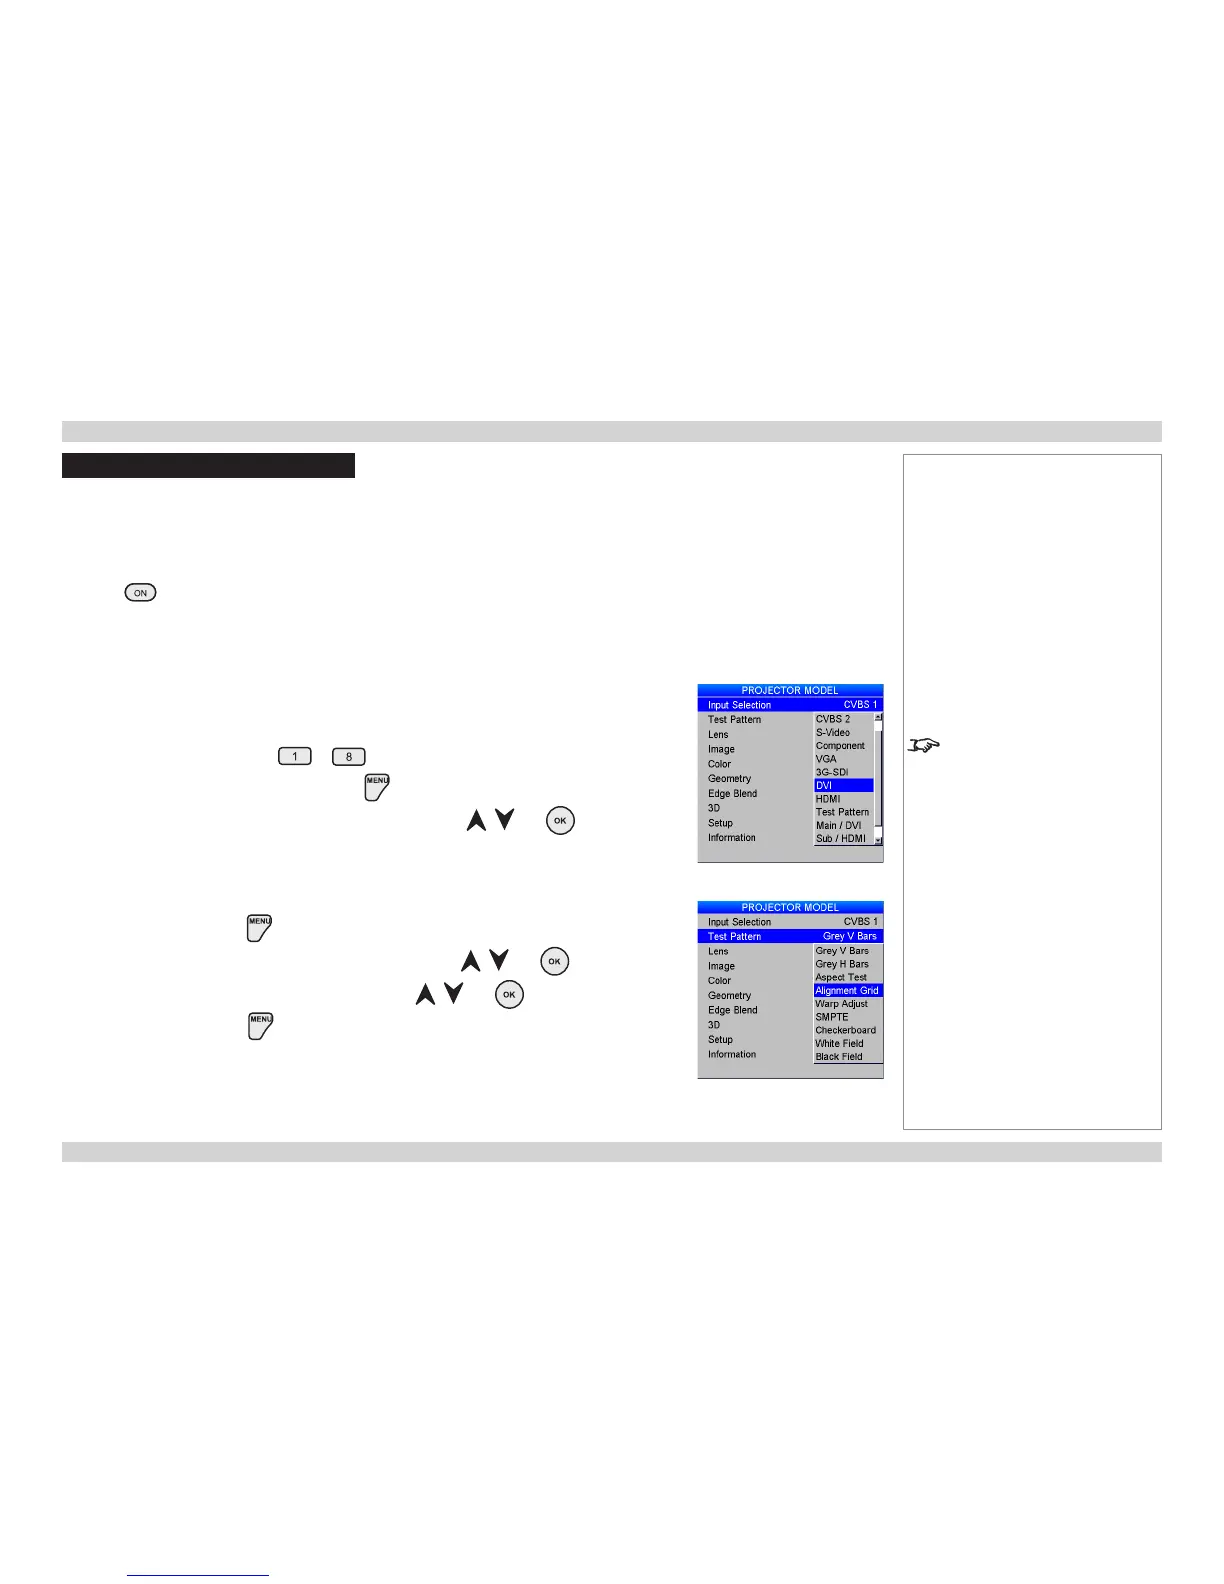
Selecting an input signal or test pattern
Input signal
• Connect an image source to the projector. The signal should be automatically detected by the projector,
and should be displayed within two or three seconds.
If more than one signal is connected, then select the image you want to display:
• Press one of the Input buttons, to on the remote control, or
• Open the On-screen display (OSD) by pressing .
• Select an input signal from the Input Selection menu, using the and buttons.
Test pattern
If you have no image source connected to the projector, then you can display a test pattern instead:
• Open the OSD by pressing .
• Select Test Pattern from the Input Selection menu, using the and buttons.
• Select a pattern from the Test Pattern menu, using the and buttons.
• Close the OSD by pressing again.
Notes
For full details of how to use the
controls and the menu system, see
the Operating Guide.

 Loading...


