M4000 Insulation Analyzer User Guide
72A-1230 Rev. F 4-63
July 22, 2005
Replacing the Amplifier Assembly
Note the location of the Amplifier Assembly in Figure 4.23 on page 4-47.
Take the following steps to replace it:
1. If it has not already been done, remove the card cage cover. See
”Removing the Card Cage Cover” on page 4-48.
2. Remove the Nomex insulator shield to access the four deep-set screws
(described in Step 3). The Nomex insulator is a white, flexible board
located between the Transformer and the Amplifier Assembly. Grasp a
corner of the shield and pull it out using a pair of needle-nose pliers.
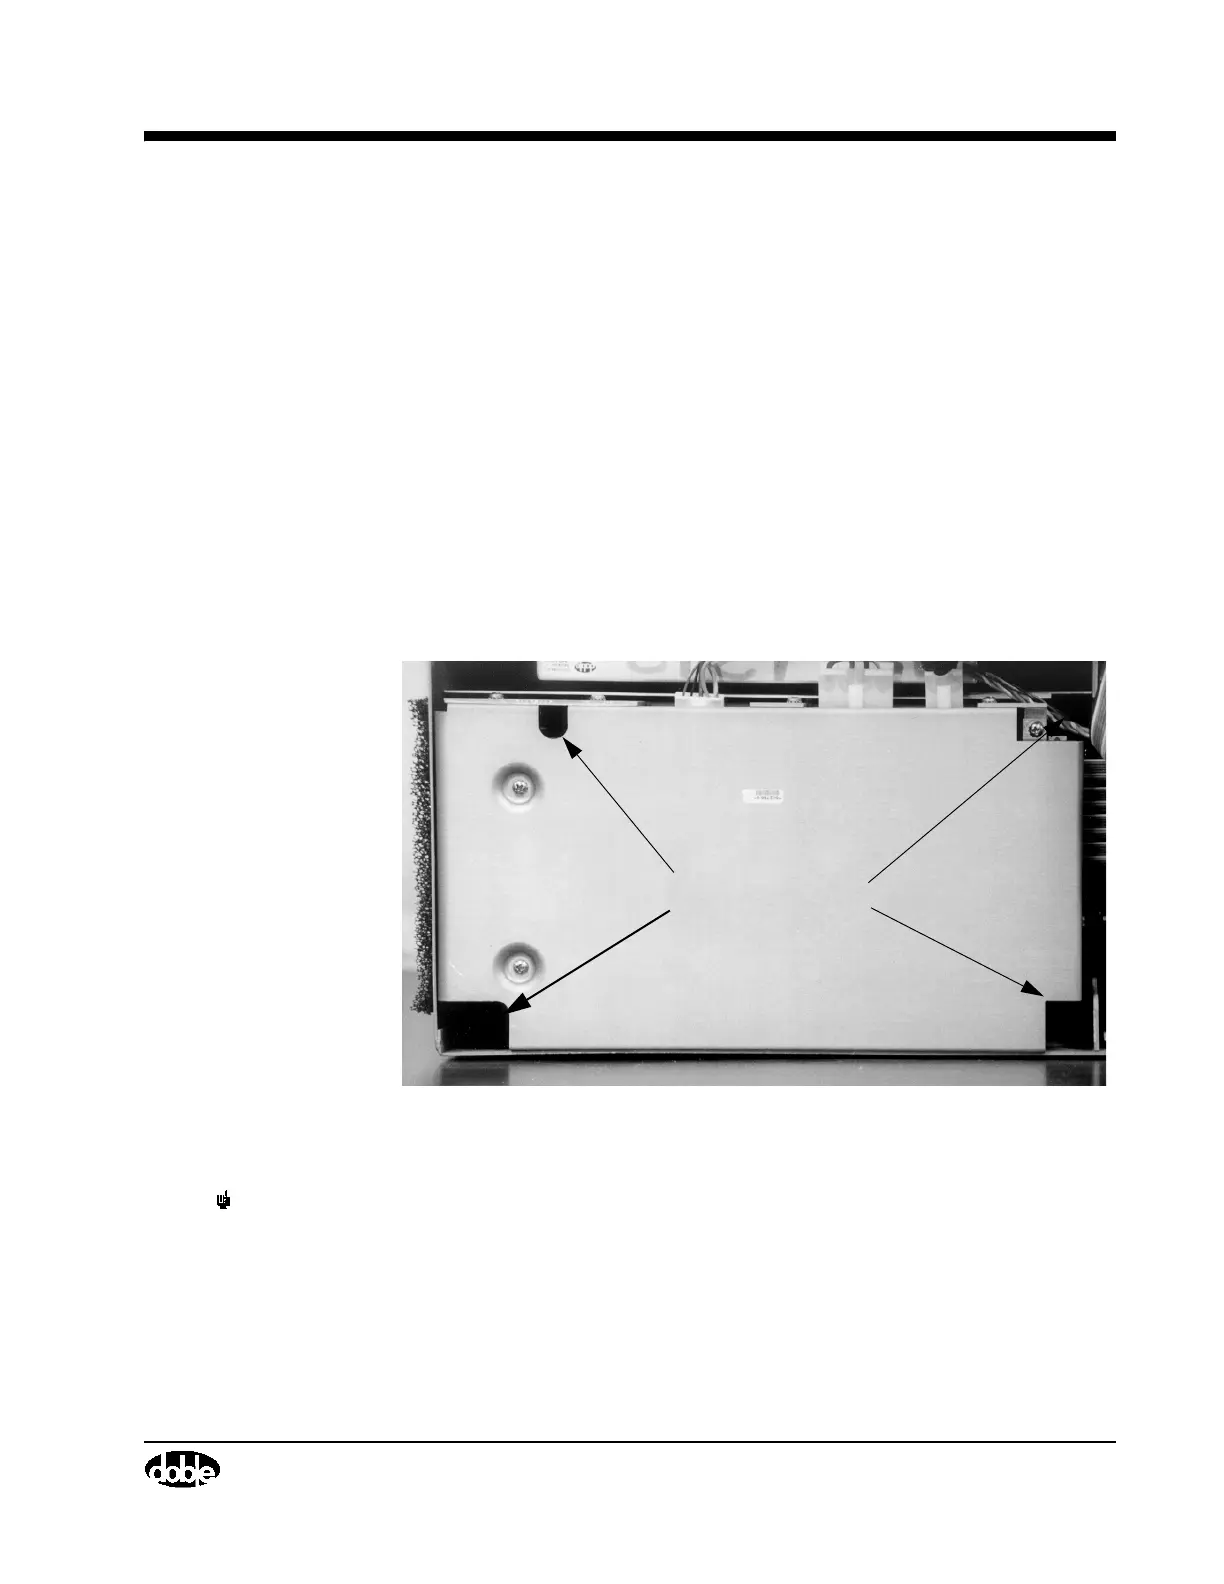
3. Insert a 15” flat-blade screwdriver into each of the four notches on top of
the Amplifier Assembly to unscrew the four captive screws (Figure 4.32).
The four screws attach the Amplifier Assembly to the bottom of the
chassis.
Figure 4.32 Amplifier Assembly, Captive Screw Locations
NOTE Do not remove the screws on the top cover of the Amplifier Assembly.
That cover need not be removed as part of this procedure.
4. Remove three screws on the rear panel (Figure 4.33), located between the
positions for the top two rubber feet, using a Phillips head screwdriver.
(The top two rubber feet were removed to take off the cover.)
Captive Screws