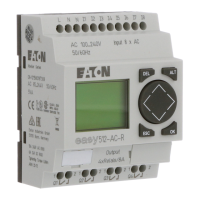
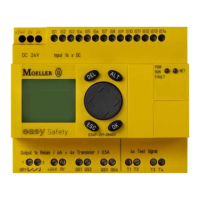
2 Installation
2.5 Connecting the inputs
Control Relay easy800 11/11 MN04902001Z-EN www.eaton.com 35
Figure 29:AC expansion unit with EASY618-AC-RE with EASY256-HCI to increase the input
current
Connecting the DC inputs of the 800 standard
Use input terminals I1 to I12 of the DC easy800 standard to connect
pushbutton actuators, switches or 3- or 4-wire proximity switches. Given the
high residual current, do not use 2-wire proximity switches.
These DC easy800 standard enable you to read both digital and analog input
signals via the inputs I7 (IA01), I8 (IA02), I11 (IA03) and I12 (IA04).
• Digital input signal voltage range
• I1 to I6, I9, I10.
Signal OFF: 0 to 5 V.
Signal ON: 15 to 28.8 V.
• I7, I8, I11, I12.
Signal OFF: < 8 V.
Signal ON: > 8 V.
• Input current:
• I1 to I6, I9, I10, R1 to R12: 3.3 mA at 24 V
• I7, I8, I11, I12: 2.2 mA at 24°V
→
The increased capacitance increases the drop out delay by
approx. 40 ms.
→
Feed the digital inputs from the same 24 V DC power source as
the device.
 Loading...
