2 Installation
2.5 Connecting the inputs
30 Control Relay easy800 11/11 MN04902001Z-EN www.eaton.com
2.5 Connecting the inputs
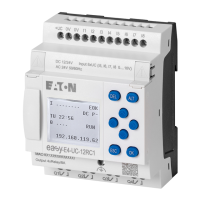
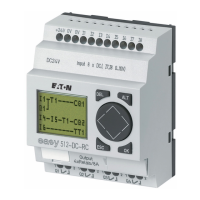
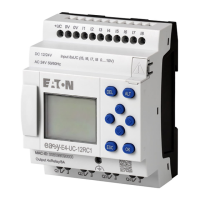
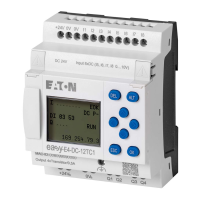
The inputs of the easy800 devices switch electronically. Once you have
connected a contact via an input terminal, you can reuse it as a contact in
your circuit diagram as often as you like.
Connect the contacts, for example pushbuttons or switches, to the input
terminals of the easy800 device. This does not apply to EASY802-DC-SWD
as it does not have any input terminals. easy800-SWD devices primarily use
SmartWire-DT for wiring.
Figure 20:Connecting input, in this case I1.
See also:
• “Connecting the digital inputs“, Page 31.
• “Connecting the DC inputs of the 800 standard“, Page 35.
• “Connecting analog inputs“, Page 40.
When using special function blocks, certain inputs are permanently assigned
to these function blocks and cannot be used for any other purpose. The
relevant function block description describes which inputs are affected.
Example: With the “high-speed counter” function block, the device inputs
I1 - I4 are connected directly on one function block.
You can increase the number of inputs of the easy800 standard by using an
expansion unit. The inputs of the EASY4..-DC-.E and EASY6..-DC-.E digital
expansion units are detected by the easy800 standard automatically -
without any configuration.
The universal EASY4..-DC-ME expansion units allow you to process both
digital and analog values. The digital inputs of these expansion units are
detected by the easy800 standard automatically - without any configuration.
The analog inputs/outputs must normally be configured.
See also:
• → section , “Connecting AC inputs of the expansion unit EASY618-AC-
RE”, page 31
• → Section “Connecting DC inputs of the expansion units”, Page 38
• → section , “Connecting analog inputs of the EASY4..-DC-ME expansion
units”, page 42
 Loading...
