General Information WinAQMS Mini DAS User manual 1.0
12
will reduce the window to become like Figure 15. To restore the window to its
original size, hit the Restore Up/Down button (the left button in Figure 15) and the
window will return to its original size. The Maximise buttons in Figures 25 and 26
will increase the size of the window to fill the whole WinAQMS Mini DAS screen
except for the toolbar and the menu buttons.
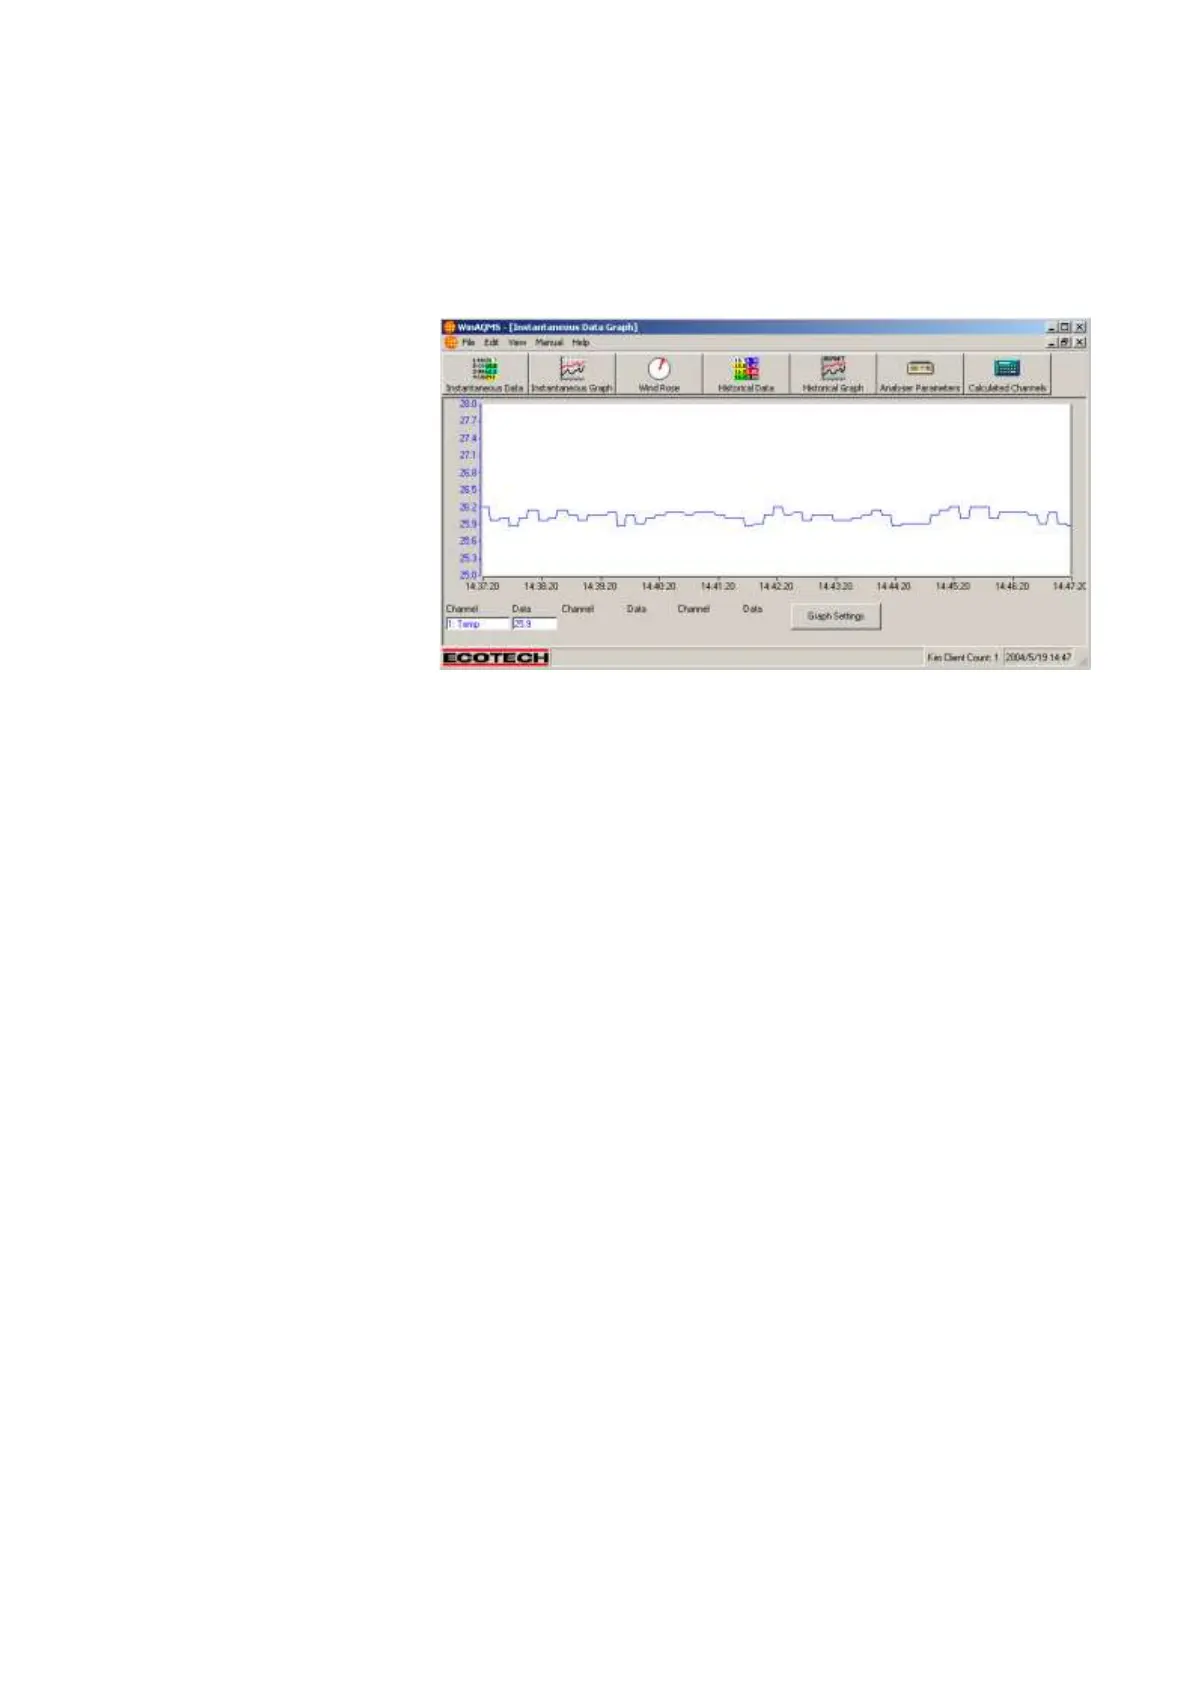
Figure 16 shows a
maximised
Instantaneous Graph
window. It occupies
the entire WinAQMS
Mini DAS screen
except for the top
menu bar and buttons
and the status bar at
the bottom. Only one
window can be
maximised at a time
and is displayed in
front of the other
windows. This means
that when a window is maximised it is the only visible window. In Figure 16 clicking
on the Graph Settings button will open the Graph Settings window and reduce the
Instantaneous Graph window to the size it was before it was maximised.
The Instantaneous Graph, Historical Graph, Historical Data and Wind Speed and
Direction windows all resize their visual aspect to match their size. For example,
resizing the wind speed and direction window will cause the compass to resize itself
to match the size of the window.
WinAQMS Mini DAS has a comprehensive online help menu which can be accessed
by hitting the F1 button on the keyboard when the relevant screen is being displayed.
For example if you want to know more about the system parameters options then open
that window up and hit the F1 key. A help screen will appear which has information
about the system parameters.
The three main menus used in WinAQMS Mini DAS are the Edit, View and Manual
menus which will now be outlined in greater detail.
FILE MENU
The file menu contains menu objects that are concerned with the settings of the
overall program. These include changing the grey background to a customised
picture, saving or loading the configuration of WinAQMS Mini DAS or exiting the
program.