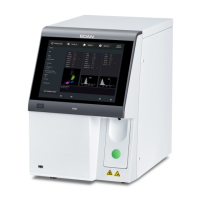
H50/H51 Hematology Analyzer User Manual Installation Guidance
- 17 -
Chapter 4 Installation Guidance
4.1 Installation Environment
To ensure H50/H51 Analyzer fulfill its function, it must be installed on a strong and stable table
which can support the weight of the analyzer as well as one printer, one barcode reader and
reagents. Enough space at the rear of the instrument and enough space on each side are required
for analyzer’s maintenance, reagents installation and disconnection of power cord. Exposure to
direct sunlight shall be avoided.
9 Indoor use
9 Altitude is no more than 3000 meters.
9 Work temperature: 18 °C to 32 °C
9 Maximum relative humidity when temperatures is 32 °C is 80 %, decreasing linearly to 50 %
at 40 °C.
9 Main power supply voltage fluctuations up to ±10 % of the nominal voltage.
9 Transient over voltages typically present on the main supply.
9 Rated pollution degree II.
NOTE:
9 If the ambient temperature moves more than 10°C during the working day, H50/H51
Analyzer must be calibrated more frequently.
9 If H50/H51 Analyzer is used under other conditions than the one described above,
contact your distributor.
9 If H50/H51 Analyzer has been stored at a temperature less than 10°C, it must stay
at room temperature for 24 hours to let all parts to reach the ambient temperature
before switching it on.
4.2 Unpacking
4.2.1 Unpacking Inspection
H50/H51 Analyzer is delivered in a cardboard. It is recommended to examine the package
visually before unpacking. If there is any sign of mishandling, damage or else, contact the carrier
to claim for damage. During device unpacking, the technical person who takes charge of the
installation must ensure the good presence of all elements compared with the Packing List.
NOTE:
If any part is missing, contact your distributor immediately.
4.2.2 Visual check
Open the fluidic door on the right side with the screw driver provided in the kit and check the
following items:
Ö Syringes pistons located in top position