C8-B/C12-B Service Manual Maintenance Disclosure Scope: Maintenance Trained Personnel Only
(C) Seiko Epson Corporation 2-77 Rev.1
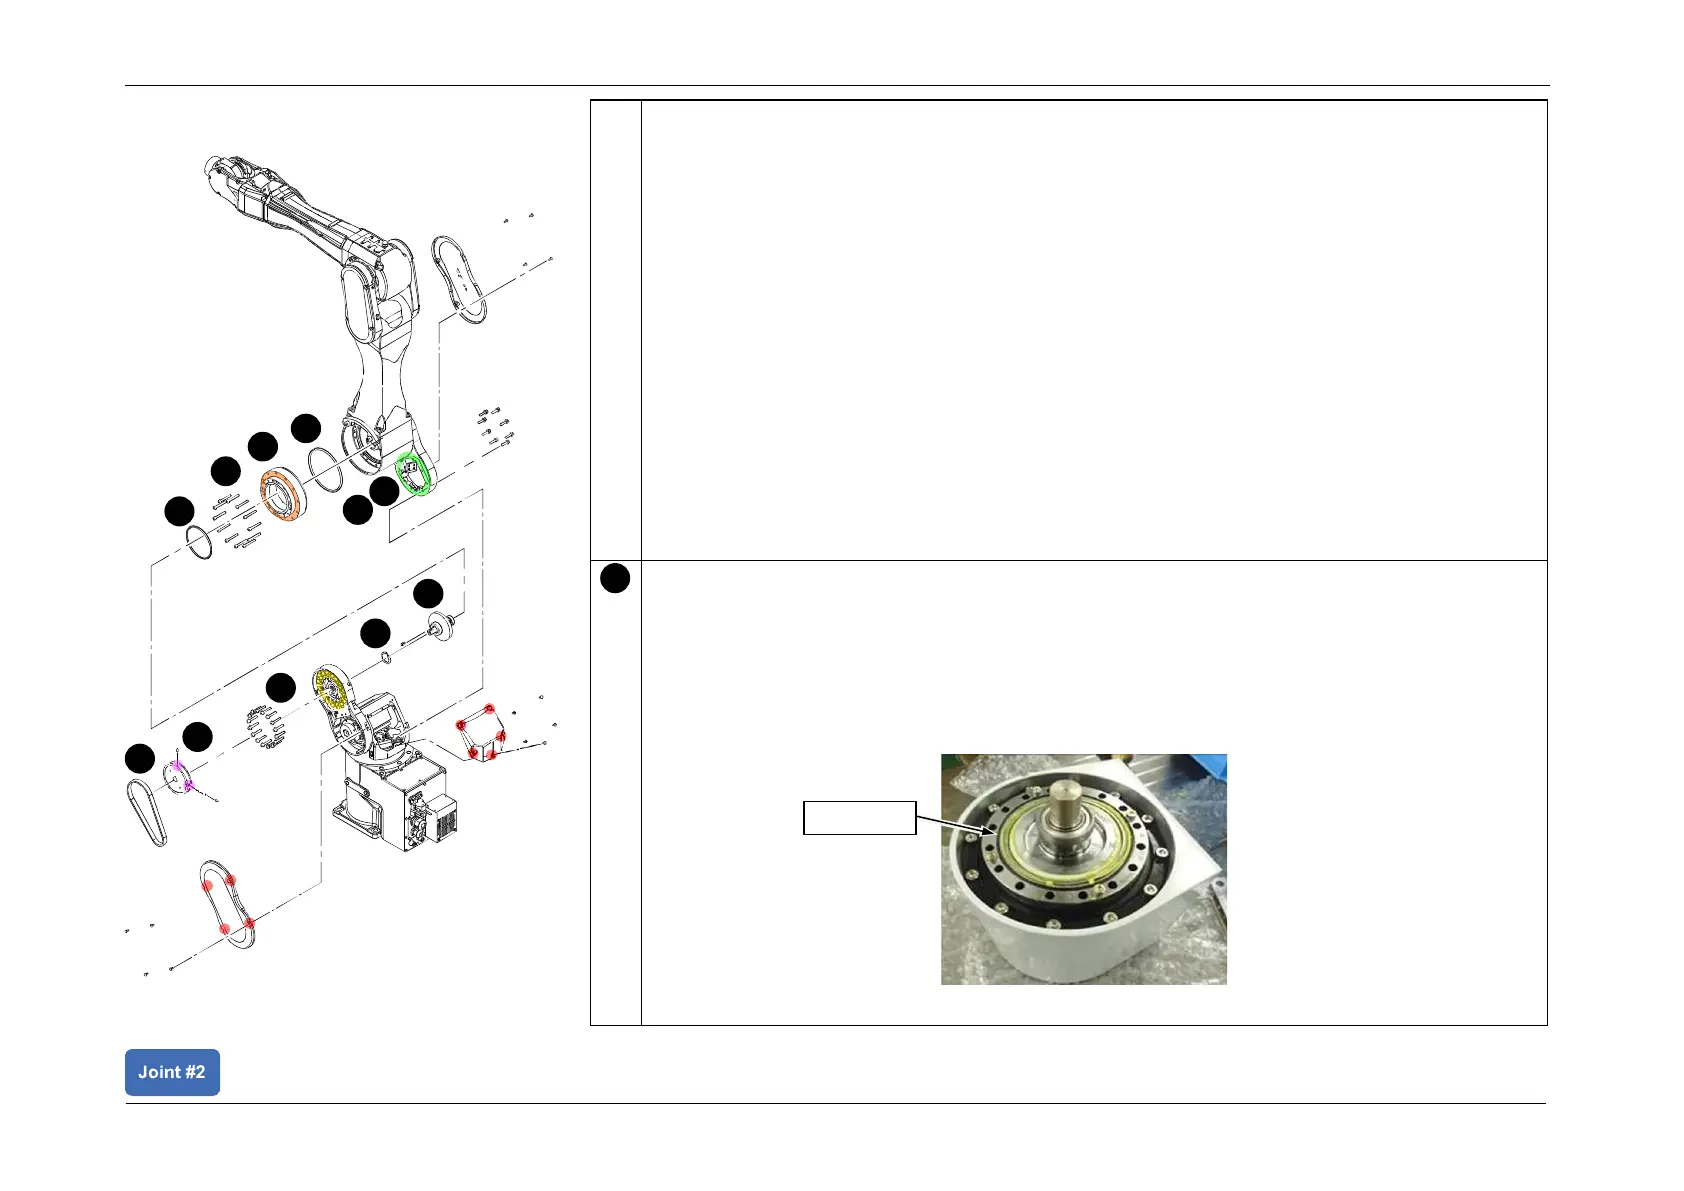
4. Rotate the Wave Generator longside so that it aligns with the positions of screws (3)
and (4).
5. Tighten screws (3) and (4) to 20% of the torque value.
6. Tighten screws (3) and (4) to 40% of the torque value.
7. Rotate the Wave Generator longside and tighten screws (5) through (12) to the 20%
and 40% of the torque value.
8. Rotate the Wave Generator so that its longside aligns with the positions of screws (1)
and (2).
9. Tighten screws (1) and (2) to 80% of the torque value, then tighten screws (1) and (2) to
100% of the torque value.
10. Rotate the Wave Generator longside so that it aligns with the positions of screws (3)
and (4).
11. Tighten screws (3) and (4) to 80% of the torque value, then tighten screws (3) and (4)
to 100% of the torque value.
12. Rotate the Wave Generator longside and tighten screws (5) through (12) to the 80%
and 100% of the torque value.
Install the O-ring.
POINT
• Applying a small amount of grease (SK-1A) to the O-ring will make it stick to the arm,
facilitating subsequent work.
• Insert the O-ring firmly into the groove.
• If the O-ring is stretched, damaged, or has deteriorated, replace with a new one.