EPSON Stylus COLOR 440, 640, and 740 Chapter 4 Disassembly and Assembly
98
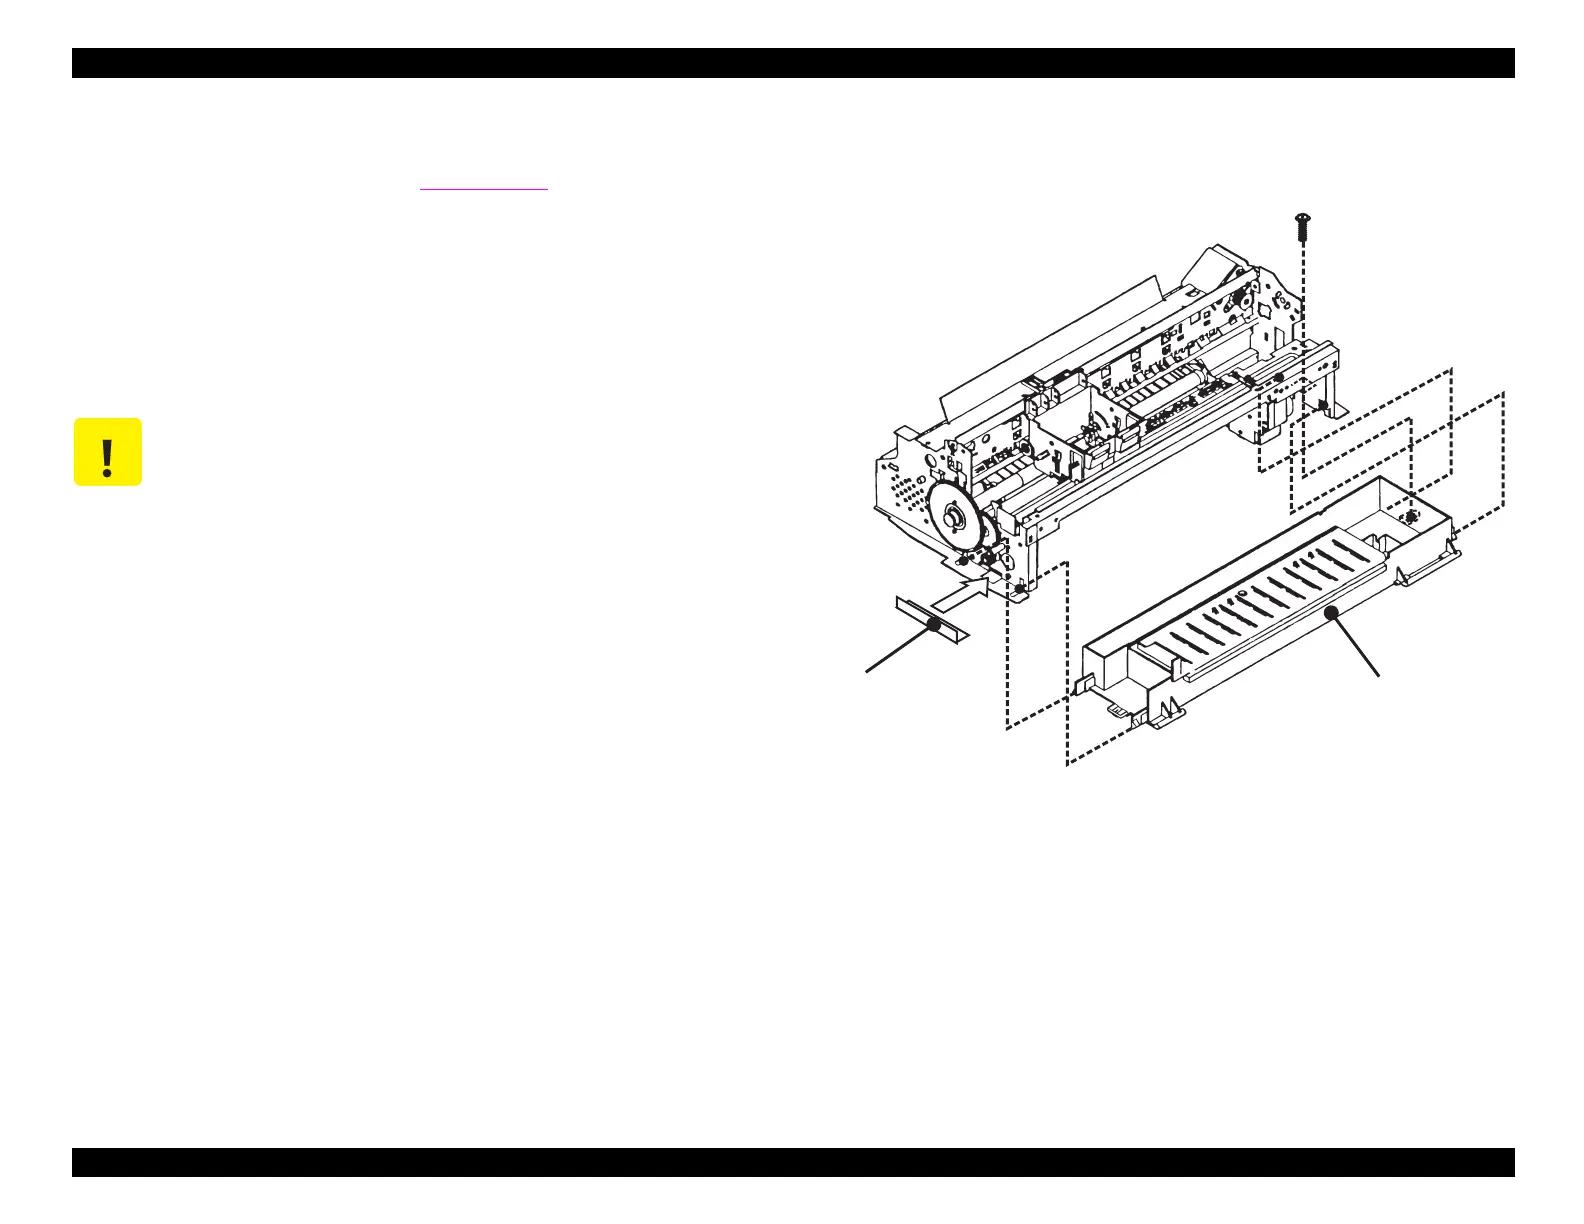
4.2.4.2 Removing the Waste Ink Pad Assembly
1. Remove the housin
.
Refer to Section 4.2.1.
2. Remove the 1 screw
No.4
securin
the waste ink pad assembl
to
the frame on the lower-ri
ht side of the printer.
3. While pullin
down on the ri
ht side of the waste ink pad assembl
,
pull out the lockin
plate on the left. Then remove the assembl
.
Figure 4-8. Removing the Waste Ink Pad Assembly
CAUTION
When installing the waste ink pad assembly, be sure to
replace the locking plate.
Locking P late
(N o .4 )
W aste Ink P ad A ssem bly
 Loading...


