Page 20 of 159
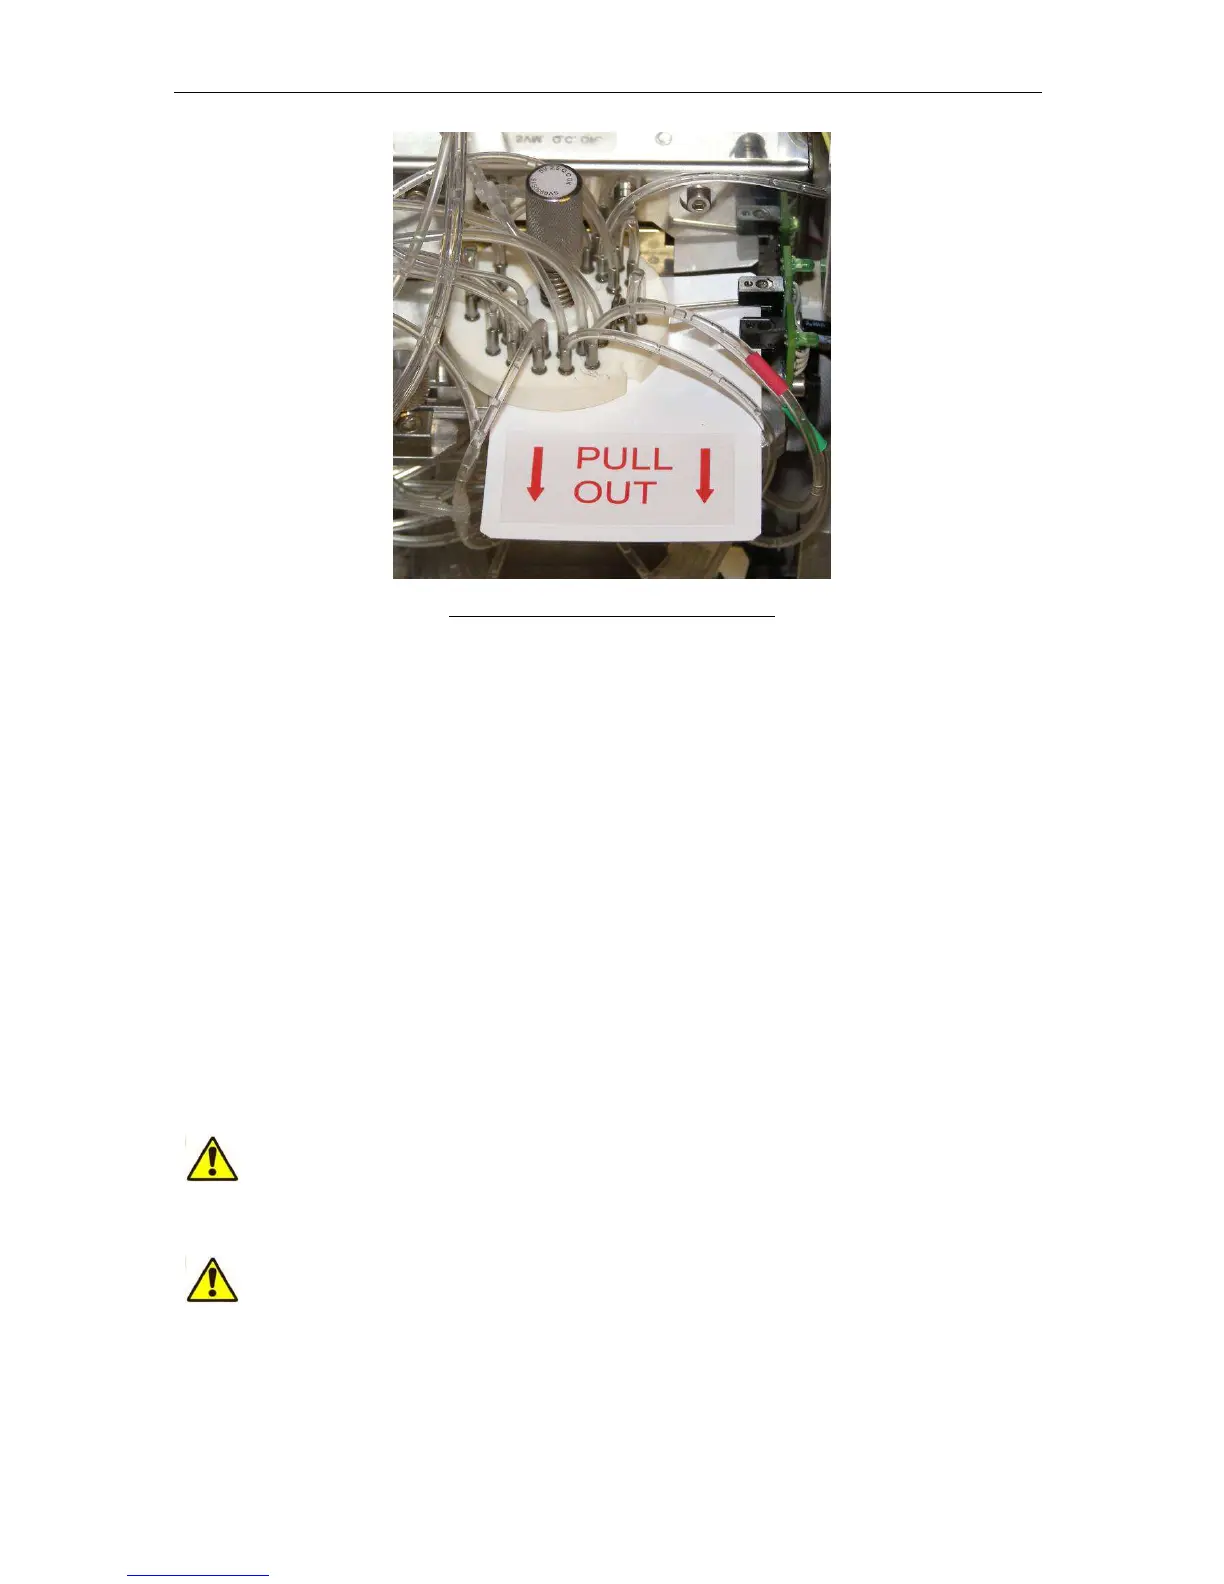
Figure 3. Shear Valve with plastics card
3.9 Connecting the Autosampler
If the optional Autosampler unit also purchased then:
• Remove the secondary cover-plate from the right-side cover-plate of the ‘ELite 5’;
• Check that the connection surface is clean and there are no blocking objects (like
hanging, swinging cables);
• Push the Autosampler into the ‘ELite 5’ until the clamps are locked.
3.10 Connecting the reagents
If it was not done beforehand than:
• Connect the reagent tubes to the ‘ELite 5’:
o Use the supplied connecting tubes and special bottle caps;
o Be sure that the color on each tube, cap and connector in the back of the
instrument match.
• Connect the reagent containers to the reagent tubes.
Direct (skin) contact with these reagents should be avoided. Please read
reagent descriptions carefully for possible emergency actions. Only original
reagents are usable with ‘ELite 5’, available from Erba Lachema.
Do not place the containers to a higher position than ‘ELite 5’. This is to
avoid unintentional spilling of reagents.