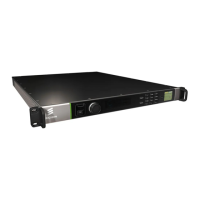
To connect up the unit(s):
1. Connect signal input connectors Ge 1 and Ge 2 (for your input Transport
Streams) to your local area network.
2. Connect signal output connectors Ge 3 and Ge 4 (for your output Transport
Streams) to your local area network.
3. Connect computer control connectors CTL1 and CTL2 (for Web GUI Control) to
your local area network. Both connectors share the same IP address, Ctrl1 is the
Primary control port, and is by default the active control port. Control Port Ctrl2
should be considered as the secondary control network as it will not respond to
the Control Port IP Address unless control has been passed to it either as a
result of a redundancy switch, or via a user command. The active control port
switches when Ctrl1 has no link (e.g. carrier), and Ctrl2 has the link.
4. Connect single or dual AC or DC power connectors, depending on the option
purchased, to the power supply.
5. Connect your signal cables to/from your option cards, depending on which
options are fitted to your unit,
3.3 How to Power Up the Unit
To power up the unit(s):
1. With all signal and power cables connected as required, switch on the AC
power supply to the unit.
2. Wait for unit initialisation to complete (approximately 1.5 minutes, depending on
the number of options fitted in the unit).
Caution!
This equipment should not be operated unless the cooling fans are working and
there is free-air flow around the unit.
3.4 How to Set the Unit IP Address
Setting the IP address of a unit is accomplished using the front panel menus. For a
full description of these menus, see Chapter 4, Front Panel Control.
To set the IP address of the unit(s):
1. Ensure the unit is fully powered up.
2. On the AVP front panel, using the rotary knob, scroll down to the Unit Config >
Remote Control Setup option.
3. Press knob to select.