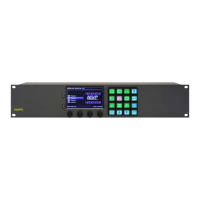
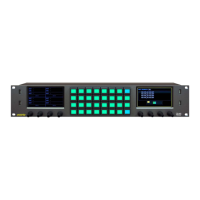
CP-2116E
Remote Control Panel
Page - 12 Revision 1.2
6. The Install Update screen will appear after a few seconds enabling the user to select whether
they would like to update the code. Select the Yes soft-key button to apply the update, or
select the No soft-key button if you do not wish to update the code.
Once the Yes option is selected, the user can remove the USB memory key from the rear of the CP-
2116E device. The CP-21162E device will automatically reboot. This may take approximately 2 to 3
minutes.
4.3. CONFIGURING THE NETWORK SETTINGS
The Network screen enables the user to configure the network settings for network ports A and B.
The following procedure outlines how to set an IP address.
1. To change the IP address, toggle to the appropriate number using the bottom left Select rotary
encoder (S1). Turning the rotary encoder clockwise will enable the user to advance forward and
highlight the appropriate value. Turning the encoder counter-clockwise will move the selection tool
backwards.
2. Once the desired value is highlighted (the text will be bright yellow), use the bottom right Change
rotary encoder (S4) to adjust the value of the selected number. Turning the rotary encoder
clockwise will increase the number value, while turning the rotary encoder counter-clockwise will
decrease the number value.
3. If you wish to apply your changed network settings, press the Apply option on the touch-screen
OR select the Apply soft-key (L12) button.
4. Bonding may be chosen if you wish the CP-2116E to use the same IP address on BOTH Ethernet
ports. This setting is ONLY to be used if ONE Ethernet cable is plugged into a single network OR
if two completely isolated networks are in use. Using bonding, and plugging both ports into the
same switch will cause a network loop and unsavoury results on your network.