Use the following instructions to connect the device to a DC power source.
1. Strip 0.25 inch (6.35 mm) of insulation from one end of each cable wire. Three cable
wires are needed: two power input cables and one ground cable.
2. Verify that the DC circuit is de-energized.
3. Attach an ESD-preventive wrist strap to your bare wrist and connect the metal end
to an appropriate ground point on the rack.
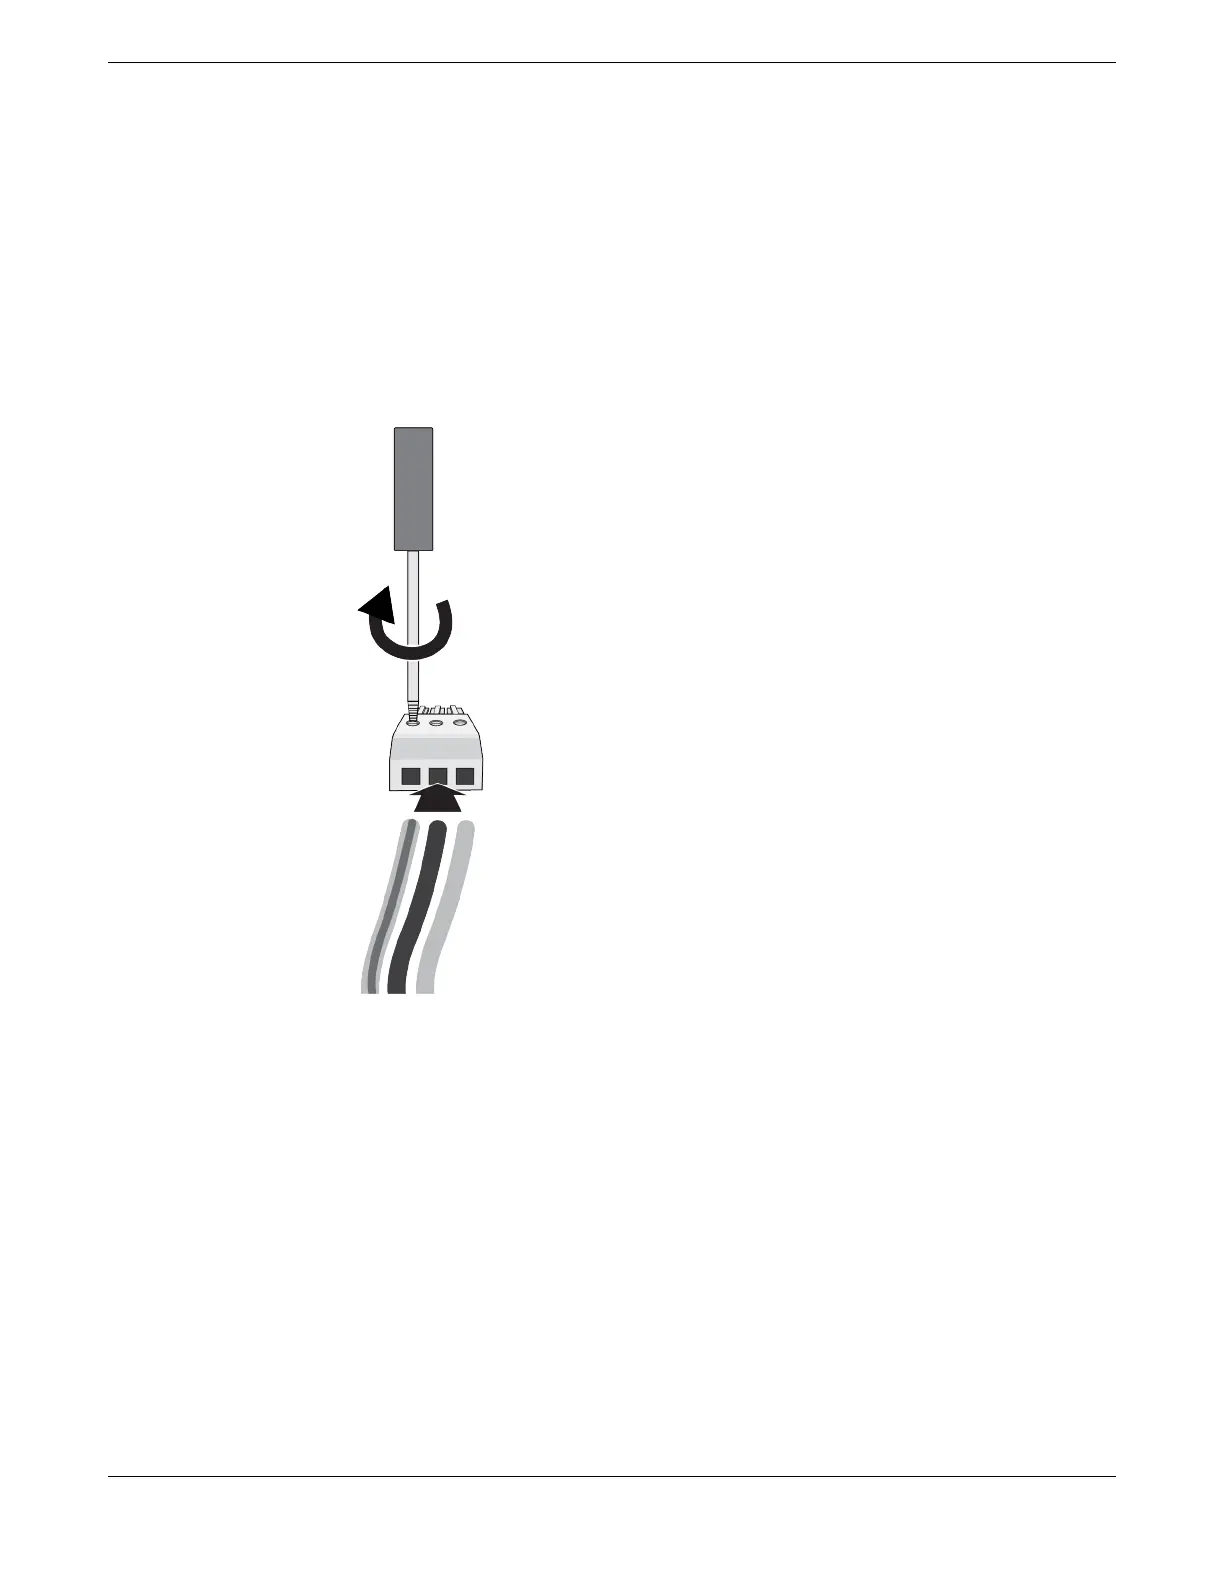
4. Insert a screwdriver into all three slots on the top of the terminal connector and
loosen the screws enough to accommodate a stripped power input cable.
5. Insert the cable wires into the terminal connector.
Figure 60: Inserting the cable wires into the DC terminal connector
a. Slide the end of the ground wire into the ground terminal (labeled GND on the
left side of the connector.
b. Tighten the screw on the top of the ground terminal connector to 2.2 in‑lb (0.25 N
m).
c. Slide the end of the negative wire (–48 V) into the negative terminal (labeled –, in
the middle of the terminal connector).
d. Tighten the screw on the top of the ground terminal connector to 2.2 in‑lb (0.25 N
m).
e. Slide the end of the positive wire (–48 V RTN) into the positive terminal (labeled +,
on the right side of the terminal connector).
f. Tighten the screw on the top of the ground terminal connector to 2.2 in‑lb (0.25 N
m).
Install Your Switch Connect DC Power
ExtremeSwitching 5320 Series Hardware Installation Guide 79

 Loading...

