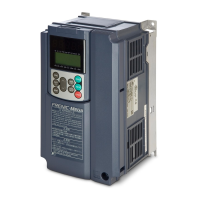
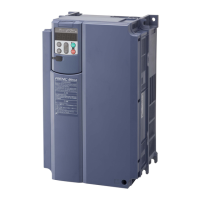
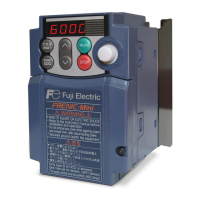
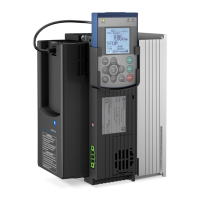
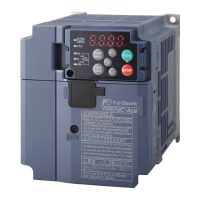
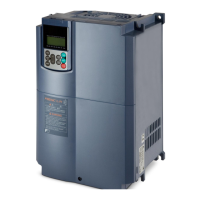
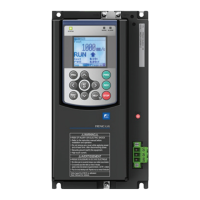
11.22 Built-in Option Card Types and Ports in Which They Can be Installed
11-97
SELECTING PERIPHERAL EQUIPMENT
11.22.4 CANopen Communication Card (OPC-COP2)
By installing the CANopen communication card in FRENIC-MEGA and connecting to CANopen, run commands
and frequency commands can be set, and all FRENIC-MEGA function codes can be accessed from the CANopen
master (PC, PLC, etc.). FRENIC-MEGA can be controlled as a slave.
Applicable port
This communication card can only be installed in the A port of the three FRENIC-MEGA option connection ports (A,
B, and C ports).
[Note] Other communication cards (DeviceNet communication card, SX-bus communication card, etc.) cannot be
installed with this communication card installed. If multiple communication cards are installed, an er4 trip will occur
at FRENIC-MEGA, and it will not be possible to cancel the trip condition until there is only one communication card
installed.
CANopen specifications
Table 11.22-11
20 k, 50 k, 125 k, 250 k, 500 k, 800 k, 1 Mbit/s
2500 m (when 20 kbits/s) to 25 m (when 1 Mbit/s)
Conforms to the following profiles.
- CiA DS-301 Ver.4.02
- CiA DS-402 Ver.2.0,Velocity mode
Function code settings
Function codes necessary for CANopen communication
The function codes which must be set to communicate between this communication card and the CANopen master
are shown in the following table.
Table 11.22-12
0 to 255
(Valid range: 0 to 127)
By setting 0 or 128 or higher,
data is recognized as 127.
0 to 255
(Valid range: 0 to 7)
0: 125 kbits/s
1: 20 kbits/s
2: 50 kbits/s
3: 125 kbits/s
4: 250 kbits/s
5: 500 kbits/s
6: 800 kbits/s
7: 1 Mbit/s
8 to 255: 1 Mbit/s
*1 To reflect settings after setting o31 and o32, either turn the inverter unit power OFF and ON again, or send a
ResetNode command from the CANopen master.
 Loading...
